- Home
- Product Categories
- Sensors
- Temperature Sensor - LM335A

Temperature Sensor - LM335A
Replacement:SEN-10988. While it isn't a drop-in replacement, the TMP36 is very similar so we felt it was redundant to carry both. This page is for reference only.
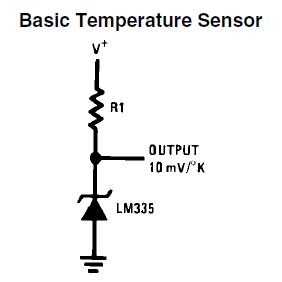
The LM335A is a very easy-to-use analog temperature sensor. The LM335A works like a Zener diode with a breakdown voltage proportional to absolute temperature at 10mV/°K. Hook up a resistor from 5V and GND, and the LM335A will output an analog voltage of 2.98V (298 Kelvin is 25C or room temperature). The output of the sensor is linear, and when calibrated at 25°C the LM335A has typically less than 1°C error over a 100°C temperature range. The sensor can operate continuously from −40°C to 100°C.
Calibration of the sensor requires a pot connected across the sensor, with the wiper of the potentiometer connected to the adjustment pin of the LM335.
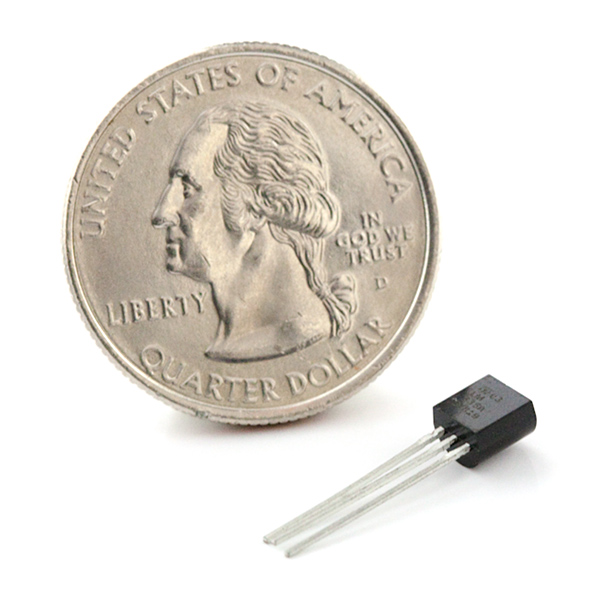
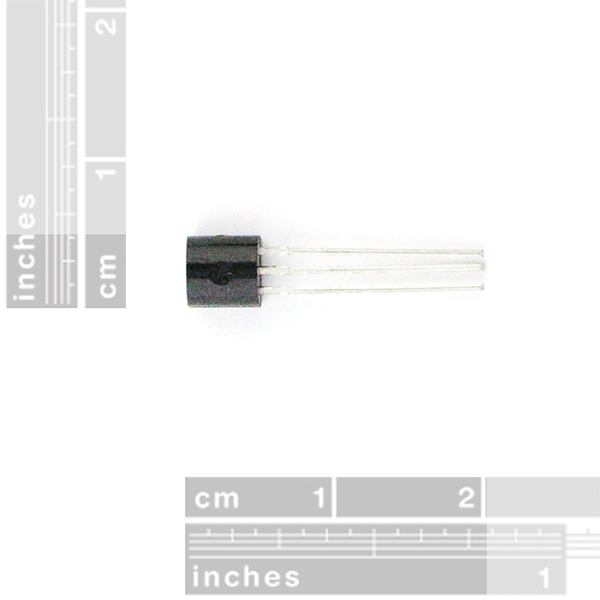
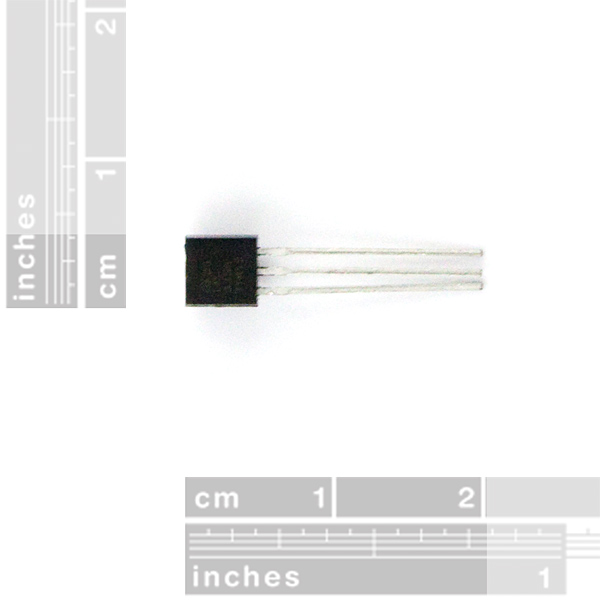
Comes in a through-hole, TO-92 package.
Features:
- Directly calibrated in °Kelvin
- Operates from 400 μA to 5 mA
- Less than 1Ω dynamic impedance
- Easily calibrated
- Wide operating temperature range
Low cost
Documents:
- National Semiconductor Product Page
Comments
Looking for answers to technical questions?
We welcome your comments and suggestions below. However, if you are looking for solutions to technical questions please see our Technical Assistance page.
Customer Reviews
No reviews yet.
I have created an library for the Arduino to read the temperature using this sensor. The LM335A library can be downloaded below.
LM335A Arduino Library
Not sure as to why you would create a Library for this? It requires about 4 lines of code. It is very trivial to implement such a simple thing as read an analog value from a sensor.
void setup() {
pinMode(pin, INPUT);
}
void loop() {
float Kelvin = (((analogRead(pin) / 1023) * 5) * 100);
float Celsius = Kelvin-273;
float Fahrenheit=(Celsius)*(9/5)+32;
}
Not having seen GreenRobotics' project, I wrote a library as well. Mostly because I have a few projects which are calling for a temperature sensor, and I don't want to have to reinvent the wheel each time I use it. Especially with the pure integer version that has some somewhat tricky math involved to avoid overflows and underflows.
just fyi, your temperature library uses integer (9/5)=1 instead of float (9.0/5.0)=1.8 in your Fahrenheit conversion.
ERRATUM: float Kelvin = (((analogRead(pin) / 1023) * 5) * 100);
Because all these values are integers the float calc will not work as expected. Make the 1023 into a float… 1023.0 — all will be well with the world. I learned this the slow way. Ripple this change through to the other float calcs too. Hope that helps somebody.
Ah, the dangers of type promotion. And they say that programmers don't risk their lives every day.
I believe the issue that most of you are having is that you are neglecting to take into account the ~3V drop of the LM335 into account. It is a diode, which needs to be included in the resistor calculation.
Ohm's law: V = IR. But if you're running on 5V, don't use V = 5V! The diode blocks ~3V, so V = (5V - 3V) = 2V.
Solving for R where V = 2V and I = 1mA (R = V/I = 2V/.001A), you should find that a 2Kohm resistor at 5V is appropriate.
Best of luck.
I got this working, but I had a couple of minor problems. 1. The datasheet diagram a bottom view. You won't get a reading from ADJ!
Second, I hooked up a 10K trim pot according to the datasheet, and it didn't work at all. I found by hooking the trim pot to VCC/GND and the wiper to ADJ it works fine.
See this diagram. (Edit, added a Diagram that works) http://www.circuitbee.com/circuit/view/0000000117 the one on the left is from the datasheet as far as I understand it. The one on the right actually allowed me to trim the sensor.
I have created a class for reading the sensor. It can be found at http://greenrobotics.net/files/lm335a.zip
Really inaccurate. Temperature jumps around within a range of + or - 3 degrees. I've tried varying resistors and have the same problems. Calibration drifts significantly between uses. Any suggestions to get this thing to behave more reliably would be great.
Another issue may be noise affecting your ADC. Alot of AVR uC's have an idle mode to reduce noise while the ADC is sampling.Don't forget analog electronics basics.
Try sampling more times per second. I used the datasheet's schematic but I don' think I calculated the scale resistor correctly, I was getting readings, but when I took a blow dryer to the sensor it took forever to show temp raises, and they were only 1/2-4 or 5 degrees Fahrenheit when it did raise. But, back to your question: I used the Arduino and it samples analog 10K times per second, so I sampled a bunch of times per second (I started w/ 10K but I don't think it needs sampling that much) and just took the average of that, I was able to get extremely consistent readings from one second to the next, even when raising the temp.
Alright, having some issues here. Bought three of these hoping they would provide the temp data i'll need to control temp sensitive heaters. I'm a newbie, and could use as much help as possible. I've visited these sites:<br />
<br />
After browsing the web, ive seen: http://www.sparkfun.com/tutorial/AIK/CIRC10-A-sheet-SPAR.pdf. and http://www.ladyada.net/learn/sensors/tmp36.html. <br />
<br />
With no luck using either diagram.<br />
<br />
I've moved onto using a trim pot in place of a resistor to help calibrate, but is this the right idea?<br />
Most helpful advice would be a visual example of how to simply use this sensor for an application on an arduino.
Now, I'm just a beginner. But I could NOT get this sucker to work on my own. I suffered for over a month, going back to the code, checking the wiring, swapping out between the two sensors I had bought... Then I found the inventor's kit overlay correction. http://www.sparkfun.com/tutorial/AIK/CIRC10-A-sheet-SPAR.pdf
Set up the resistor as a voltage divider? OK. I try itt. Still gave me bad data. Temp comes out too high, and kept getting higher. The wiring is different lets redo the code again. I went looking for an old copy of the Inventor's kit that still talked about using the LM335a.
At this point, I was using a 9V battery to run the Arduino, the sensor AND an LCD. I plugged in the USB cable and two things happened.
1). The LCD got much brighter.
2). I started getting REAL temps!
A multimeter verified the final problem. My 9V battery was down to 6V, and dropping. Which meant the Arduino was only supplying ~4.6V... and the battery continues to drop lower.
SO. Use a voltage-divider arrangement as shown in the overlay, and make sure you have a good voltage source! Because trying to feed an ANALOG sensor with power from a nearly dead battery... gives you bad data. (Low voltage, that steadily gets LOWER; into a sensor that outputs a varying voltage as an answer makes for a bald hacker.)
kev: What's the recommend resistor for running just a basic temperature sensor?
The datasheet says it will run on 400 uA to 5 mA. The datasheet data is based on a 1 mA current.
I tried it with a 5V suppy and a 10k resistor, which should give 500 uA (neglecting the diode), but the voltage was very low. A 5.1K (for 1 mA) worked fine.
What's the recommend resistor for running just a basic temperature sensor?
From about 4.8V to about 5.6V, a 2.2k? is working for me.
In preview, "?" was displayed as a capital omega. After posting, it appears corrupted. The value should be 2200 ohms.