- Home
- Product Categories
- Buttons and Switches
- Toggle Switch and Cover - Illuminated (White)

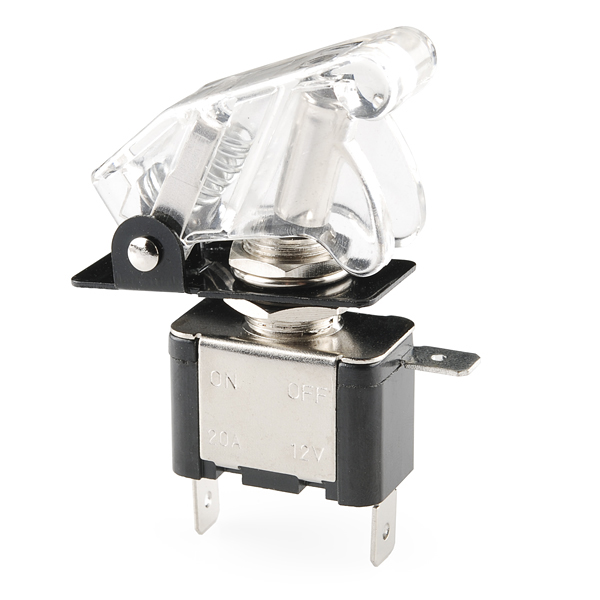
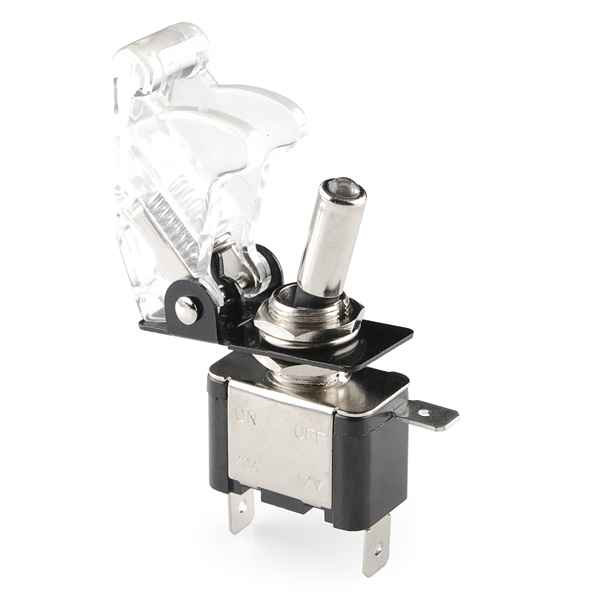
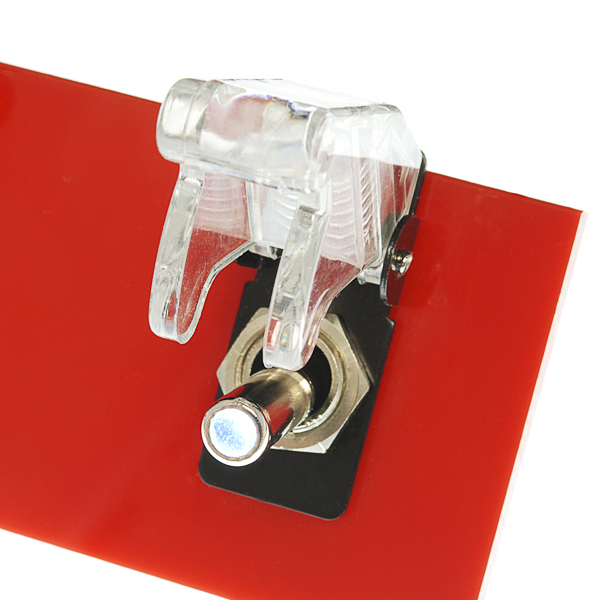
Toggle Switch and Cover - Illuminated (White)
This simple on-off switch is rated for 20A at 12V but who cares about all that, it looks way awesome. These toggle switches come with those missile switch covers that make your project look like something out of a spy movie. They're also a great safety feature to ensure that you don't accidentally fire the missiles (or whatever it is your switch does). As if you needed any more convincing, they're also illuminated with a small LED in the end of the switch. These can be panel mounted into a 12mm hole.
Check the related items below for more color options!
Note: The LED can be illuminated with as low as 3.3V.
- Rated for 12V 20A
- Includes Missile Switch Cover
- Illuminated
Toggle Switch and Cover - Illuminated (White) Product Help and Resources
Button and Switch Basics
May 7, 2013
A tutorial on electronics' most overlooked and underappreciated component: the switch! Here we explain the difference between momentary and maintained switches and what all those acronyms (NO, NC, SPDT, SPST, ...) stand for.
Core Skill: DIY
Whether it's for assembling a kit, hacking an enclosure, or creating your own parts; the DIY skill is all about knowing how to use tools and the techniques associated with them.
Skill Level: Noob - Basic assembly is required. You may need to provide your own basic tools like a screwdriver, hammer or scissors. Power tools or custom parts are not required. Instructions will be included and easy to follow. Sewing may be required, but only with included patterns.
See all skill levels
Core Skill: Electrical Prototyping
If it requires power, you need to know how much, what all the pins do, and how to hook it up. You may need to reference datasheets, schematics, and know the ins and outs of electronics.
Skill Level: Noob - You don't need to reference a datasheet, but you will need to know basic power requirements.
See all skill levels
Comments
Looking for answers to technical questions?
We welcome your comments and suggestions below. However, if you are looking for solutions to technical questions please see our Technical Assistance page.
Customer Reviews
No reviews yet.
Can I get this with an RGB led?
Hi I want to put these in my 98 jeep cherokee sport, I’m thinking about switching out my rear defrost, rear wipers, and my fog lights for these switches. I need more help trying to figure out if they will fit or if they won’t, so can anyone help me, also I need to know how I to wire them up, if I get them?
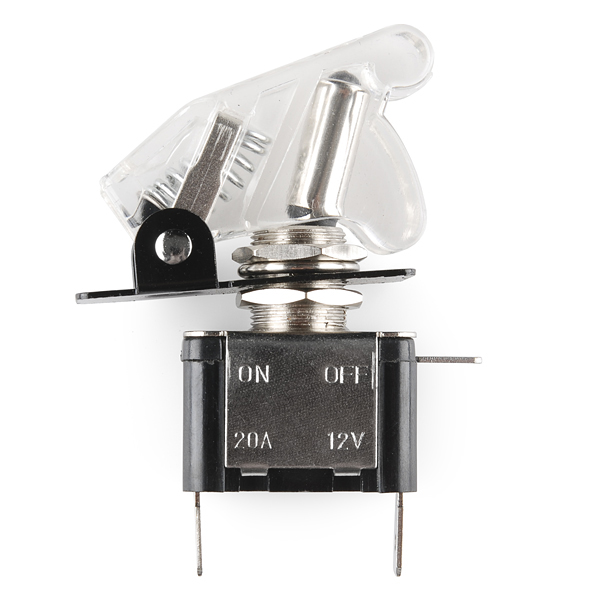
Well to know if they will work or not, you will need to identify a few things, are the switches you're replacing of the same type? If you're just replacing an ON/OFF switch you should be fine, however if the switch has more positions(FORWARD/OFF/BACKWARD, OFF/SLOW/FAST, etc.) it will not work. As to whether they will actually fit into the space you intend for them, I can't really help you there. These won't work well if you want to fit them onto a curved panel, they're meant to be mounted to a flat surface. Also a mounting problem, you will need to be able to remove the panel your putting them in, because these get mounted from the back. Additionally, you will need quite a bit of space behind the panel because of the large bulk of these switches. More than likely, you will need to fabricate a new panel with a flat surface for mounting, but comes forward enough for the switches to clear all the stuff behind it. Compared to the size limitations, wiring it up would be easy. On the switch I received, the markings telling you which contact does what are wrong, so I'm gonna give each contact a new name. In the picture, you can see the metal tab on the black part of the switch sticking off to the side, we're gonna call that Tab1. The tab on the bottom nearest to Tab1 will be Tab2, and the final tab is Tab3. When you flip the switch, Tab2 and Tab3 are connected electrically, so if you don't care about the LED coming on, wiring it in is as easy as taking the two wires that went to the existing switch, and connecting them to Tab2 and Tab3. Having the LED light up when you flick the switch will be cooler, but also more complicated. If the switch is smallish or kinda plasticly, or just doesn't really feel heavy duty, then it's probably a logic switch that goes to a microcontroller and doesn't have a large amount of current flowing through it(you could confirm this by measuring the voltage and/or current and if the numbers are low that's great). This would be ideal, because we wouldn't need to worry about the power source burning out the LED. IF this is the case, you would connect the two wires to Tab1 and Tab2(you might want to throw in a resistor for good measure), (if it doesn't work, try swapping the wires, you might have it on backwards). With this setup, the LED will come on when you flick the switch and the defroster will come on. Of course if the old switch DID have a lot of current going through it (like it would if was actually switching the device on and off) connecting it this way will burn out the LED and then you'll have to rewire it to Tab2 and Tab3 to get it to work again. You could still get the LED to come on with a high current switch, but it would need current limiting and maybe a voltage regulator and other annoying things, so lets hope it's a logic switch. :)
'#'define WHITE CLEAR
Printf("Toggle Switch and Cover - Illuminated (WHITE)\n\r");
The light from LEDs doesn't have color?
What color is 'clear'?