- Home
- Product Categories
- XBee
- XBee Pro 900 U.FL Connection

XBee Pro 900 U.FL Connection
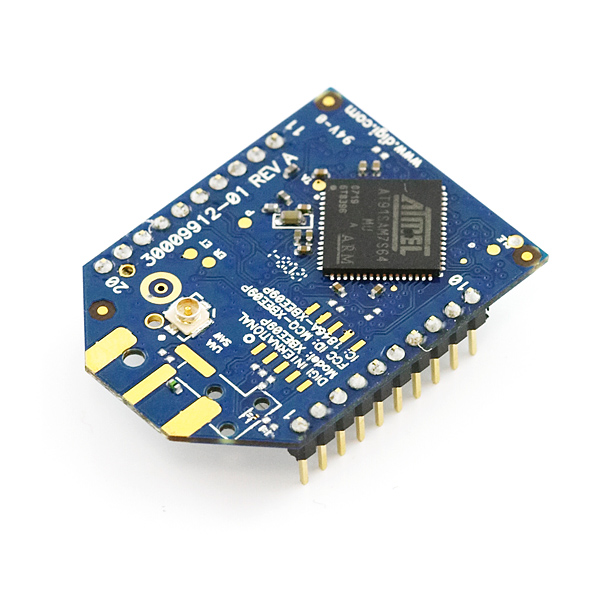
The XBee-PRO 900 RF module is ideally suited for low-latency point-to-multipoint networking applications. Capable of point-to-point, peer-to-peer and point-to-multipoint networking, the XBee-900 is ideal for solutions where RF penetration and absolute transmission distance are paramount to the application.
As a member of the XBee family of RF products, the module is easy-to-use, shares a common footprint, and leverages Digi’s Drop-in Networking solutions including gateways and adapters. No configuration is necessary for out-of-the-box RF communications. The module’s default configuration supports a wide range of data system applications. Advanced configurations can be implemented using simple serial AT commands.
XBee-PRO modules operate within the ISM 900 MHz frequency band. The modules are optimized for use in US and Canada.
Not sure which XBee module or accessory is right for you? Check out our XBee Buying Guide!
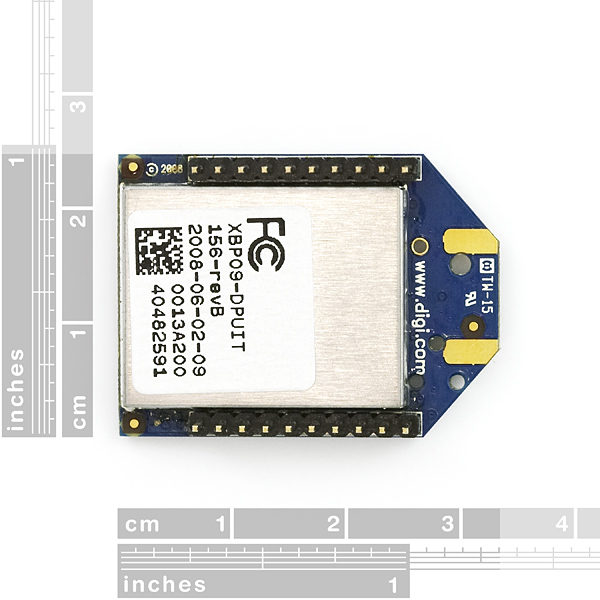
Digi Part #: XBP09-DPUIT-156
**Note: **Some users have found that the XBee-PRO 900 cannot be used with the XBee Explorer Regulated. A work around that many users have found is to bypass diode D1 on the Explorer.
- 3.3V @ 210mA
- Fast 156 Kbps RF data rate
- 50 mW (+17 dBm) power output
- Up to 6 miles (10 km) RF LOS with high gain antennas
- Point-to-multipoint networking ideal for low-latency applications
- Support for large, dense networks
- 128-bit AES encryption
- ISM 900 MHz operating frequency
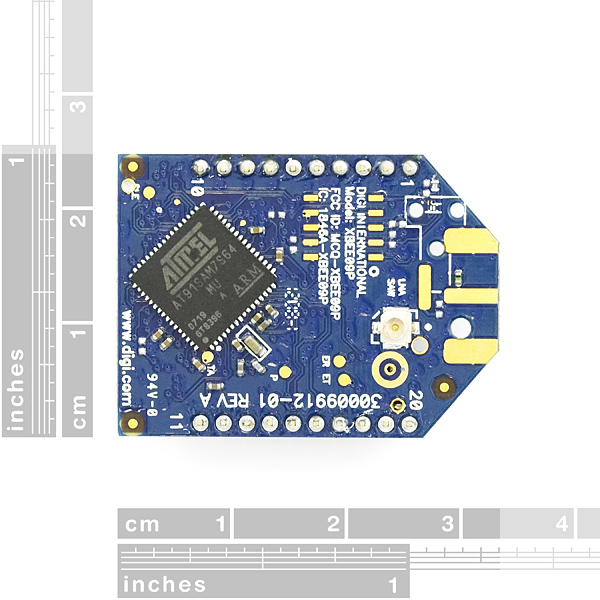
- U.FL connector
- Industrial temperature rating (-40° C to +85° C)
- Advanced mesh networking and low-power modes supported
- Approved for use in the United States and Canada
- External Antenna Required
XBee Pro 900 U.FL Connection Product Help and Resources
Core Skill: Programming
If a board needs code or communicates somehow, you're going to need to know how to program or interface with it. The programming skill is all about communication and code.
Skill Level: Rookie - You will need a better fundamental understand of what code is, and how it works. You will be using beginner-level software and development tools like Arduino. You will be dealing directly with code, but numerous examples and libraries are available. Sensors or shields will communicate with serial or TTL.
See all skill levels
Comments
Looking for answers to technical questions?
We welcome your comments and suggestions below. However, if you are looking for solutions to technical questions please see our Technical Assistance page.
Customer Reviews
No reviews yet.
Is it ok to turn on this module with no antenna attached? Or the reflected waves may burn up the radio?
Thanks
I see there is a spot on the PCB where an SMA connector can be soldered. Does anyone know if these traces are active (that is, if I solder on an SMA connector, will it work)?
Thanks.
If you are having problems programming this device with X-CTU, I found this at
http://code.google.com/p/ardupilot-mega/wiki/Wireless
Note: If you bought your Xbee modules from Sparkfun, rather than the official DIY Drones kit, please note that they sometimes ship with the wrong firmware. X-CTU may try to download new code, which will probably fail (cancel it). If your Xbee module is reporting that it's an XBP09-DM (rather than the correct XBP09-DP), do the following:
If you have the XBP09-DP modules, you must download XBP09-DP firmware. If you have downloaded XBP09-DM firmware, it will kind-of work, but will fail at the PID-config screen. X-CTU will report the module as XBP09-DM. Ignore that. Go to the Modem Configuration tab and do the following: Select Modem as XBP09-DP, Function Set XBEE-PRO 900, Version 1002. It is important that you select 1002. Version 1061 does not work at first. Click the Show Defaults button under the Parameter View. Click the Write button under "Modem Parameters and Firmware". Go back to PC Settings, change Baud to 9600. Click Query. It will show XBP09-DM. Ignore that. Go back to Modem Configuration. Click Read. It should show XBP09-DP as the modem. Version 1002. Now select Version 1061. Click "Show Defaults" Click on the DD parameter and set it to 0. This step is important, otherwise the 1161 firmware download will fail. Click "Write". Now your firmware is XBP09-DP Version 1161. Now change the baud rate and Modem VID, redownload and you should be good to go. It will still show XBP09-DM in the PC Settings Query. Don't worry about that.
has anyone used this device with a camera? like this one: https://www.sparkfun.com/products/8667 ? Also, if I plan on using two of these to communicate with each other, one with a high gain antenna and one with a smaller antenna, should I expect to get close to the"6 mile range"? would the range be less because both are not using high gain antennas? or would the range be greater (i.e. "up to 12 mile range")?
According to the datasheet it is not certified for use in Australia, but according to a list of Digi's Government Certifications it is. Are you able to start selling this module to Australia and New Zealand customers?
http://www.digi.com/technology/rfmodems/agencyapprovals
Does this module setting up like Xbee Pro 2.4? And does it use the same code? So i am asking if i can use this module exactly like usual xbee pro? Because i want to connect it to arduino but i didnt find any appropriate tutorial on this module, only on usual xbee..
PS why it is $13 cheaper than the same version with different antenna pin?
When I ordered this item there was ONE in stock, and I purchased it. Now I have to wait for it to be restocked again? Where is my item?