micro:climate Kit Experiment Guide
 bboyho,
  D___Run___
 Experiment 7: Logging to the MicroSD Card
Introduction
We are almost done with our whirlwind series of weather experiments. In this final experiment we will look at how to log all of this amazing weather data to a microSD card using the OpenLog.
Parts Needed
- 1x micro:bit board (Not Included with Kit)
- 1x Micro-b USB Cable (Not Included with Kit)
- 1x weather:bit carrier board
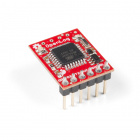
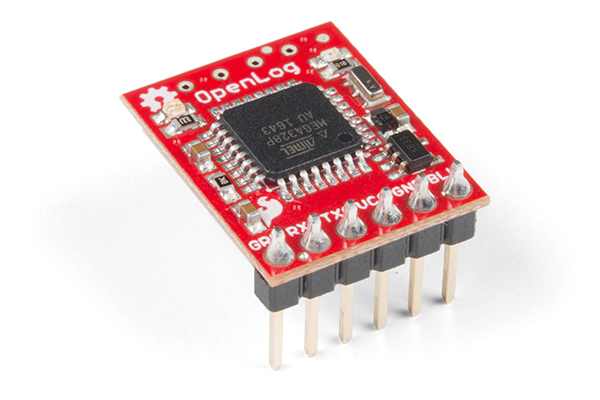
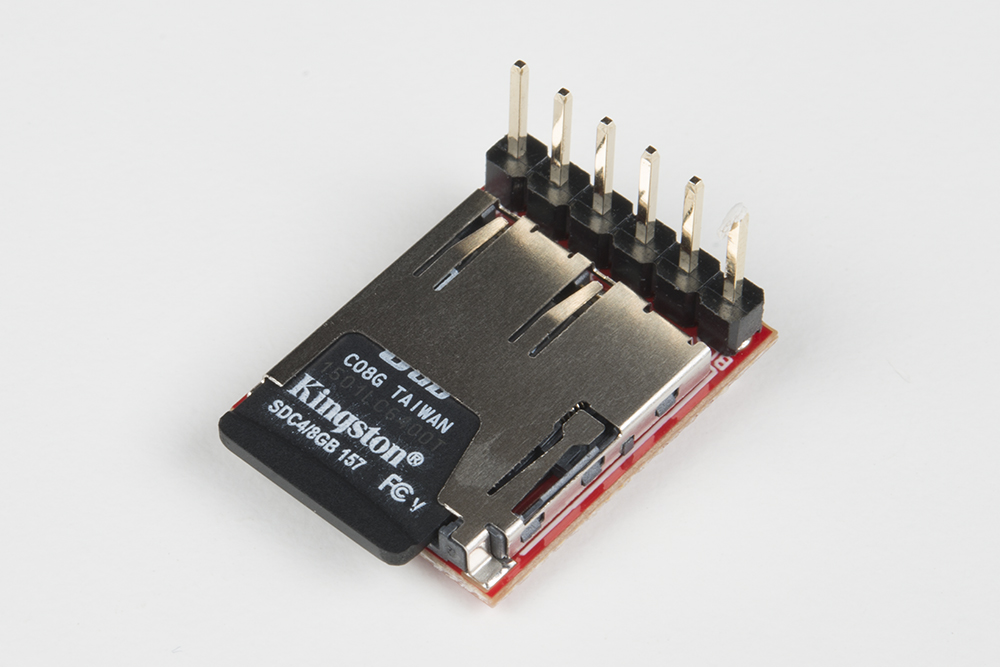
- 1x OpenLog with headers
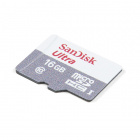
- 1x microSD Card (Not Included with Kit)
- 1x microSD Card USB Reader (Not Included with Kit)
Didn't get the kit? Have no fear! Here are the parts you will need to complete this experiment. You may not need everything though depending on what you have. Add it to your cart, read through the guide, and adjust the cart as necessary.


Suggested Reading
- OpenLog Hookup Guide --- The ups and downs of how to use the OpenLog
Introducing the SparkFun OpenLog
The OpenLog Data Logger is a simple-to-use open source solution for logging serial data from your projects. The OpenLog provides a simple serial interface to log data from a project to a microSD card.
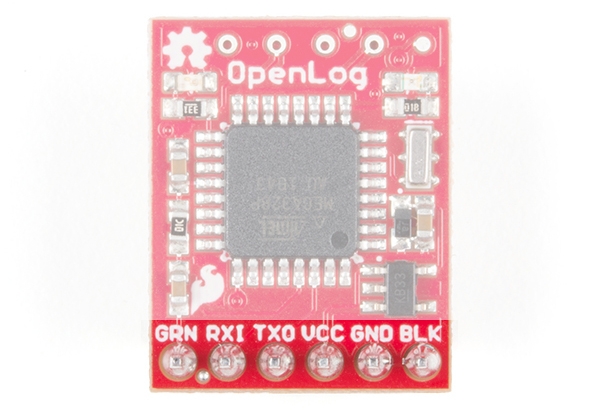
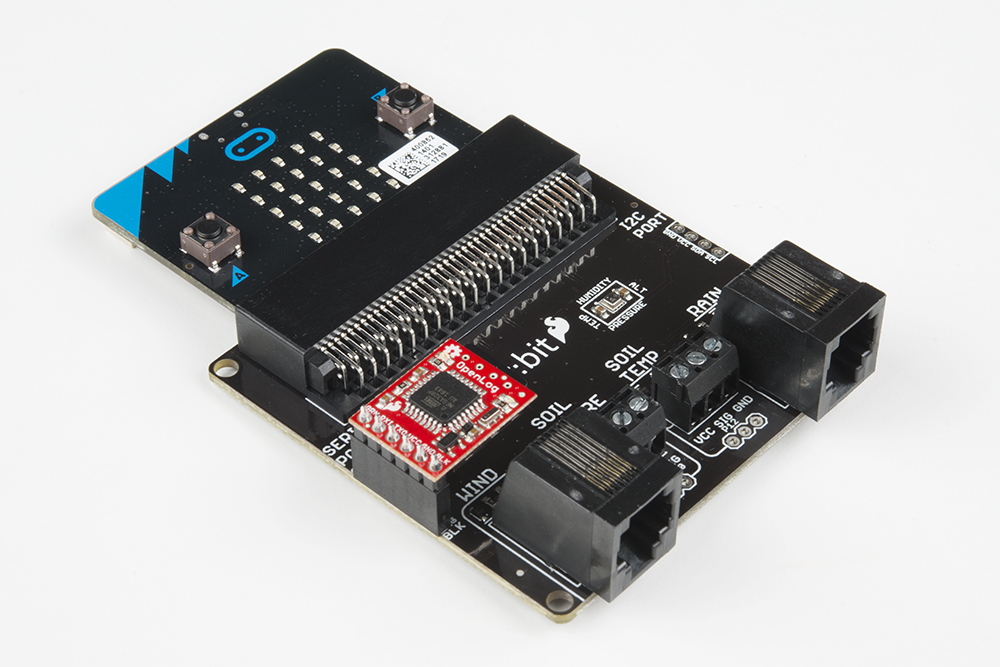
The primary interface with the OpenLog is the FTDI header on the board edge. This header is designed to plug directly into the weather:bit carrier board's serial port, which allows the micro:bit to send data over a serial connection to the OpenLog.
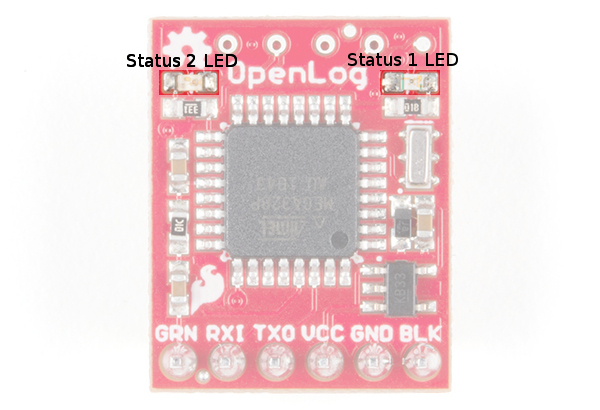
There are two status LEDs on the OpenLog to help you with troubleshooting.
- STAT1 --- This blue indicator LED toggles on/off when a new character is received. This LED blinks when serial communication is functioning.
- STAT2 --- This green LED is connected to Arduino D13 (SPI Serial Clock Line/ATmega328 PB5). This LED only blinks when the SPI interface is active. You will see it flash when the OpenLog records 512 bytes to the microSD card.
Hardware Hookup
You are going to love this! First thing is that you need to insert a microSD card into the OpenLog with the text side "up" as shown in the image below.
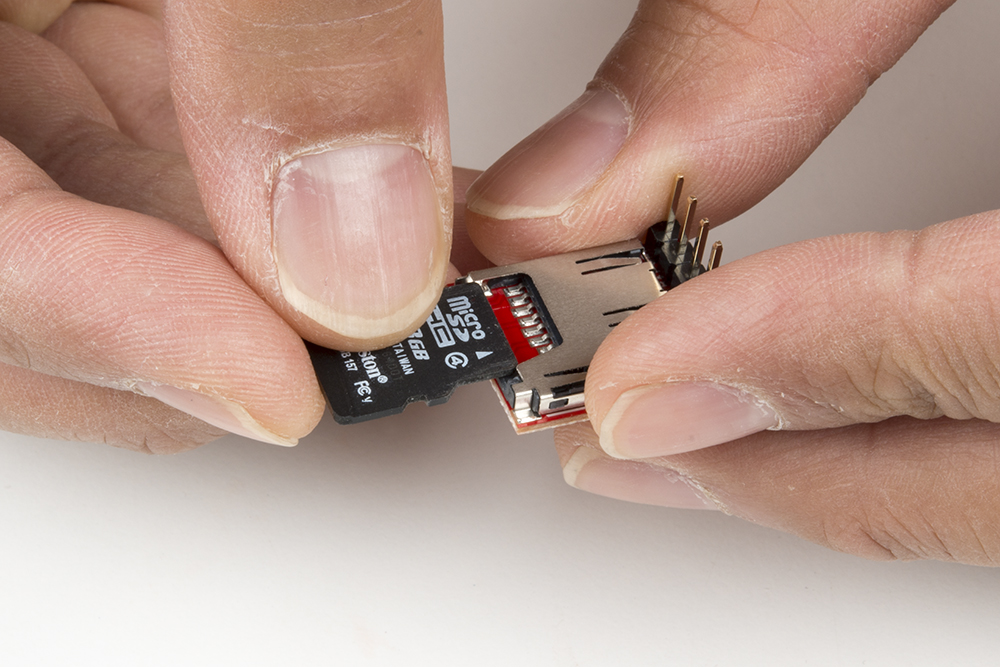
Make sure the card "clicks" into place and stays in place.
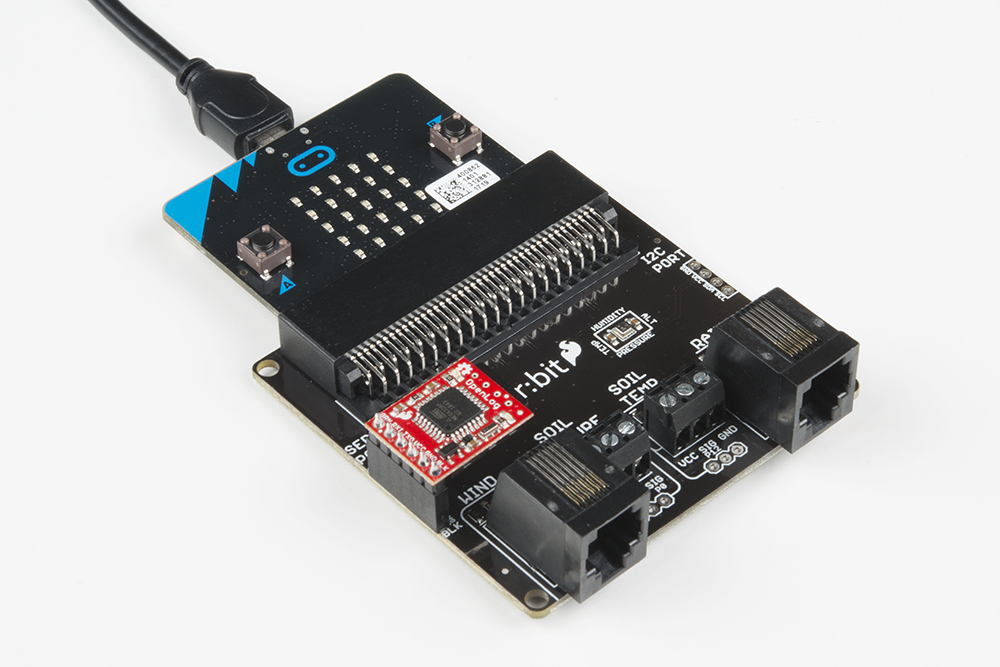
Next insert the OpenLog's pins into the serial port on the weather:bit carrier board as shown below. Make sure that all of the pins are aligned and inserted correctly. Offsetting these pins could end in damaging your OpenLog or micro:bit. Finally, if you haven't already, plug your micro:bit into the weather:bit. With that you should be good to go!
Running Your Script
Please open a browser window and navigate to https://makecode.microbit.org. This should open the MakeCode environment that you used to install the weather:bit extension.
Code to Note
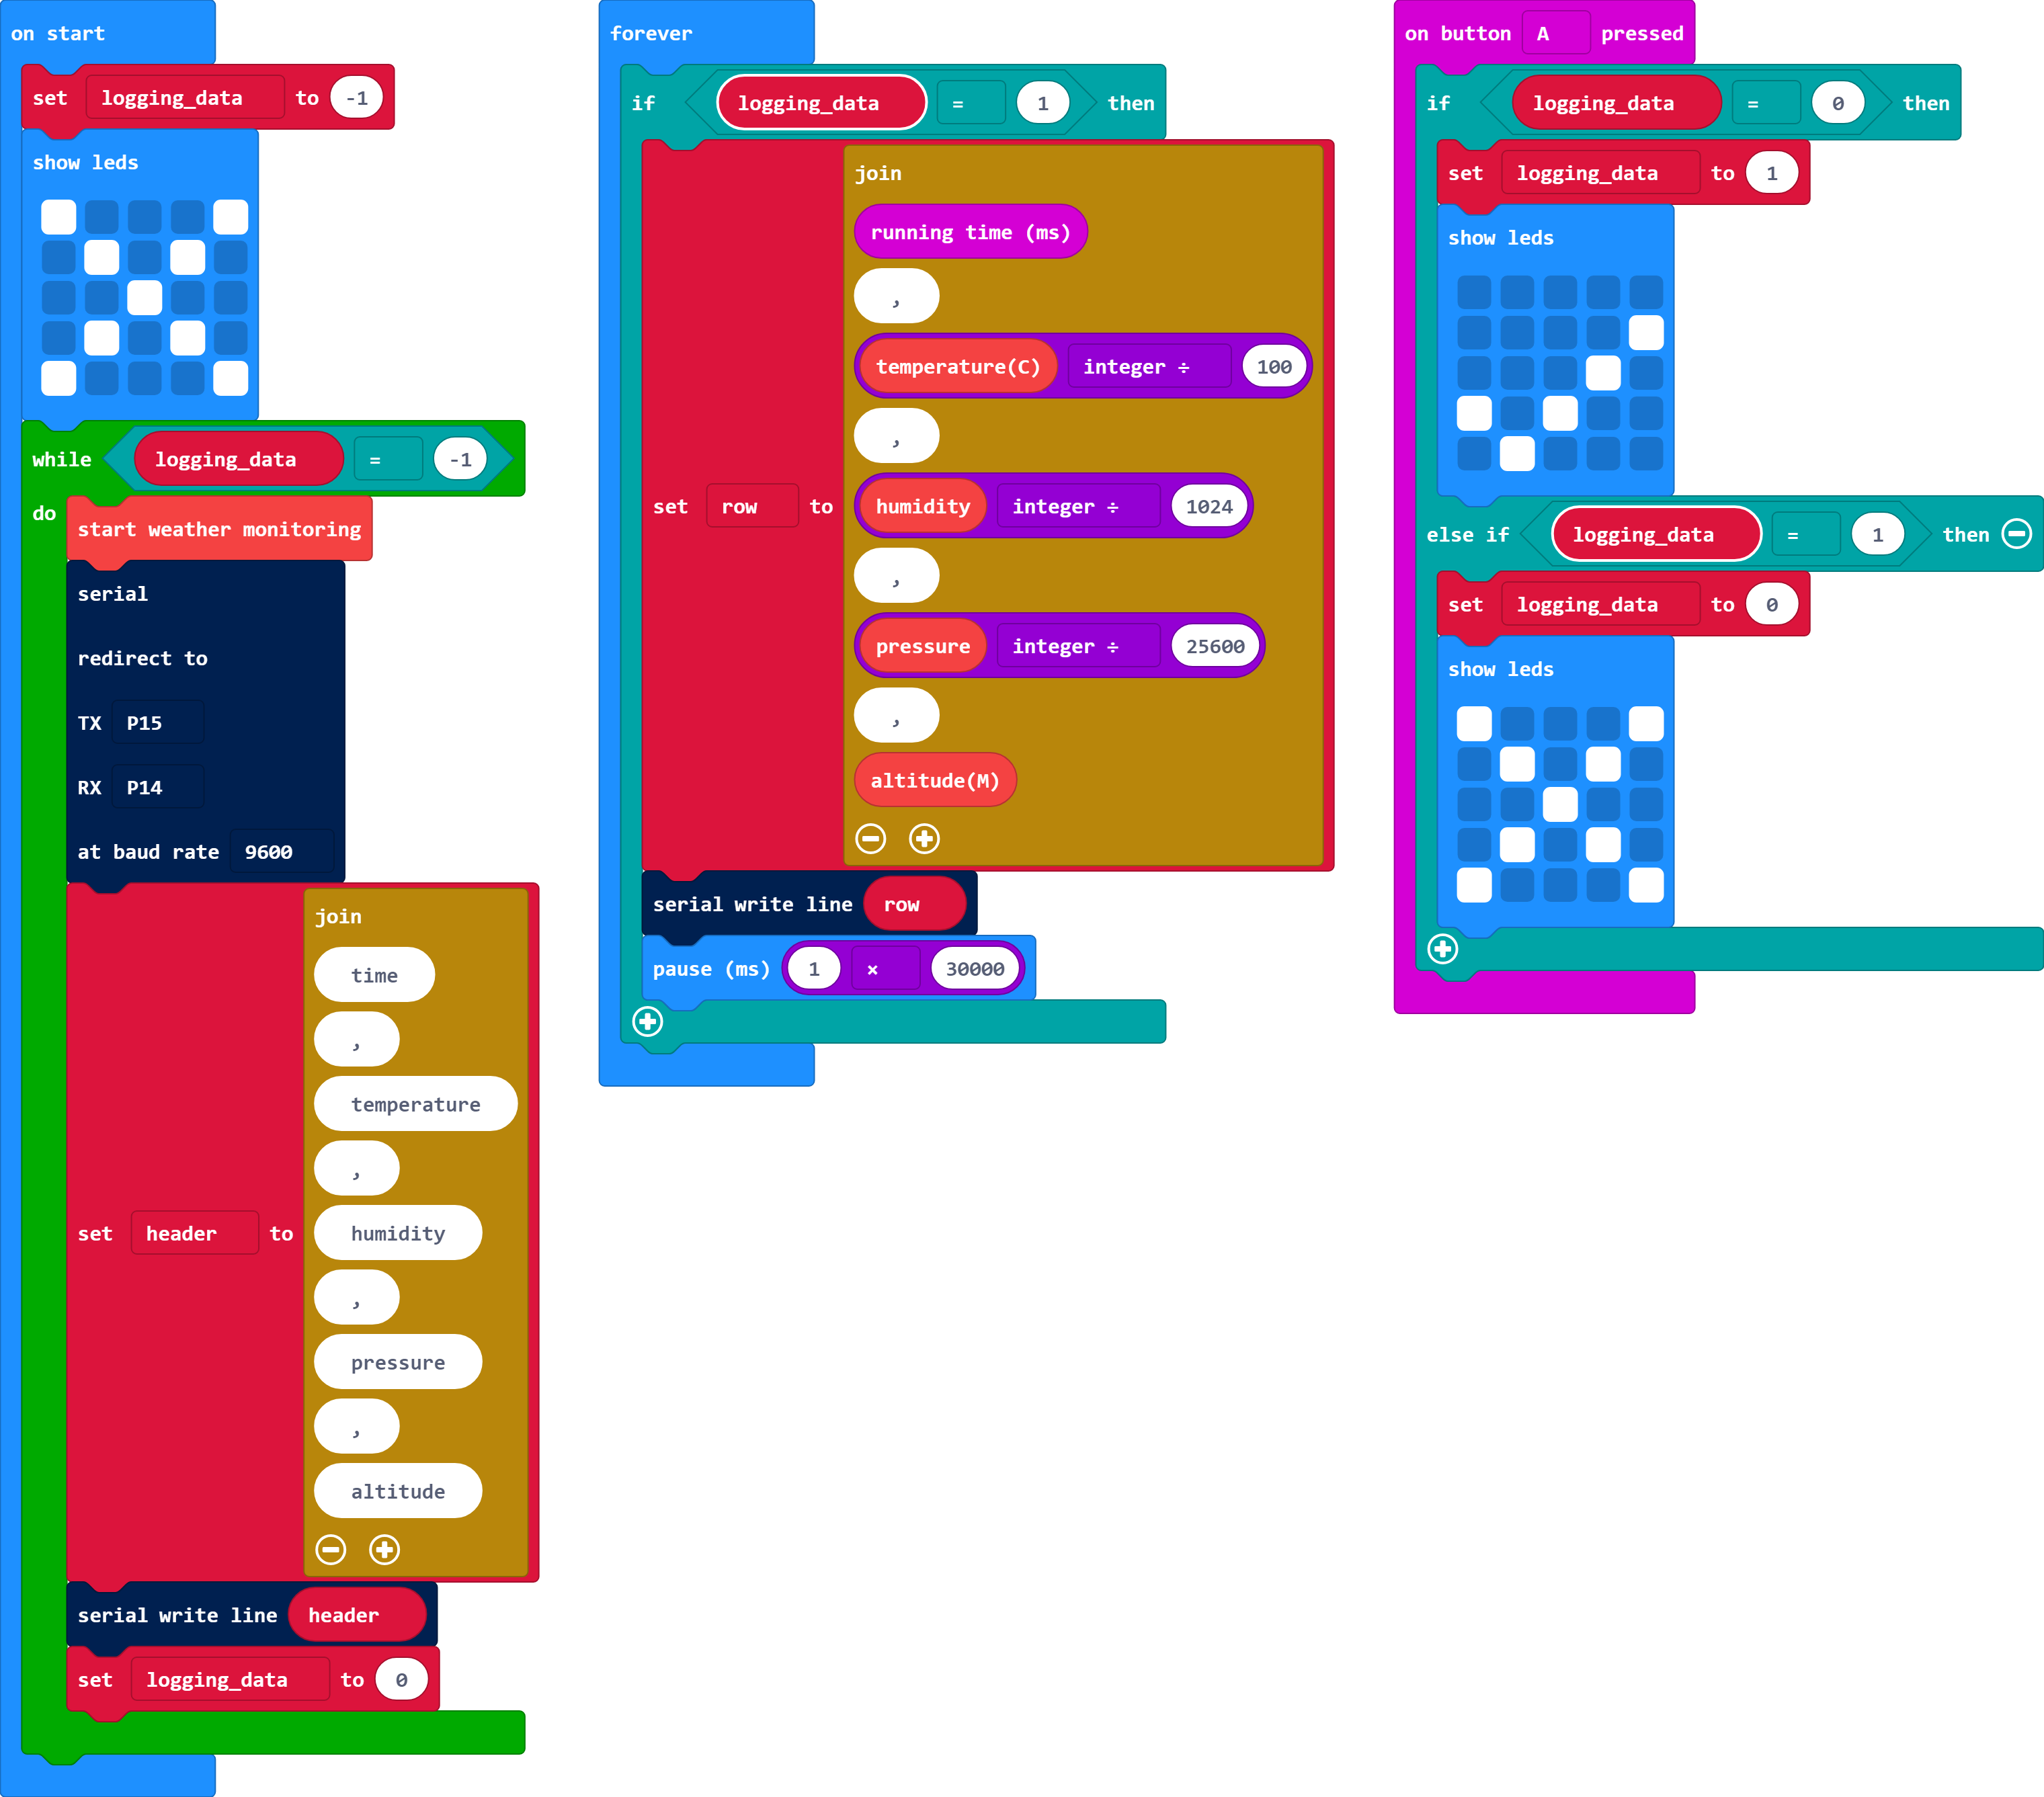
Logging_Data
We create a variable called logging_data and set it to -1 when the micro:bit starts up. For feedback, an "X" will appear in the LED array. The code will initialize and then wait until button A is pressed. After pressing on button A, we will change the variable to 1 to begin logging. For feedback, we will display a “✓".
Serial Redirect To
We use the Serial Port on the weather:bit board to write data to the SparkFun OpenLog. To do this we need to do some setup for the micro:bit to use it correctly. We do this through the Serial Redirect To block placed in our On Start block.
In the Serial Redirect To block we set the transmit (TX) and receive (RX) pins. In this case we use pins 15 and 14. We also set the baud rate which is the rate at which two devices "agree" to communicate at. The OpenLog is preprogrammed to communicate at 9600 baud, so that is what we will set it at.
Join
The join block is one of the most useful blocks out there. You use it to join pieces of data together to build a long string that you then store in a variable. For example for our header we stored comma separated names as a single variable called header. The join blocks standard size is 2 slots. To add more slots click on the gear button and drag more slots in place as you have with the if / else if statements in previous experiments.
Serial Write Line
To send data to the OpenLog we use the Serial Write Line block. This command sends whatever data you attach to it over the serial lines you have specified in your Serial Redirect to block with a carriage return at the end of it.
Running Time(ms)
The running time block returns the number of milliseconds that the micro:bit has been powered up and running the current program. We are using it as a timestamp for data logging since there is no access to a realtime clock.
Button Interrupt
The on button A pressed block will interrupt the code and change the logging_data. If the micro:bit is logging, we will set it to 0 to stop sending data to the OpenLog. If the micro:bit is not logging, we will set it to 1 to continue logging. The running time will continue counting even after we have stopped logging data.
What You Should See
When you power your micro:bit, you will eventually see an "X" on the LED array. Press the A button to start logging data every 30 seconds. A check mark will be displayed on your LED array. Let the program run for a couple of minutes and press the A button again. You will see an "X" again. It is now safe to remove the microSD card from the OpenLog.
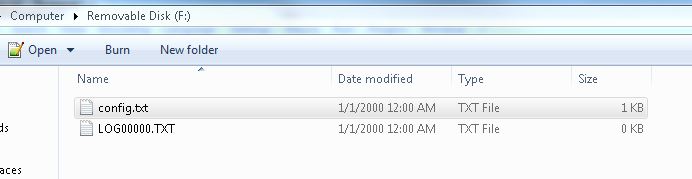
Now, using a microSD card adapter with the microSD slot on your computer or an adapter, open up the microSD card on your computer. You should see two files. One is a config file, which you can ignore. The other, which has a file name of "LOGXXXXX.txt," is what you are looking for; go ahead and open it.
The data in this text file is a Comma Separated Value (CSV) set of the data you sent it. The format is that the first line is the "header," which is the name of each "column." You see that our header is the following:
The header is followed by lines of values associated with each reading.
In fact, if you are a user of Google Sheets you can import this text file as a CSV and then graph these values pretty easily. We recommend this quick guide from Google on how to import a .txt file as a CSV into sheets.
Troubleshooting
Doesn't seem to be logging --- Make sure your openLog is oriented correctly in the Serial port.
The log has weird characters ---Make sure you have the serial baud rate set to 9600!
It still doesn't work --- Drop us a line, we would love to help you figure it out!