
The "Slap Method" for Through-Hole Rework
Soldering is an art. With practice, one can learn to easily assemble complex circuit boards with small-pitch SMD chips. Along the way, you learn several "tricks of the trade": techniques that are not immediately apparent, but make soldering much easier.
However, regardless of how long you have been soldering, you still make silly mistakes every now and then. You put a chip on with the wrong orientation, use an incorrect resistor value, solder headers on the wrong side of the board, etc. This requires rework, and the most frustrating rework scenarios involve through-hole parts. The solder must be completely removed pin-by-pin and the vias cleared of solder before a new part can be installed. This can require hours with a solder vacuum. There is hope, however, in what we like to call the "slap method" for removing solder. This is one of the tricks that can help with the headache of through-hole rework.
Disclaimer: this method is not for soldering beginners and is dangerous if done improperly. If you are new to soldering, attempt to use a solder vacuum instead of this technique. No matter your skill level, always wear safety glasses and in the case of this technique, cover any skin that might come in contact with solder. If you are brand new to soldering, be sure to read our Soldering 101 tutorial and build some experience before attempting this technique.
As an example, let's say you got a little excited with a new kit and soldered the headers on the wrong side of the board.
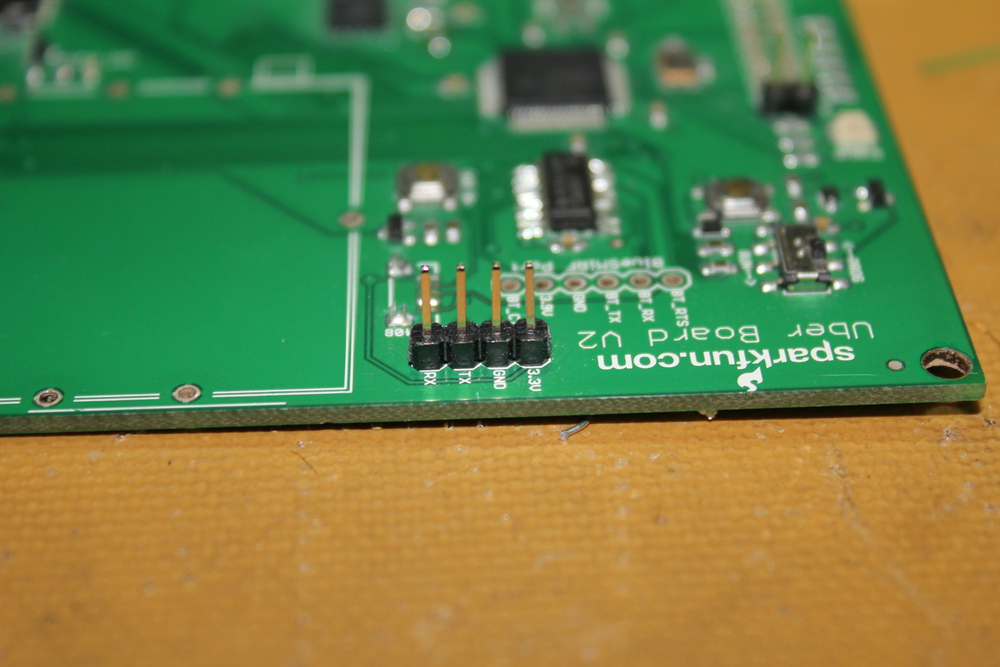
Urge to kill: rising...
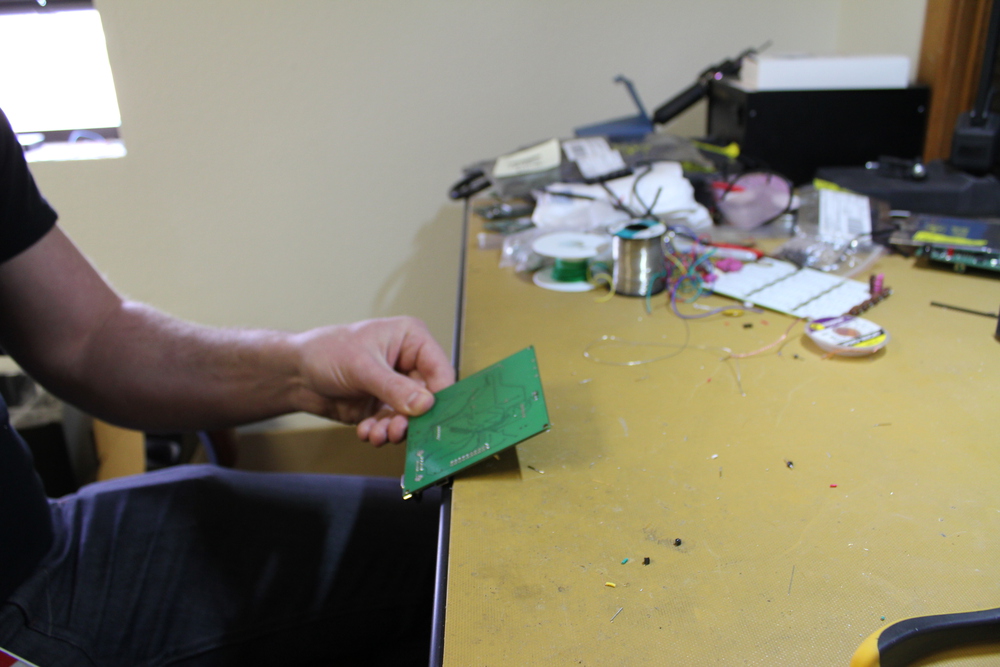
I've used a scrap board for the picture, so the headers are on the right way, but for the sake of the tutorial we're going to remove them anyway. The slap method can be used to remove a part without destroying the part, but headers are cheap and plentiful, so for illustration I'm going to go ahead and cut away the plastic bit to show what's going on. First I'll cut the headers with wire cutters where they would normally break-away.
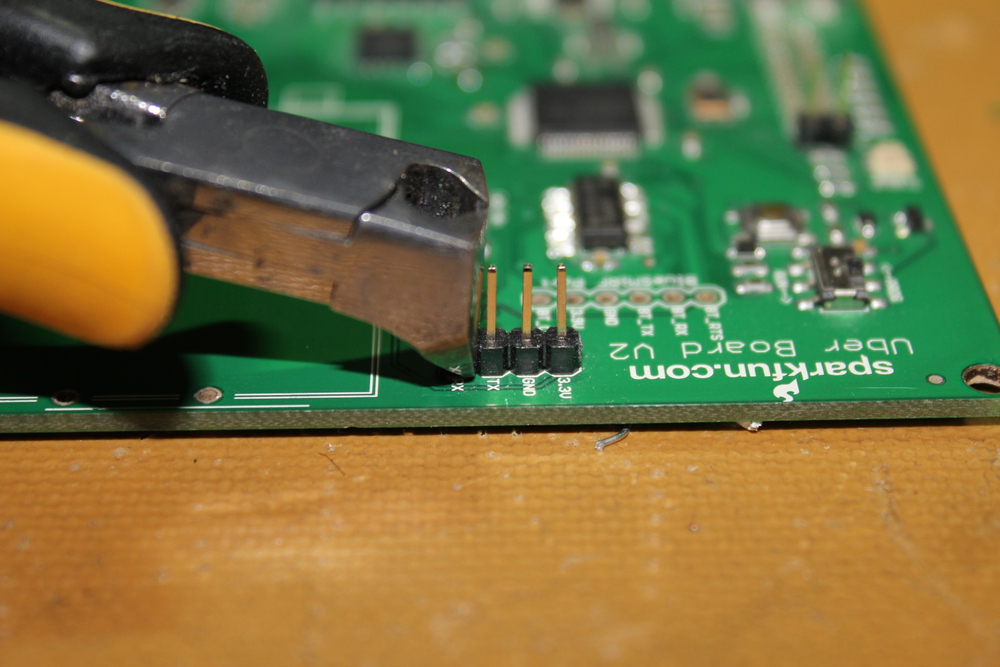
Now I can slide the individual plastic bits off to show just the bare metal. This frees the header pins, allowing them to be removed individually.
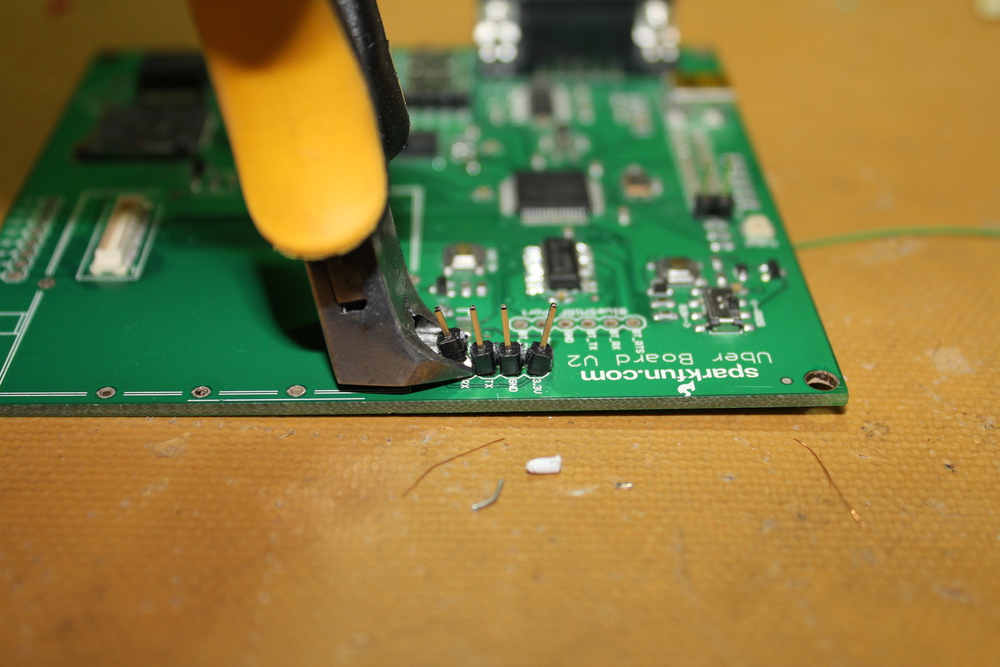
Now comes the tricky part. I turn the board over to work with the "short" side of the headers where they were originally soldered. I hold the soldering iron on the solder joint until the solder is melted.

Hold only until the solder is melted.
When the solder is liquid, I hold the board about six inches off the edge of my workbench, and gently (but firmly!) "slap" the edge of the board on the table.

Hold until the solder in the via is melted,
...and then firmly "slap" the board on the edge of the workbench.
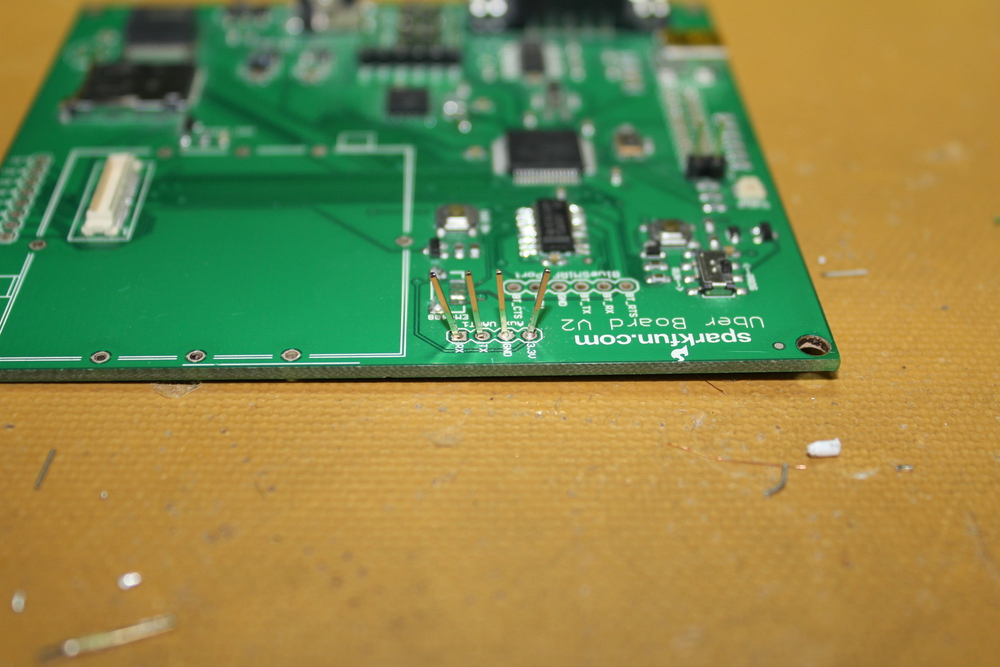
When the board hits the table, the board stops, but the liquid solder (and hopefully the header pin) comes out onto the workbench. The solder is dangerously hot, so once again, make sure to wear protective goggles and clothing covering anywhere the solder might accidentally fly. Once the solder has left the via, it will become solid again in about a second, so it wont be too hot for long. If all the solder or the header pin doesn't come out of the via, simply repeat the process. I do this for each of the pins until all the vias are clear of solder.
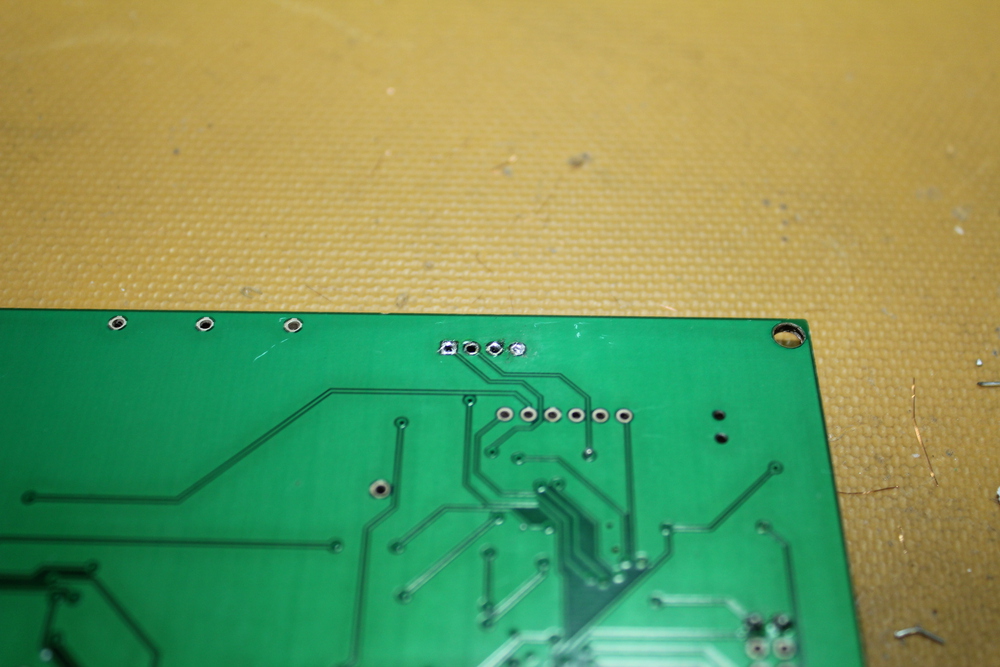
Three of four vias cleared.
It is important to note at this point that one should never insert the tip of the soldering iron directly into the via. This can easily rip the pad off the outside of the via, which is a much bigger problem than a via with too much solder. Always remember to only touch the outside of the via with the soldering iron.
Once all the solder is cleared from the vias, you can re-install some new headers (on the correct side this time!). And you've completed in five minutes what would have taken much longer with a solder vacuum tool.
This can be a bit confusing if you're just going from the pictures, so please be sure to check out the video below for full action-shots!
I'd suggest two things to help with this kind of PTH removal.
When you cut the plastic between headers, don't cut the pins off. Heat the solder joint and pull out the pin with pliers on the other side.
To clean holes that have solder in them, strip a half inch section of stranded wire (22-26 AWG for these holes), and use it as a thin solder braid. Heat the wire as you slide it into the solder joint, and it will clean the entire hole in one sweep in and out.
I use this technique a lot! It's great for clearing PTH holes. The only down side is that I often have to slam the board fairly hard against my desk, leaving my officemates are wondering what the heck I'm doing.
For those of us working desk jobs, a firm slap on the desk is a common occurrence. It is clear that Sparkfun has a different culture and therefor that sound may take some explanation.
Those cutters/end nippers in the second and third pictures look handy! Does anyone know the make or model number?
This is so handy. There is nothing as rewarding as getting a gob of splattered solder all over your desk.
I always worry that I'm going to smack a component and crack it.
Similarly, instead of slamming the board on the desk, you can just blow the solder out with your mouth. Try it, it takes surprisingly little to remove the solder. Also works when you over-tin the end of a wire and you need to remove some solder, or if you solder a few pins together on a surface mount chip, or bridge pads on perfboard/veroboard.
im new to soldering but i even know how to and have done that.
I've been using this technique for years, even before I had used a solder sucker or solder wick! it works great. If you use a hot air gun, it works for SMT too. I used to use a paint stripping gun then slam the board on a brick (In the back yard of course) This got lots of SMT's off old boards, didn't fair too well for the PCB though ;)
Oh and the amount of force I had to use was tiny - tilted up my panavise maybe 3/4 of an inch, slapped it gently against my desk and the header pins popped right out! Sweeeeeeet...
I just used this trick to remove some male headers I had mounted on an Xbee board to replace with some female headers. Worked like a charm!
Thanks Spark Fun!
Personally I would never use this "slamming technique". Get a Hakko 808! Well worth if you do a lot of desoldering. Doesn't stress the board if used properly and it's pretty easy to clean and maintain. had mine for several years now.
awesome trick!
I sometimes just melt the solder and push the old part out with the new one I am putting in the right orientation.
Yeah, this is my method as well. I would prefer this to the slap method if you are reorienting a header or something else pth. If you are replacing defective stuff then I would go for hang the hemostats from the part, hold board upside down, heat the pins so when the solder melts, the weight of the stats will pull out the part. :)
I like this idea of "Cool/Helpful Tricks." More to come?