Briscoe
Member Since: April 2, 2009
Country: United States
-

This is great! I just started drawing up a circuit like this for my battery powered projects. This one has some very nice features, and the fact you can still charge the lipo battery through the body diode when off is huge.
I have one recommendation for when you design your next board. Can you add another cut-able jumper to disable the hold to power off part of the circuit? This would allow users to also use SPDT on/off switches. I have an application where the user could turn it off at any time with the power switch, but the arduino needs to do one last thing before officially shutting down. This can also be useful if someone does not need the auto power off and can trust their Arduino to turn itself off, but with some arbitrarily long software controlled time.
-

I was wondering why this battery replaced this one: https://www.sparkfun.com/products/retired/8483. The other battery had great reviews, what is different about this battery to justify a new product number and page? They appear to be almost identical.
-

Schematic shows the spi lines are all that is needed, all you would need to do is hookup spi to an arduino and communicate with the OLED.
-
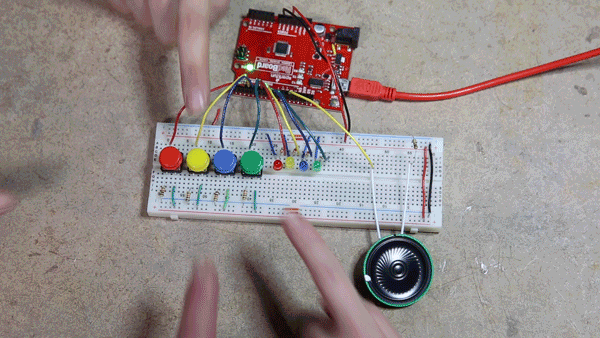
Yep pause code is irrelevant and can be cut completely (if statement check too) from the program and it would work the same :-)
Also, if you want to guarantee that only one of the button codes was run each loop around, the button checks should be inside if and else ifs instead of all independent ifs.
If else if code is great for things you know are mutually exclusive, if you found one to be true you can skip checking all the rest and guarantee only one is run ;-)
-

Death to the Users!
-

Guide for dealing with your potentially self aware robots:
- Keep your distance. Use shielding and saftey glasses when possible.
- Try communicating with it, and clearly describe your intentions.
- If all else fails: Glare at it, and threaten to reprogram it.
-

I would like to see this topic continued! RTOS are used in so many things, you got to start somewhere right :-)
I have been meaning to download Atmel Studio, there is a plugin to include FreeRtos to the IDE with some fancy analysis tools showing the time slicing of the tasks and the simulated load on the processor. It might be worth checking out and writing a article on it :-)
-
This has been on my todo list for months now! Glad to hear it works well! :-)
Could you post the link to what you used for your initial RTOS setup and documentation? Also, did you get it setup with the Arduino IDE or Atmel Studio?
-

The pdf only is a shame, my laser cutter is geared toward .dxf cutting also.
Doing some poking around on the internet tho, I found this python script that lets you generate a box (castled or un-castled) directly to a dxf. :-) Python box maker dxf
It claims it only works in inches, but poking through the code (not alot there, very simple python) it opens up a template.dxf file then plots the points in a copy of the template. If the template file was in mm, it just might also work. Im going to add updating this script to my to-do list so I can specify mm boxes :-)
-

Not quite, CMD should be hooked to Mosi.
http://elasticsheep.com/2010/01/reading-an-sd-card-with-an-atmega168/
Here is the connections I used to get it working, used the CardInfo example sketch and an arduino due to test the system
**************************************
BREAKOUT  -     ARDUINO
**************************************
D3               -     chipSelect  (default pin 4 in sketch)
CMD            -     MOSI
CLK             -     SCK
D0               -     MISO
VDD            -      3.3v
GND            -     GND


