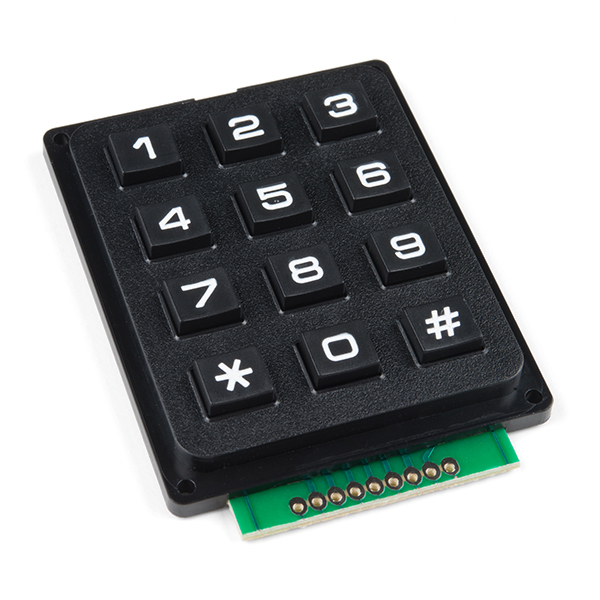
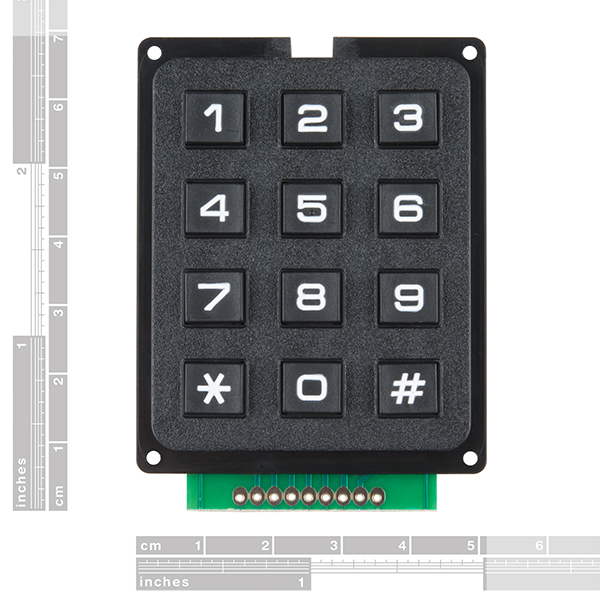
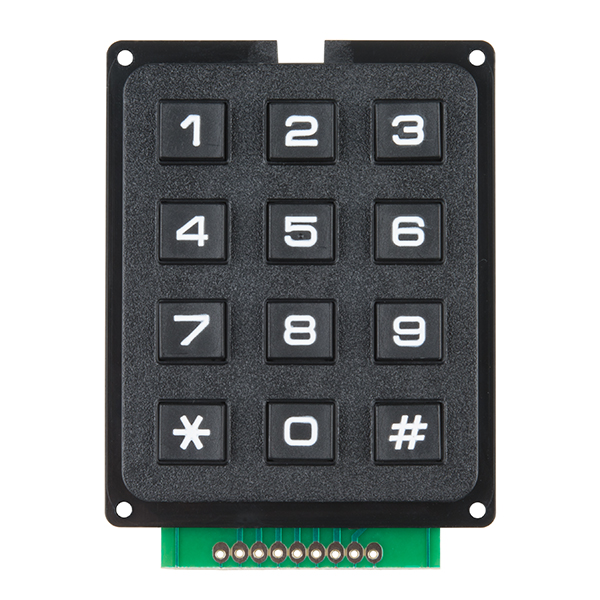
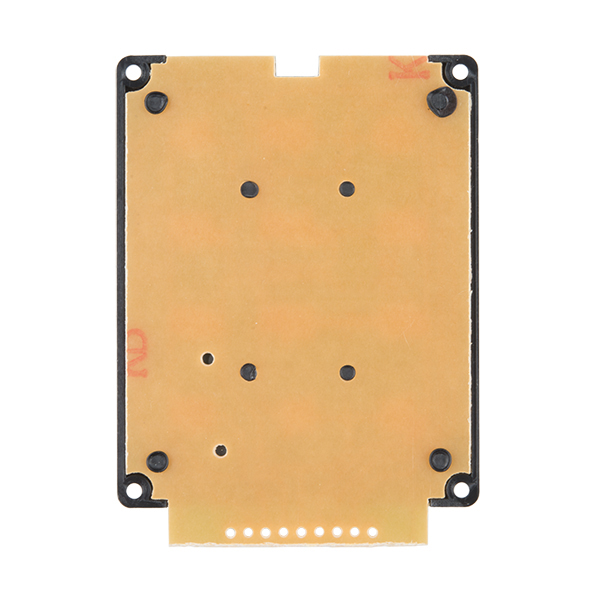
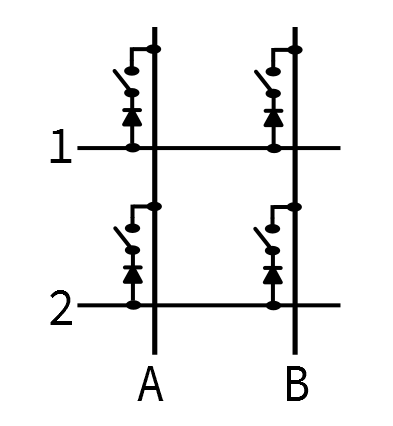
This is a basic 12 button keypad that has been designed for easy user input and functionality. The buttons are set up in a matrix format. This allows a microcontroller to 'scan' the 7 output pins to see which of the 12 buttons is being pressed.
Each of the keypad's 12 buttons has been labeled 1, 2, 3, 4, 5, 6, 7, 8, 9, 0, *, and # and has been formatted to into the same layout as a telephone keypad with each keypress resistance ranging between 10 and 150 Ohms. We've also made sure to create an updated pin-out for this keypad since it has been changed from the previous version. The pin-out can be found in the Documents tab above.
Keypad - 12 Button Product Help and Resources
SX1509 I/O Expander Breakout Hookup Guide
September 24, 2015
Learn how you can use the SX1509 to control 16 LEDs or up to 64 buttons with just two pins.
Resources and Going Further
Looking for an example, check out the old tutorial that uses the keypad with a Pro Micro:
Note: It is suggested to add input pullup resistors so that the pins are not floating.
- For additional information on Matrix Scanning, check out the Button Pad Hookup Guide: Background - An Introduction to Matrix Scanning for an application circuit when using a button matrix.
- There is also an Arduino.cc keypad library that you can use.
Pinout for Keypad - 12 Button
You can view the pinout for this keypad here.
Core Skill: Soldering
This skill defines how difficult the soldering is on a particular product. It might be a couple simple solder joints, or require special reflow tools.
Skill Level: Noob - Some basic soldering is required, but it is limited to a just a few pins, basic through-hole soldering, and couple (if any) polarized components. A basic soldering iron is all you should need.
See all skill levels
Core Skill: Electrical Prototyping
If it requires power, you need to know how much, what all the pins do, and how to hook it up. You may need to reference datasheets, schematics, and know the ins and outs of electronics.
Skill Level: Competent - You will be required to reference a datasheet or schematic to know how to use a component. Your knowledge of a datasheet will only require basic features like power requirements, pinouts, or communications type. Also, you may need a power supply that?s greater than 12V or more than 1A worth of current.
See all skill levels
Comments
Looking for answers to technical questions?
We welcome your comments and suggestions below. However, if you are looking for solutions to technical questions please see our Technical Assistance page.
Customer Reviews
3 out of 5
Based on 2 ratings:
Both with column 369# not working
Both with column 369# not working
Sorry to hear that your 2 units are not working properly there. Send us an Email and we can help you out here: https://www.sparkfun.com/returns
Works perfectly for my project!
Replacing the controls for a defunct oven and this works great with my Arduino. Easy to use and easy to program. My only regret is the PCB board sticking out from the bottom as it slightly complicated how I mounted the keypad. I would've preferred a ribbon cable out the bottom or something else, but, this is what it is and it's working great so, yeah.

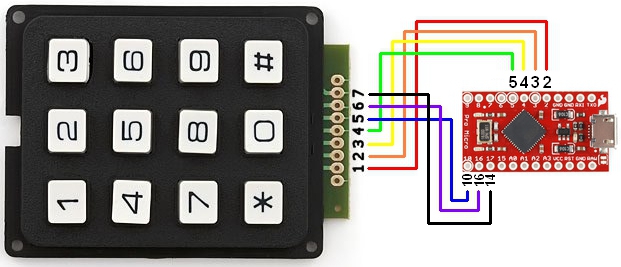
So I have this hooked up an arduino Mega, using the Keypad library V 3.1.1. Keys 1, 4, and 7 don't seem to work...* does however, so I think I have it hooked up correctly. Possibly a bad unit?
Question: It seems upon first glance that this keypad might be weather resistant. Is is keypad IP rated and if so what is the rating?
Suggestion: it would be nice to have a version with the pcb sticking out the top rather than the bottom, from an industrial design point of view. That way you don't have to reach over any wires or route wires under the keypad, etc.
Perhaps there's a way to move the actual keys, and account for this in the code. (Would be a plus for using custom key text too.)