- Home
- Product Categories
- Monochrome
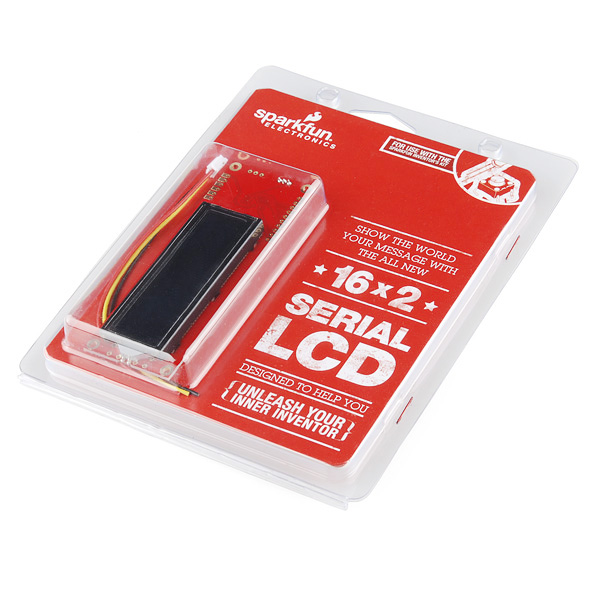
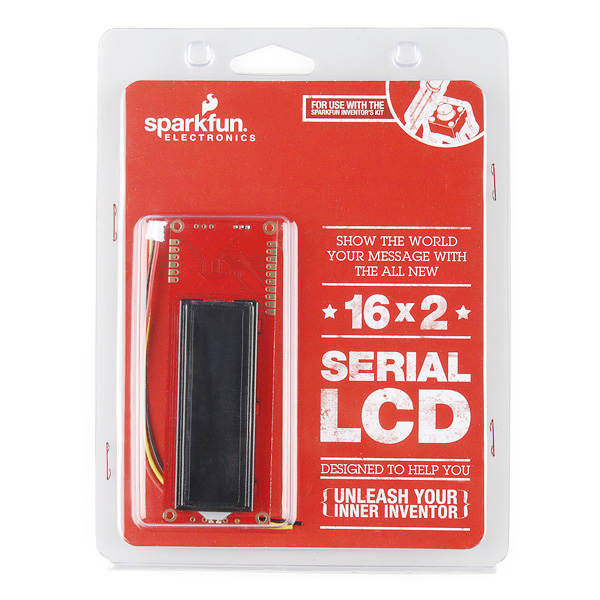
- Serial LCD with Cable - Retail

Serial LCD with Cable - Retail
This retail package includes a 16x2 serial LCD plus a cable in retail packaging. This is the latest evolution of our serial LCD. Included on a single board is a 16x2 LCD and an embedded circuit based around a PIC 16F88. The on-board PIC takes a TTL serial input and prints the characters it receives onto the LCD. The installed firmware also allows for a number of special commands so you can clear the screen, adjust the backlight brightness, turn the display on/off, and more.
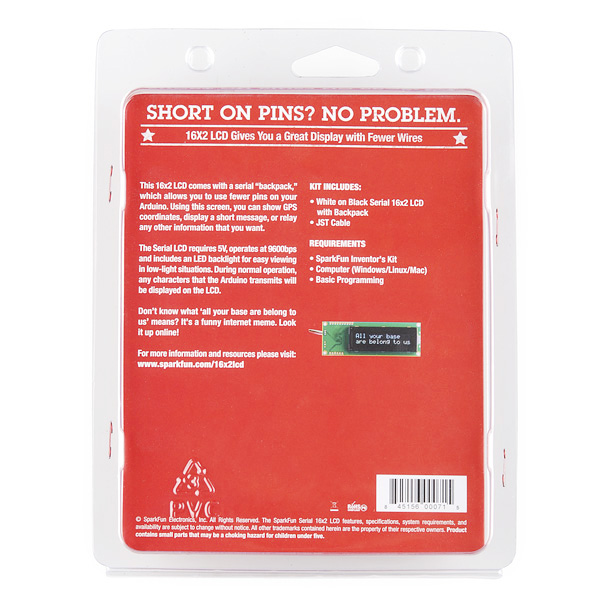
Communication with SerLCD requires 5V TTL serial at a default baud rate of 9600bps (8-N-1). You can adjust the baud to any standard rate between 2400 and 38400bps. The power (VDD), ground (GND) and RX pins are all broken out to both a 0.1" pitch header as well as a 3-pin JST connector.
SerLCD has the ability to dim the backlight to conserve power if needed. There is also a potentiometer on the back of the display to adjust the contrast.
This LCD makes for a great gift, because it can be used for so many different projects! For more gift ideas check out the SparkFun Gift Guide!
- Embedded PIC 16F88 utilizes onboard UART for greater communication accuracy
- Adjustable baud rates of 2400, 4800, 9600 (default), 14400, 19200 and 38400
- Operational Backspace
- Greater processing speed at 10MHz
- Incoming buffer stores up to 80 characters
- Backlight transistor can handle up to 1A
- Pulse width modulation of backlight allows direct control of backlight brightness and current consumption
- All surface mount design allows a backpack that is half the size of the original
- Faster boot-up time
- Boot-up display can be turned on/off via firmware
- User definable splash screen* PCB: 103x36mm
- LCD: 71.4x26.4mm
Serial LCD with Cable - Retail Product Help and Resources
Core Skill: DIY
Whether it's for assembling a kit, hacking an enclosure, or creating your own parts; the DIY skill is all about knowing how to use tools and the techniques associated with them.
Skill Level: Noob - Basic assembly is required. You may need to provide your own basic tools like a screwdriver, hammer or scissors. Power tools or custom parts are not required. Instructions will be included and easy to follow. Sewing may be required, but only with included patterns.
See all skill levels
Core Skill: Programming
If a board needs code or communicates somehow, you're going to need to know how to program or interface with it. The programming skill is all about communication and code.
Skill Level: Rookie - You will need a better fundamental understand of what code is, and how it works. You will be using beginner-level software and development tools like Arduino. You will be dealing directly with code, but numerous examples and libraries are available. Sensors or shields will communicate with serial or TTL.
See all skill levels
Core Skill: Electrical Prototyping
If it requires power, you need to know how much, what all the pins do, and how to hook it up. You may need to reference datasheets, schematics, and know the ins and outs of electronics.
Skill Level: Competent - You will be required to reference a datasheet or schematic to know how to use a component. Your knowledge of a datasheet will only require basic features like power requirements, pinouts, or communications type. Also, you may need a power supply that?s greater than 12V or more than 1A worth of current.
See all skill levels
Comments
Looking for answers to technical questions?
We welcome your comments and suggestions below. However, if you are looking for solutions to technical questions please see our Technical Assistance page.
Customer Reviews
No reviews yet.
i couldnt find the sda and scl output pins..i dont know will it work with i2c..but there is i2c output on pic controller..the schematic not showing the pins correctly..i couldnt understand.
I just purchased this, and have a working PIC18F2550 proto board. But when I send data all I see are strange vertical bar patterns (similar to a pair of '|' very close together) instead of characters. One of these patterns (looks like a custom character) appears each time I send a char to the display. My PicBasic code is very simple. I'm running a 4 Mhz osc.
I bought this Serial LCD display from Microcenter for my Arduino and ended up playing around with it in Windows using LCD Smartie and it works pretty nice. In order to drive the LCD display, you will need to purchase a FTDI breakout or cable that also provides +5VDC
I'm using the following: LCD Smartie: http://lcdsmartie.sourceforge.net/ Fryar's Sparkfun SerLCD driver: http://lcdsmartie.fryar.org/serlcd.php FTDI Breakout: http://www.sparkfun.com/products/9716
Connect the Red lead to +5v on the breakout, the black lead goes to GND, and the yellow lead goes to the TX pin of the breakout (Breakout TX to LCD's RX).
Fire up LCD Smartie and in the right hand corner, specify Sparkfun.dll and adjust your comms. parameters as needed. Restart Smartie and it should work.
The only down side is that the driver won't always update if you're actively making changes to the "screens" that LCD Smartie shows. To fix, just restart LCD Smartie after your changes and you're good to go. This is a pretty cheap solution to giving a headless server a LCD display for stats monitoring and it works very well. The only way it could get cheaper is with a parallel port-based HD44780 display of the same size.
Alternatively, if you are wanting to just play around with the LCD itself and you have an Arduino but no spare FTDI chip, you can do this by putting the Arduino into shutdown (load an empty sketch) and then attach the yellow lead to TX on the Arduino (pin 1). This will allow your computer to talk to the display using the FTDI programmer as a simple serial port to try it out.
Absolutely none of the examples work out of the box anymore. NewSoftwareSerial has been incorporated into arduino proper, but of course they changed it when they did so, so none of the examples on the Internet actually, you know, work. This is pretty confusing to a beginner.
Just a little advice if you plan to use this with an Arduino. If you are using the NewSoftSerial library to control the display and you are also going to control a servo with the Arduino, don't use the normal Arduino servo library. It is not compatible with the NewSoftSerial library. If you are going to use NewSoftSerial, try using PWMServo instead.
In the datasheet it says to set the splash screen send the special charter 124 followed by "j". What is ? I haven't been able to get this to work.
I have ported the LiquidCrystal library to work for serial displays and added new functions to it. I added a function to easily set the splash screen for you. You can check out my code here http://arduino.cc/playground/Code/SerLCD
Comments and suggestions are welcomed.
some questions: 1) can this be inserted to a breadboard and then plugged into an arduino to be conrtolled
2) does this product need building
1.) the wires can be plugged into a breadboard, but you might just want to plug them directly into the Arduino.
2.) this is not a kit, there is no assembly required.
Is there an updated schematic for this version? The current link is for v2.
The packaging in the image says this display is White on Black... Is this true?? or is it just a stock image and I could really get any color??
"This is the latest evolution of our serial LCD."
What has been changed since the last version?
Is there a reason why you still fail to support the definition of the custom characters? They are great for graphs, progress bars etc.