Photon Weather Shield Hookup Guide
This Tutorial is Retired!
Note: V11 of the Photon Weather Shield utilizes the Si7021 for humidity and temperature sensing as opposed to the HTU21D.
View the updated tutorial: Photon Weather Shield Hookup Guide V11
 Joel_E_B
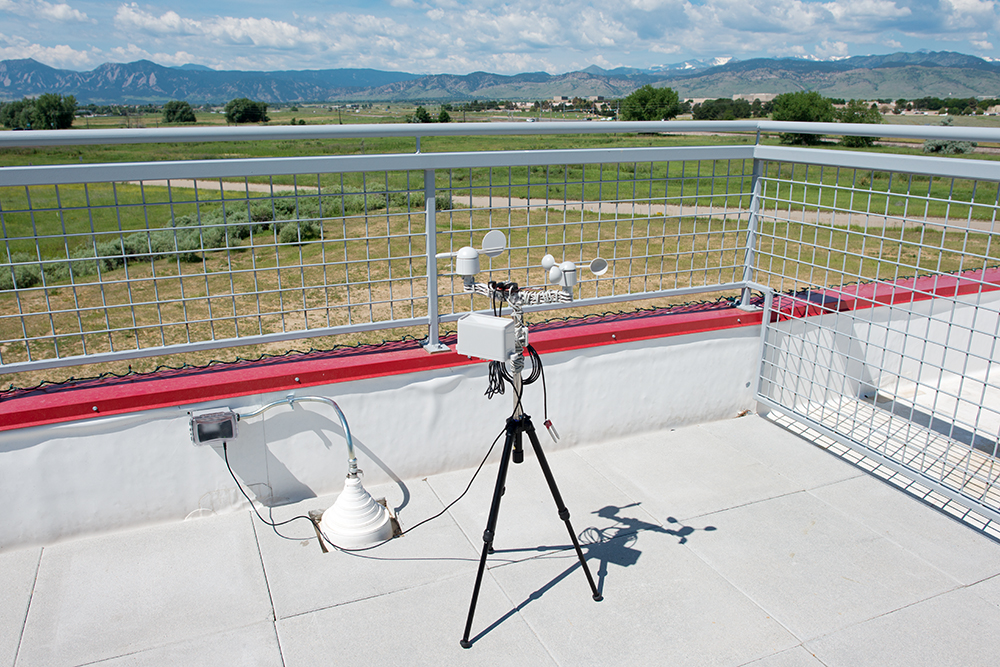
 Example 4: Internet-connected Weather Station
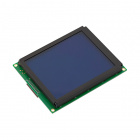
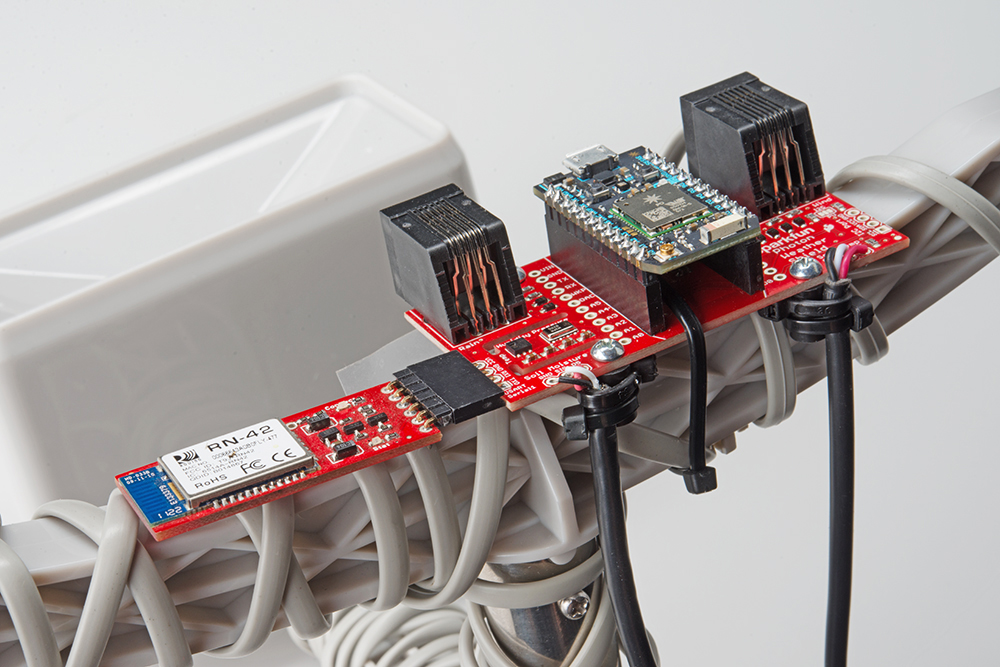
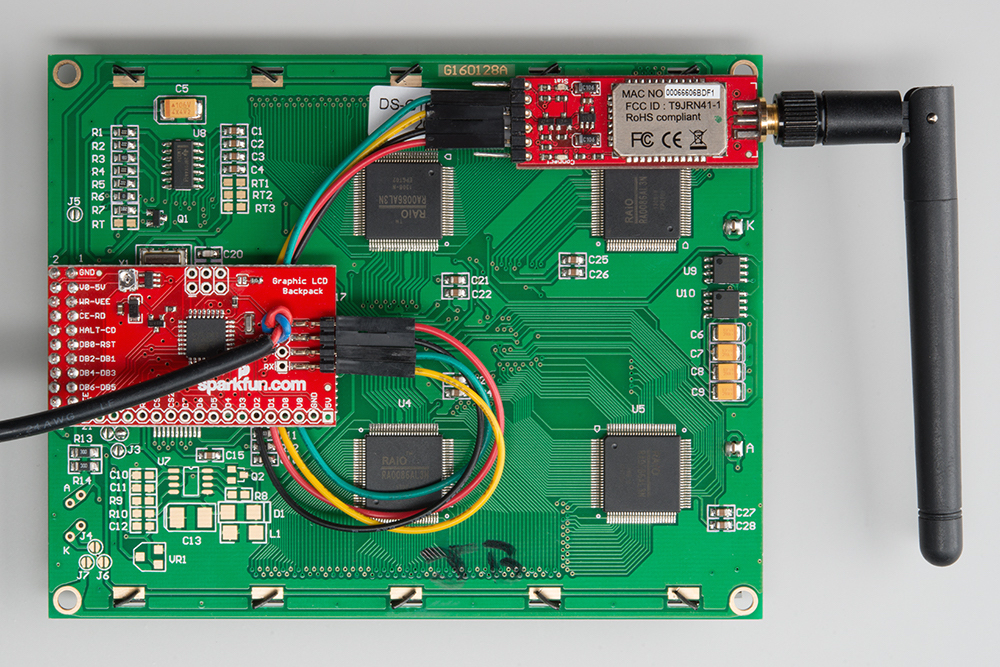
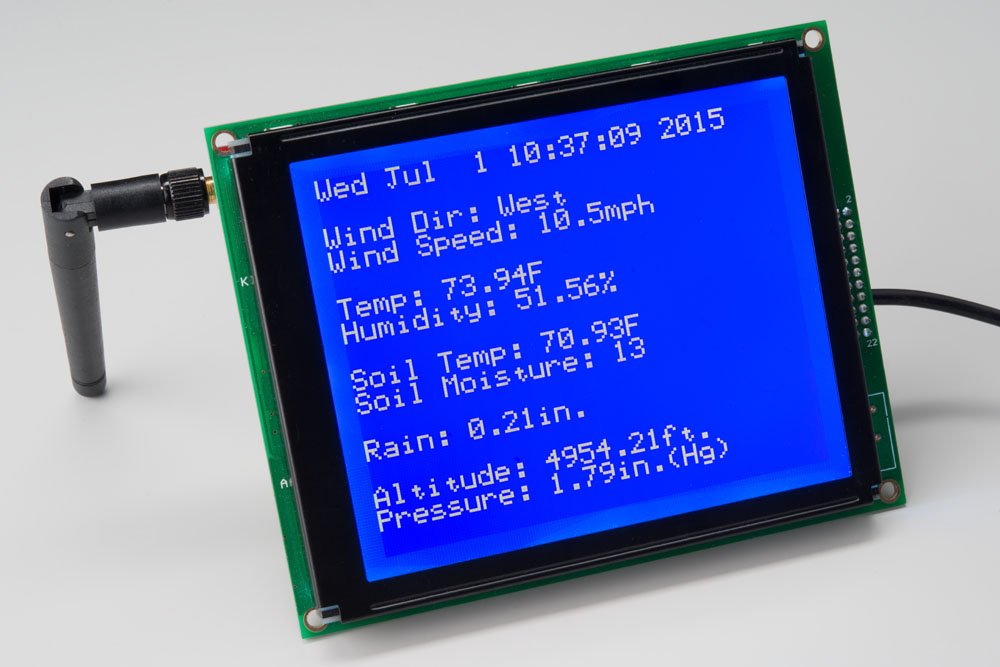
All we've learned so far has been to help prepare us for the challenging yet rewarding task of creating your own weather station connect to the Web. This example will build off all the previous examples. We'll also be adding a Serial Graphic LCD connected to the Weather Shield via a Bluetooth connection so you can collect data online as well as having a monitor indoors that prints live weather data.
Required Materials
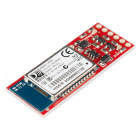
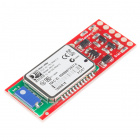
To follow along with this example, you'll need a few more components. There are few different options for creating such a connection.
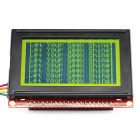
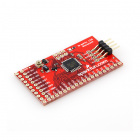
Configure the BlueSMiRFs to connect to one another automatically at 115200 baud. If you need help, we have a BlueSMiRF tutorial that covers that information. Connect one Bluetooth module to the Serial Graphic LCD Backpack, and connect the other to the Weather Shield. The LCD should also be set to 115200 baud.
If you're using Particle Build, grab all the previous libraries plus a new one, the SparkFun Serial Graphic LCD Particle Library.
If you're using Particle Dev, there is a project folder labeled SparkFun_Photon_Weather_Phant_and_LCD. Add it to Dev to quickly get started with this example. Open the SparkFun_Photon_Weather_Phant_and_LCD.ino example sketch.
What You Should See
If everything works out, you should see weather data print out on the LCD as well as post to Phant.
You now have a Internet-connected weather station! Once you have weather-proofed the electronics, as per our WIMP Weather Station tutorial, place it outside, and take it for a spin.