Favorited
Favorite
1
Panel Mounting
The RedBoard Edge was designed with panel mounting in mind, so let's look at how everything is laid out on the user-facing side so we can put holes in the proper places for a panel or enclosure.
The RedBoardEdgePanel.svg used for a panel mount should work well with a printer or maybe even a laser cutter. The file can be downloaded from the button below. Just make sure to unzip the file before using.
Note: The USB hole in the
*.svg works for a low profile shroud USB which I was using. If you have a larger cable however, you may need to expand the USB cutout in GIMP or any other graphics software. To download, head over to GIMP's downloads page:
Download GIMP
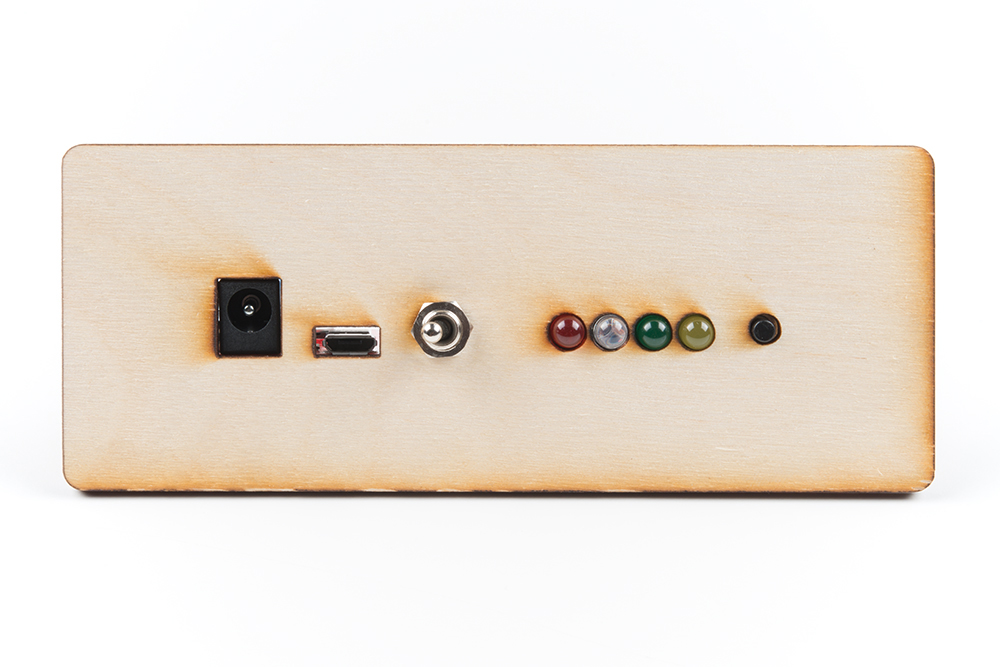
Once you've created your front panel, it's easy to slide your RedBoard Edge through and secure it in place using the nut on the toggle switch. Look at that, my apartment smells of many burnt electronics and rich mahogany.
Mounting Hardware
If you'd like to mount the RedBoard Edge to some sort of baseplate as well, you can attach the RedBoard Edge to your baseplate using 4-40 standoffs and screws to attach the RedBoard Edge to your baseplate. Keep in mind that grounding the board through the mounting holes will require metal standoffs.
In stock
KIT-24115
This 210 piece brass standoff kit insures you'll always have a set handy.
In stock
PRT-10463
Metal Hex Male/Female standoffs. #4-40 thread with 3/8" shank and 3/16" thread length. Can be stacked to create any length.
…
In stock
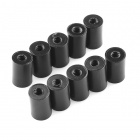
PRT-10927
These nylon standoffs are 3/8" long and tapped for a 4-40 screw. These are great for mounting your board in an enclosure, or …
In stock
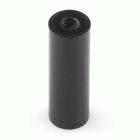
PRT-11796
These nylon standoffs are 3/4" long and tapped for a 4-40 screw. These are great for mounting your board in an enclosure, or …
In stock
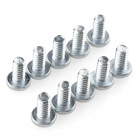
PRT-10453
There are your standard Philips-head 4-40 screws. They are 1/4" long and come in packs of ten. This is the screw size we use …
In stock
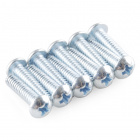
PRT-10452
Standard Philips-head 4-40 screws. They are 1/2" long and come in packs of ten. This is the screw size we use in most of the …
Retired
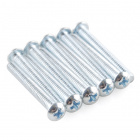
PRT-10450
Standard Philips-head 4-40 screws. They are 1" long and come in packs of ten. This is the screw size we use in most of the ho…
Retired
Retired
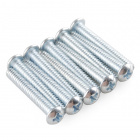
PRT-10451
Standard Philips-head 4-40 screws. They are 3/4" long and come in packs of ten. This is the screw size we use in most of the …
Retired
 Englandsaurus
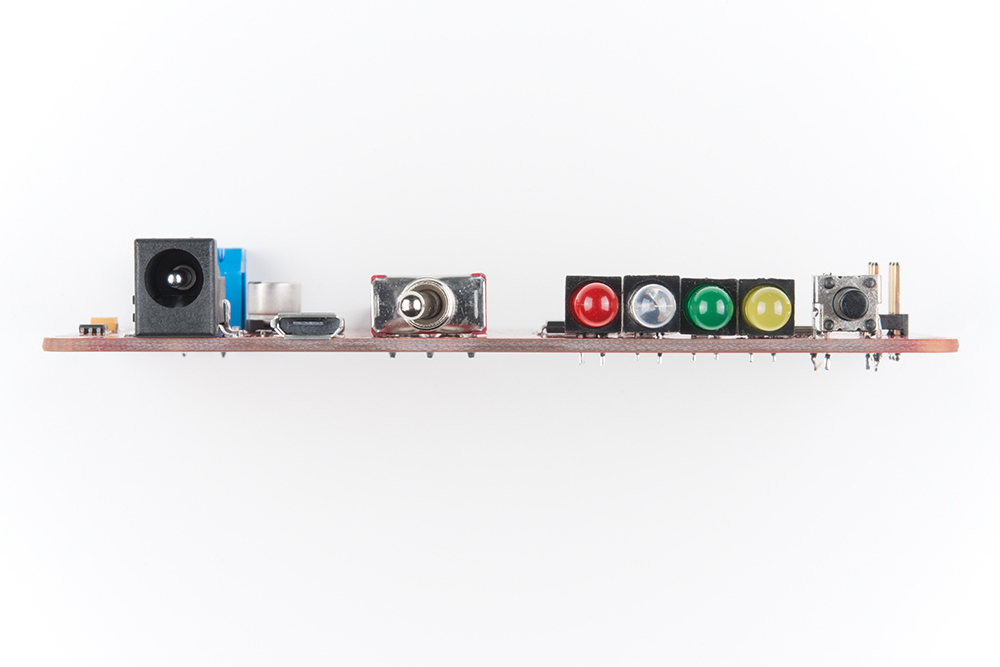

