SparkFun Arduino ProtoShield Hookup Guide
 bboyho
 Hardware Assembly
Headers
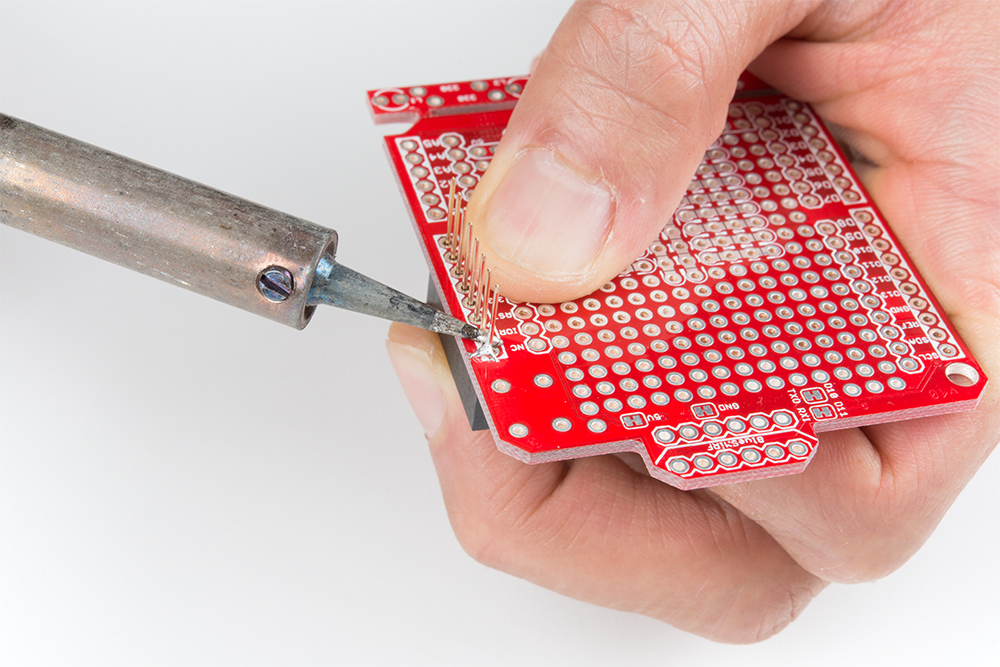
Grab a female stackable header and slide it from the top side of the ProtoShield. With your soldering hand, pull the header with your index finger and thumb toward the edge of the board. Using your other hand, push against the header using your index finger and grip the board with your thumb. Hold the header down with your middle finger.
 |
 |
Grab the soldering iron with your soldering hand and tack on one pin. Repeat for each header.
Buttons
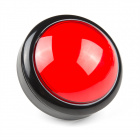
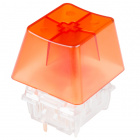
Insert the buttons for reset and prototyping. You may need to bend the buttons to fit into the through holes. Careful not to snap off the prototyping area! Hold the button against the board and tack some solder on one pin.

LEDs
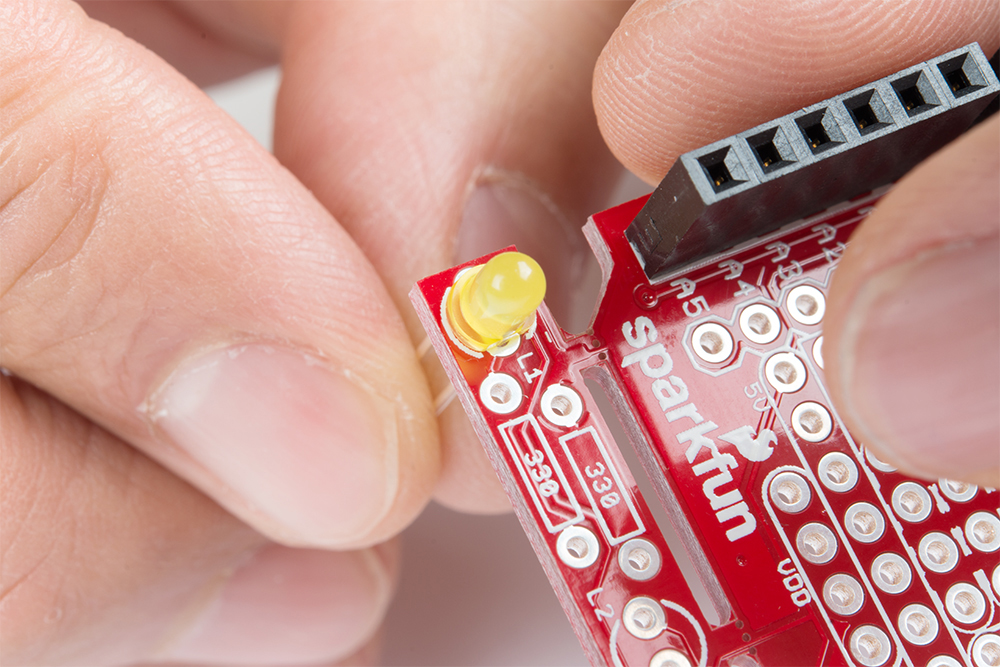
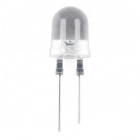
Find the 3mm LED's cathode side and align it with its silkscreen labeled with a "—" sign. Slide the LED in from the top side and tack on a pin. Repeat for the second LED.
Resistors
The kit includes resistors with two different values. There is one 10kΩ resistor [color band = BROWN, BLACK, ORANGE, GOLD ] that is used as a pull-up resistor. The two 330Ω resistors [color band = ORANGE, ORANGE, BROWN, GOLD] are used to limit current to the LEDs.
 |
 |
| 10kΩ Pull-Up Resistor | 330Ω Current Limiting Resistor |
Let's start with the pull-up resistor. Bend the 10kΩ resistor's terminals.
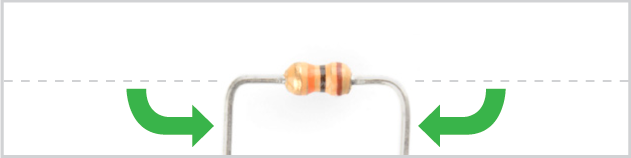
Then slide the pins where it says "10k".
Bend the terminals to hold the resistor in place for soldering. The resistor can get hot to the touch when holding the component down during soldering. At this point, feel free to grab a small piece of cardboard to hold the resistor down. When you are ready, tack one of the 10kΩ resistor's pins. Repeat for the 330Ω resistors.
 |
 |
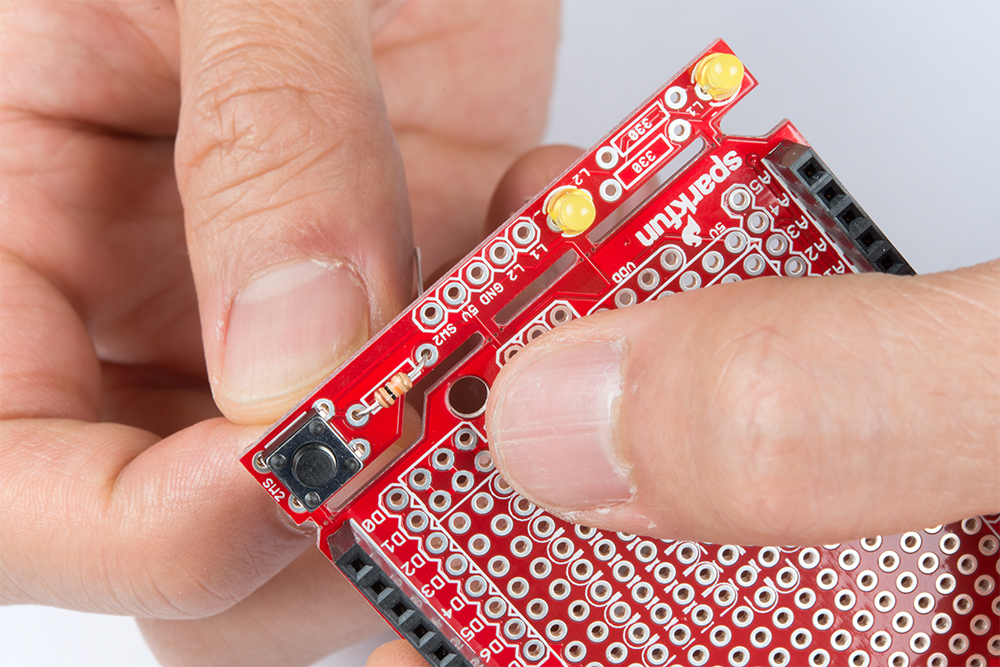
Check Alignment Before Soldering Away!
At this point, it would be good to check the alignment of the components. Make sure that they are flush against the board and they are in its correct location. Did you add solder for the components on the bottom side? All of the components included in the kit should be soldered on the side of the jumpers.
Everything good? Solder away! This is the fun part.
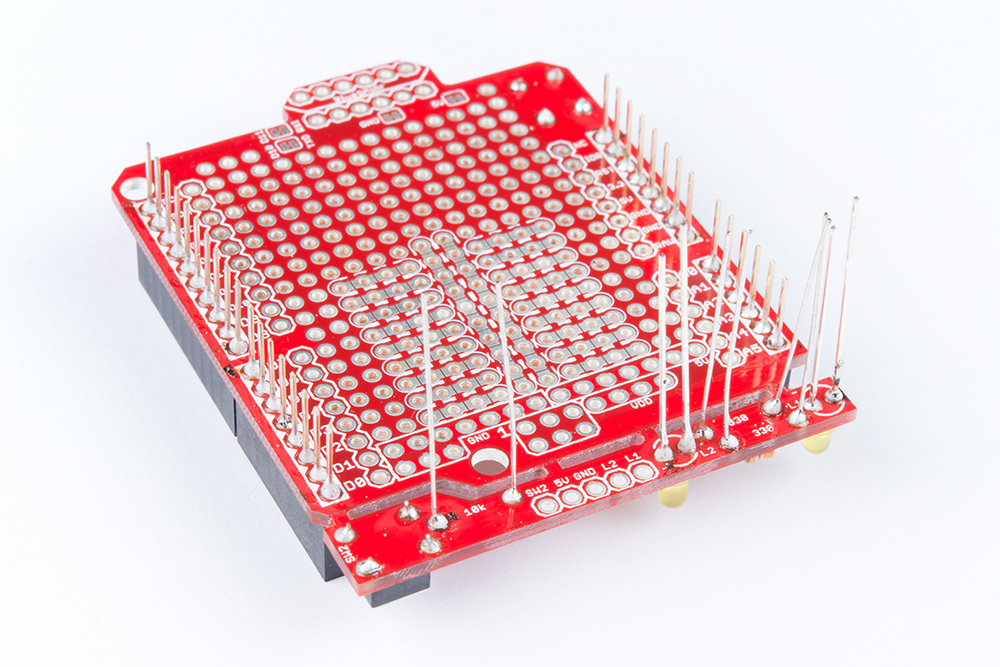
Cut Excess Leads
Grab a flush cutter and trim off excess leads connected to the prototyping hardware. Careful not to cut off the stackable headers!

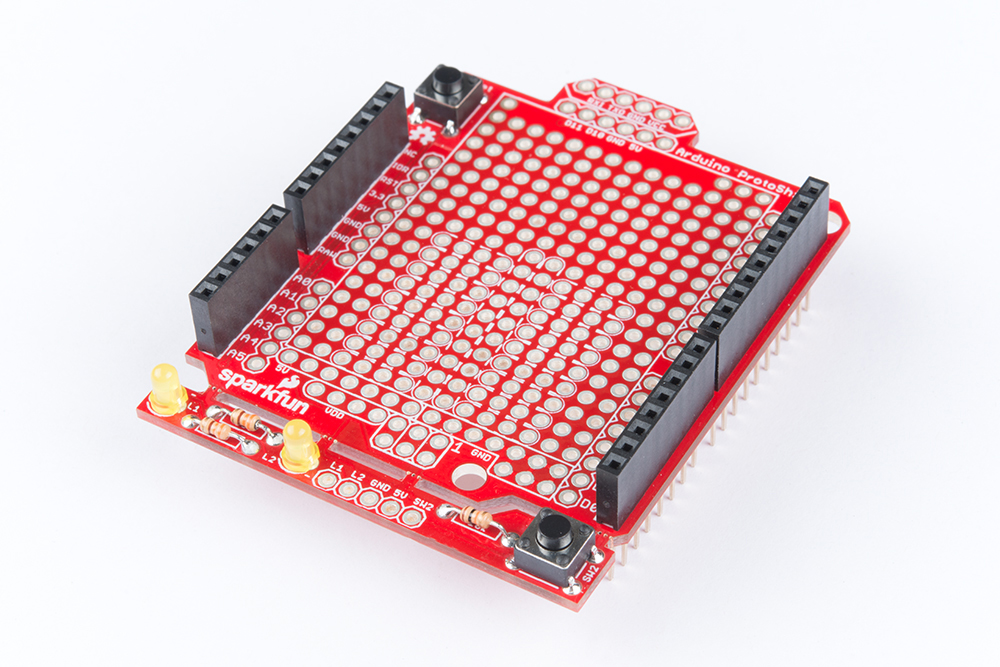
Finished ProtoShield
If you used water soluble flux, clean the board off. Otherwise, bask in the glow of your new ProtoShield for Arduino! Your board should look similar to the images below with the terminals soldered and cut.
 |
 |
Customize
So what do you do from here? There are a few options! We left this up to the user to choose depending on personal preference. You can stick a mini-breadboard on the shield for prototyping small circuits. Additional headers can be added on however you would like for serial UART or in the prototyping area. For a lower profile, you can also strip hookup wire and solder cables against the plated through holes.
 |
 |
For those sandwiching the ProtoShield with another shield, you can solder two 1x3 stackable headers for the ICSP pins. If you choose this route, you will need to go with a lower profile, using wires to connect the circuit.
 |
 |
| Close Up of ICSP Pins w/ Stackable Headers | ProtoShield w/ Stackable Headers |
Finished Prototyping?
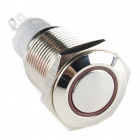
If you are finished prototyping, you can remove the mini-breadboard and solder your custom circuit to the prototyping area for a more secure connection. Want to use a different LED or a bigger button in your project? You can snap off the prototyping area using needle nose pliers and replace it with the hardware of your choice!