- Home
- Product Categories
- Other LEDs
- RGB LED Matrix Panel - 64x64

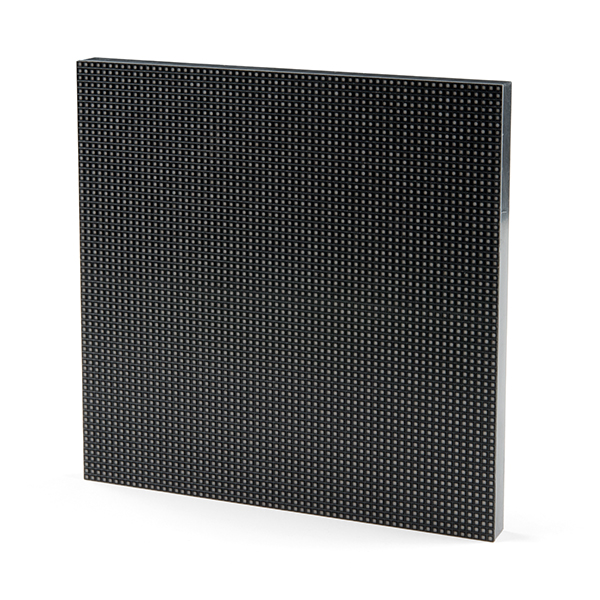
RGB LED Matrix Panel - 64x64
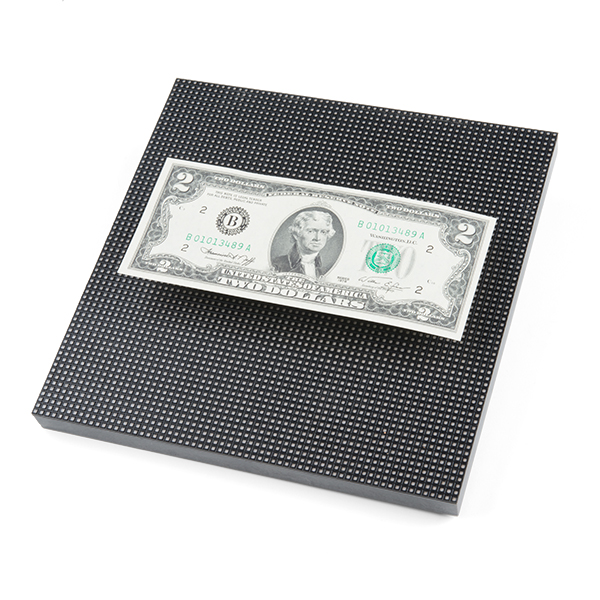
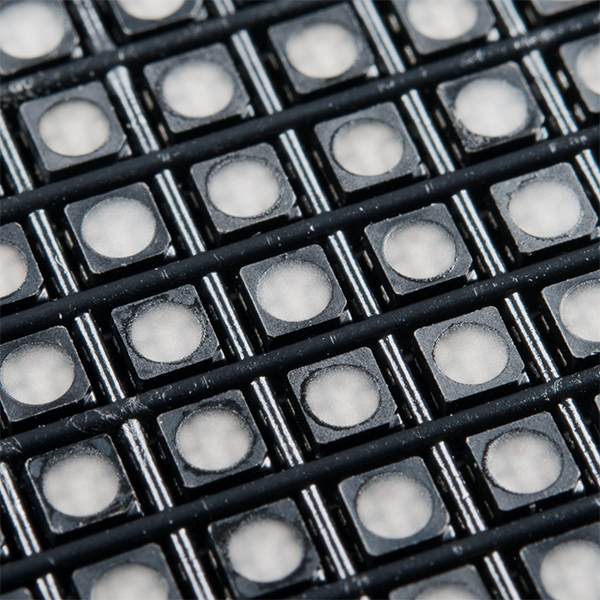
Are you looking to add a lot of color to your project? These 64x64 RGB LED panels are an awesome place to start! You can create animations, games, or all sorts of other fun displays with them. Yes, you read that right: a 64x64 LED matrix, that’s 4,096 LEDs on a 7.5 x 7.5" board! On top of all that, thanks to an IDC connector and a seamless frame, these panels can be daisy chained together to form even bigger LED displays.
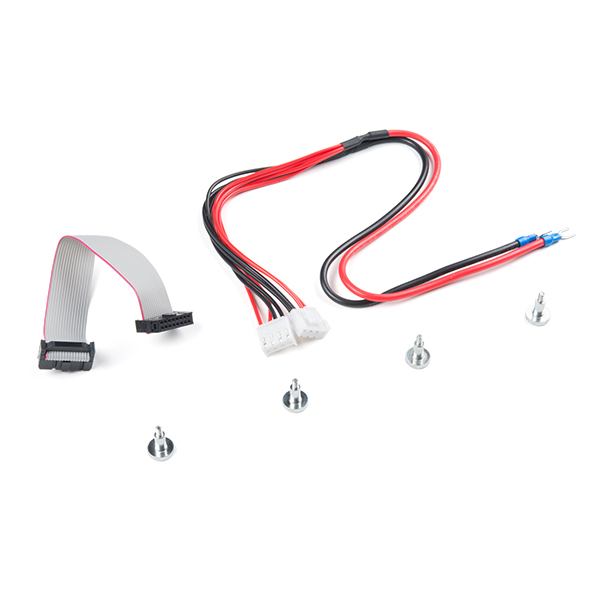
These panels require a regulated 5V supply for power which needs to be able to source a good amount of current. Included with each panel is a 0.15" pitch 4-pin polarized connector power cable which is terminated with both a female polarized connector, and a pair of spade terminals. Needless to say, if you are looking for a large and easy to use RGB LED matrix you’ve come to the right place.
Please keep in mind that this LED matrix will not work with a standard Arduino (Arduino, Arduino Mega, etc) due to the limitations of the current libraries and that it will require an extra pin for multiplexing compared to the other LED Matrices in our catalog.
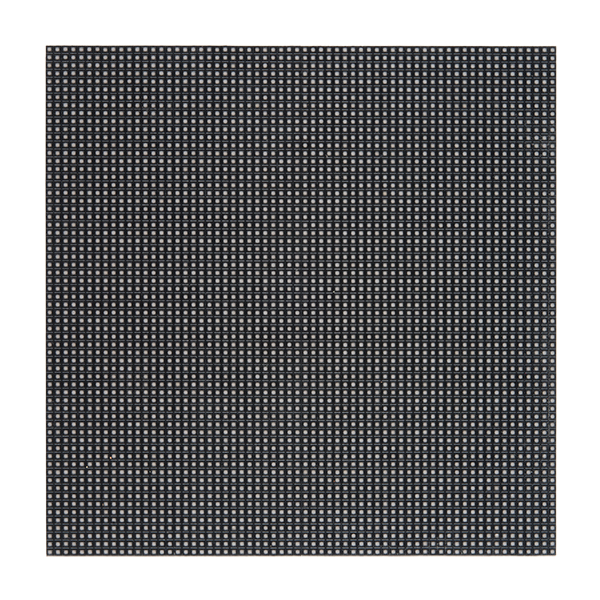
Note: The LEDs on this matrix are smaller than those found on its 32x32 sibling providing better detail in the images and designs you create. Please keep that in mind before purchasing.
- 1x 64x64 RGB LED Panel
- 1x 4mm Pitch 4-pin Power Cable w/ Spade Connectors
- 1x 16-pin (2x8) Ribbon Cables
- 4x Magnetic Mounting Standoffs
- 4096 RGB LEDs
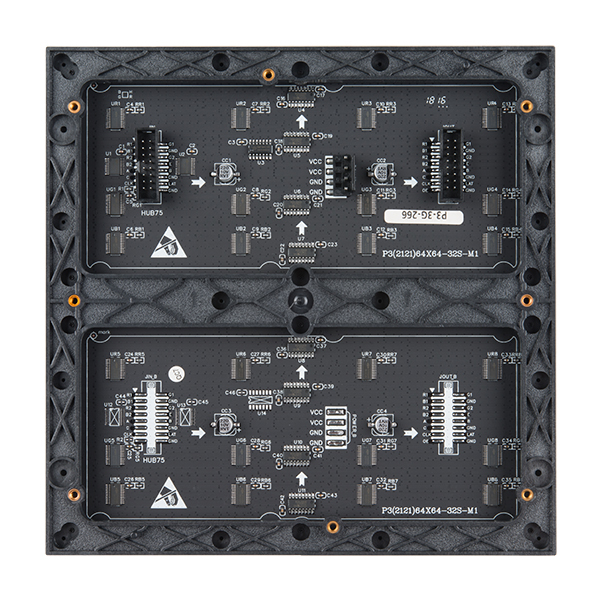
- 1/16 Scan Rate
- IDC Connector for Daisy Chaining
- 5V Supply Voltage
RGB LED Matrix Panel - 64x64 Product Help and Resources
Live Spotify Album Art Display
January 23, 2019
Learn how to turn our 64x64 RGB LED Matrix Panel into a display for your current Spotify album art using an ESP32.
Getting Started with the SmartLED Shield for Teensy
November 9, 2018
In this tutorial, we will connect different RGB LED matrix panels to PixelMatix's SmartLED shield and Teensy.
Core Skill: Programming
If a board needs code or communicates somehow, you're going to need to know how to program or interface with it. The programming skill is all about communication and code.
Skill Level: Experienced - You will require a firm understanding of programming, the programming toolchain, and may have to make decisions on programming software or language. You may need to decipher a proprietary or specialized communication protocol. A logic analyzer might be necessary.
See all skill levels
Core Skill: Electrical Prototyping
If it requires power, you need to know how much, what all the pins do, and how to hook it up. You may need to reference datasheets, schematics, and know the ins and outs of electronics.
Skill Level: Competent - You will be required to reference a datasheet or schematic to know how to use a component. Your knowledge of a datasheet will only require basic features like power requirements, pinouts, or communications type. Also, you may need a power supply that?s greater than 12V or more than 1A worth of current.
See all skill levels
Comments
Looking for answers to technical questions?
We welcome your comments and suggestions below. However, if you are looking for solutions to technical questions please see our Technical Assistance page.
Customer Reviews
4 out of 5
Based on 3 ratings:
Awesome display
The interface was more difficult than necessary to reverse engineer but i have it working with my MkR1000 wifi boards. The display is clean and crisp and packs a lot of lumens into that board. I actually love it a lot
Awesome display
The interface was more difficult than necessary to reverse engineer but i have it working with my MkR1000 wifi boards. The display is clean and crisp and packs a lot of lumens into that board. I actually love it a lot
Awesome display
The interface was more difficult than necessary to reverse engineer but i have it working with my MkR1000 wifi boards. The display is clean and crisp and packs a lot of lumens into that board. I actually love it a lot
Would it be possible to control one of these with an MSP430 microcontroller?
How much current does this draw (avg / max)? Would a 5V 10A power supply be sufficient?
Datasheet lists max power consumption as 18W - so ~3.6A? That seems low...
I'm also curious how you would control this. Is there a tutorial or library for the Raspi that is known to work well with these?
It depends on what you are using. The matrix will not work with a standard Arduino (Arduino Uno with Atmega328P, etc) due to the limitations of the current libraries. There is a hack somewhere that uses an Arduino Mega 2560 but I have not tested it out. It would be better to use a Teensy, Raspberry Pi, or possibly a FPGA. These boards are better to use with the panels due to their processing speed and memory. There is a really good library with the Teensy if you are using the SmartLED Shield. For the Raspberry Pi, i try looking at the hzeller's rpi-rgb-led-matrix library. I have not seen this working a FPGA before.
How is this laid out? Does it resemble resemble 4 32x32 panels laid out NW-NE-SW-SE, or is it a 64-pixel-wide 1:32 panel? I'm just curious (and concerned?)
I see the datasheet lists this as a 1:16 panel, but I also notice that pin 8 on the HUB75 connector is marked as 'E', not 'GND'. This can sometimes indicate a 1:32 scan rate.
I think the datasheet might be wrong? I tested this out with the new SmartLED Shield, and it appears to be a 1:32 scan rate with the SmartMatrix library. I am not sure of the details of how this is laid out. If I remember correctly, it seemed to be split into 4 sections (grouped by 16 rows of LEDs) when testing without the SmartLED shield a few months ago.