microSD Socket for Transflash
PRT-00127

microSD Socket for Transflash
SKU: PRT-00127
$4.95
In stock
SKU
PRT-00127
Product Overview
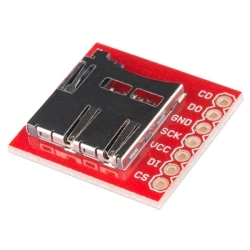
Do you need *a lot *of space? But you need it in the size of your pinky nail? microSD (uSD) is here to save the day. TransFlash has now completed standards certification and is now known as microSD. Compatible with the SPI interface found on any SD card, this tiny form factor was created for cell phone storage and is perfect for your next MP3 project! This is a high quality push-push type SMD socket.
A breakout board is available below.
Note: The default detect state of this socket is detect pin to ground.
Resources:
- microSD Specification
- Adding SD to a Router - Thanks Jake! Eagle Layout as well!
- MMC to Serial Adapter
- PIC MMC Interface Project
- Example MMC Interface Code
Datasheets:
- Datasheet
- Eagle Files for Breakout Board (has footprint!)
Hookup Accessories
-
-
-
-
-
-
-
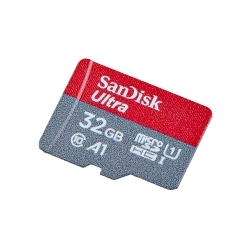
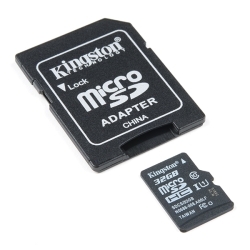 microSD Card with Adapter - 32GB (Class 10)
Special Price Current price: $14.95 Regular Price Original price: $26.95In stock
microSD Card with Adapter - 32GB (Class 10)
Special Price Current price: $14.95 Regular Price Original price: $26.95In stock -
-


Documentation
- Datasheet
- Eagle Files for Breakout Board (has footprint!)
- microSD Specification
- Adding SD to a Router - Thanks Jake! Eagle Layout as well!
- MMC to Serial Adapter
Customer Reviews

microSD Socket for Transflash
$4.95
PRT-00127
Stock and Customer Discounts
$4.95 retail price.
Available Discounts
- $4.70 | 25+ units
- $4.46 | 100+ units