- Home
- Product Categories
- Button
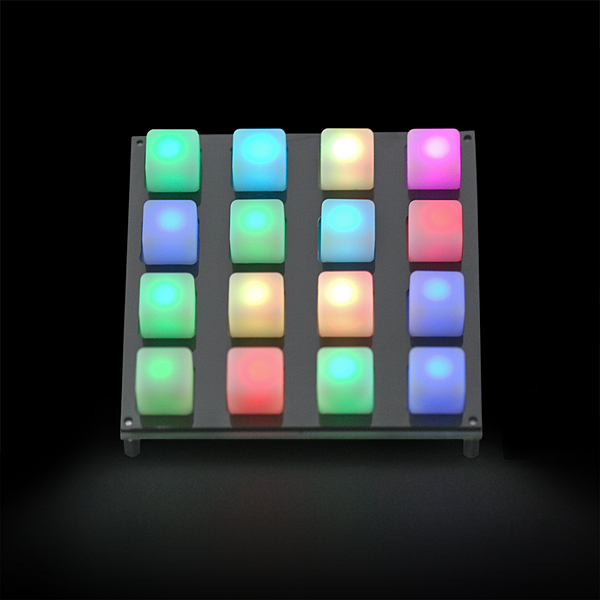
- Button Pad 4x4 - LED Compatible

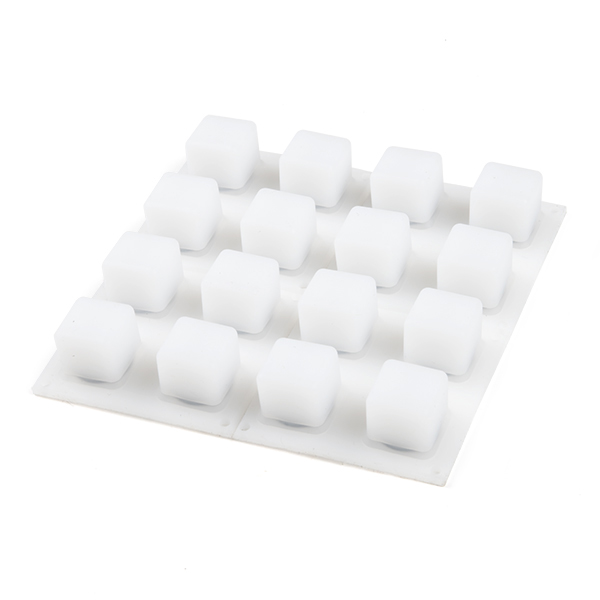
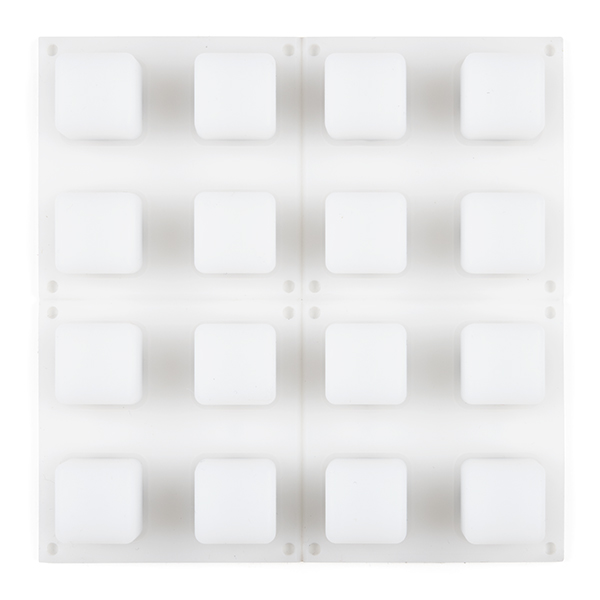
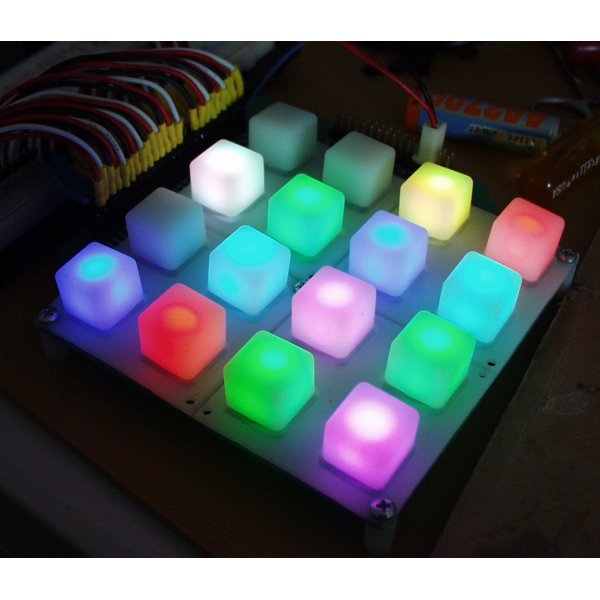
This is a translucent silicon rubber button pad with 16 buttons originally inspired by the folks at monome.org. Each button has a hole underneath that accepts either a 3mm or 5mm standard LED. The idea is that you can create a button interface of your choice with the ability to display simple colors under each button. Mainly, we wanted to use our tri-color LEDs to create a full RGB color for each button.
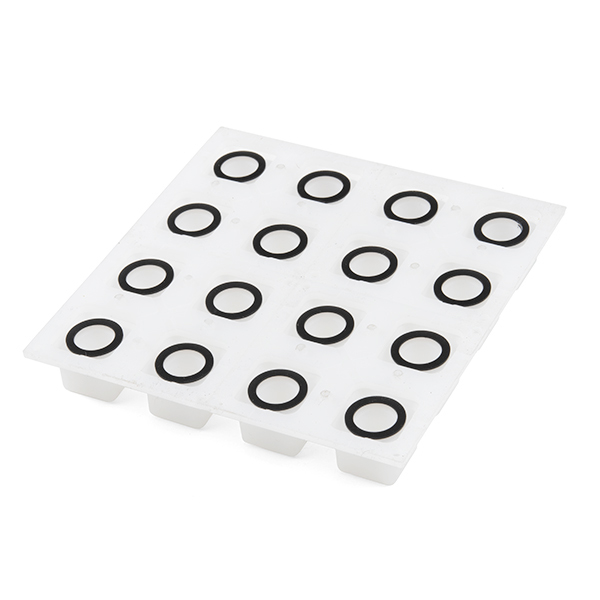
16 button pad can be split up into four, 4 button pads. Each button has a conductive circle backing so that a switch can be created with exposed PCB traces. Button force is between 190 and 210grams activation force (nice tactile feel like on your TV remote).
This product is for the white rubber only. If you need the LEDs, PCB, or black bezel, please see below.
- Hookup Guide
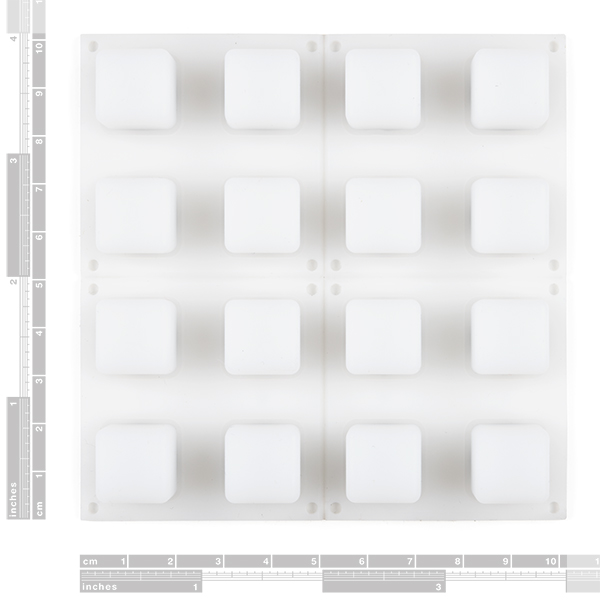
- Dimensional Drawing
- [Material Data](http://cdn.sparkfun.com/datasheets/Components/Switches/Dow Corning B6650_Data.zip)
- 3D Model
Button Pad 4x4 - LED Compatible Product Help and Resources
Button Pad Hookup Guide
January 7, 2016
An introduction to matrix scanning, using the SparkFun 4x4 Button Pad.
Comments
Looking for answers to technical questions?
We welcome your comments and suggestions below. However, if you are looking for solutions to technical questions please see our Technical Assistance page.
Customer Reviews
4.7 out of 5
Based on 3 ratings:
2 of 2 found this helpful:
Inspired my best project to date
I used the button pads and associated boards to build a working 4x4x4 tic tac toe board I had dreamed about but never thought I could build. Once I saw these, and read through the guide SparkFun wrote up to explain everything, this launched me into making something I'm incredibly proud of, that has been working quite well. Every button press feels good, crisp, and responsive. I love it. Can't thank everyone at SparkFun enough.
1 of 1 found this helpful:
Fantastic
These buttons feel really good to push, and are the only ones of its kind that is easy to find. Great purchase, just don't get the matching PCB (it is garbage).
Button review
I used the parts to build my four year old grandson a spaceship. Coolest thing ever!
I'm thinking about building a drum machine with these pads. I'm concerned that these will not have the same feeling that a normal drum machine may have. These say they require a few hundred grams of pressure to actuate. Normal dum machines only require a light touch and do not move much when pressed. Does anyone know how these will perform with a drum machine?
Can this please be used in a kit? Like a 4x4 button pad complete? It would include the button pad, pcb, hardware, and the bezels, all for around $25. All the pieces separate make making the whole thing pretty pricey and I think that if it were sold as a kit for around $25, people would be able to do it. I'm sure you guys could sell 100 of them as to get the price break. With the 100 quantity price break price I would buy each piece, but since they aren't at that price, I'm never going to buy these. Please put them into a kit?
Check this out!. It’s a tutorial about how to use the sparkfun PCB with Arduino and send MIDI. We have also developed a PCB (kind of Arduino shield). http://alvarorevuelta.net/midispositivomidi/ https://www.youtube.com/watch?v=d-NPSPzPXNo
I hate to be a curmudgeon, but these are silicone, not silicon! (that would be kind of difficult to press...)
My button pads came in the mail earlier. Very nice.
I was just drawing a face plate in cad based on the dimensional drawing and noticed that the measurements don't add up:
Total width: 100mm
Total space per dimension: 28mm
Total buttons per dimension: 60mm
28 + 60 != 100
So, I got out a ruler and it turns out the space between buttons is incorrect on the drawing.
Button spacing: 5mm at edges and 10mm between buttons.
Fortunately, the dimensional drawings are correct you have just read them incorrectly. True, the space between buttons adds up as 4x7=28 and the size of the top of the buttons is 4x15=60 to total 88mm. However you didn't look properly as you missed the slant at the edge of each button, 1.5mm per side. 2 per button and 4 buttons makes up your missing 12 mm.
Hope this Helps.
That black bezel you have there isn't the bezel you guys have for sale. Any chance you guys would be willing to sell these?
Is there enough room in the LED cavity to place a WS2812 integrated RGB pixel? Thanks!
ARGH! Out of stock! Any idea when you'll have more?
Is there an 8x8 bezel available for this, or do I need 4 of the 2x2 bezels?
This may be a dumb question, but what's the best way to control all 48 outputs with the Arduino? I assume you need transistors or relays to handle the power draw of all 48 LEDs? Thanks.
You'd need a multiplexer circuit, aka MUX. There are several Mux shields available for Arduino. www.mayhewlabs.com is a friend of mine who makes one.
hello ! .. is these buttons can be separated ! .. i am looking to but them on a sphere shape !
I suggest you purchase "diffused" RGB LEDs for this pad. The "clear" ones leave too much of a spot. I wish I would have known that. :-/
You guys do realize Adafruit has a board and a button cover just like this for about $10.
Theirs is single color, and therefore sucks.
I have a question: Can you mount RGB LEDs instead of single color ones?
The board is designed to use RGB LED's. The correct LED types are in related products. Hope this helps!
Is there any way to get a complete mechanical drawing of this, including the dimensions of the conductive rings? I don't want to install Eagle just to extract data from the PCB layout :/
I put in a request to get a 3D model of this for you. It should be added to our 3D model GitHub repo in the next day or two.
I'm sorry for the stupid question but I am very new to this building process. I am attempting to build a midi controller using this pad and a teensy++ 2, if anyone could give me ANY information on how I would go about putting this together. ( soldering, wiring, etc. anything is helpful ) Much appreciated
Is there a way to modify one or more of these (and bezels) to have a different number of columns besides multiples of 2/4? I need a 5x12 grid. I want to make a digital version of the boardgame Mastermind.
Does anyone have a 3D model for this?
Check out what I made with it:
http://www.youtube.com/watch?v=utFhGX0XUko
HI ! i searched on the comments, but nothing appears, same in the drawing.
i'm searching the dimention of the conductive ring, and the dimension inside the button (the hole). Who could help me ?
Thx, Bye
Check out the Eagle files for the break out board to get a clue.
https://www.sparkfun.com/products/8033
THANK YOU for putting these back in stock!
If anybody needs a PCAD/Altium/Pulsonix pattern for these buttons, I have a proven one.
Will these be back in stock?
We are getting in a shipment at the end of this month, so it will probably be back in stock at the end of this month or beginning of August. Hope that helps!
When it will be back in stock?
Anyone have any luck cleaning these? I've got a whole bunch, half new(work beautifully), half a few years old(I have to really jam and wiggle for them to make contact). Besides replacing them, can I do anything to help?
It might be your PCB contact surface, plain copper will tarnish up quickly. Try cleaning your PCB with a clean lint free cloth. You'd really want to have a decent quality plating on there.
Unfortunately it isn't. I have an old set, that I removed from a previous creation, then let sit out in the workroom for awhile before using again along with some new ones. The new ones work fine on all the pcbs, but the old ones look faded and don't make contact.
thanks
I believe water and a mild soap should clean most particulates from the conductive surface. We've had to clean the Tetris board pads this way at least twice.
Is there any way I could get a DXF file for this product? I'm trying to import into AutoCad. Thanks!
where is the 4*4 bezel?
can you help me?
the 2x2 bezels lock together to make a 4x4.
I made a video to help wire contacts for the buttons.
http://www.youtube.com/watch?v=xlS9RHvQcDs
Cheers!
Has anyone seen this in a 3x3?
Just cut it to the size you want. I easily cut it with scissors.
I'm looking for a 2x4, myself - what about the compatible PCB? Have to build a custom alternative or can that be cut down (like the 1x3 board) somehow as well?
Has anyone come up with a clever way to add legends to these buttons? I would like the printing right on the buttons (not above or below them). Also, when used with the PCB, is there any idea how long it will last? I suspect you don't have any millions-of-operations figures, but anyone used one for years?
I haven't tried this yet, but plan to put labels directly on the buttons by using clear background laser decal paper which allows you to make a decal out of whatever you can print. I'm hoping decal setting solution will bond the label so it doesn't peel off after a few hundred presses. I'm also considering a clear casting resin overcoat which should work well as well as give the button a plastic feel but I'll need to test this to see if the resin reacts with the decal or the rubber. I know this is 3 years after you asked the question. I just hope it's not too late to help.
Can you please tell us how you got on?