SparkFun Capacitive Touch Breakout - AT42QT1011
SEN-14520
SparkFun Capacitive Touch Breakout - AT42QT1011
SKU: SEN-14520
$4.99
In stock
SKU
SEN-14520
Helpful Documentation
 Hookup Guide
 Schematic
 Datasheet
Product Overview
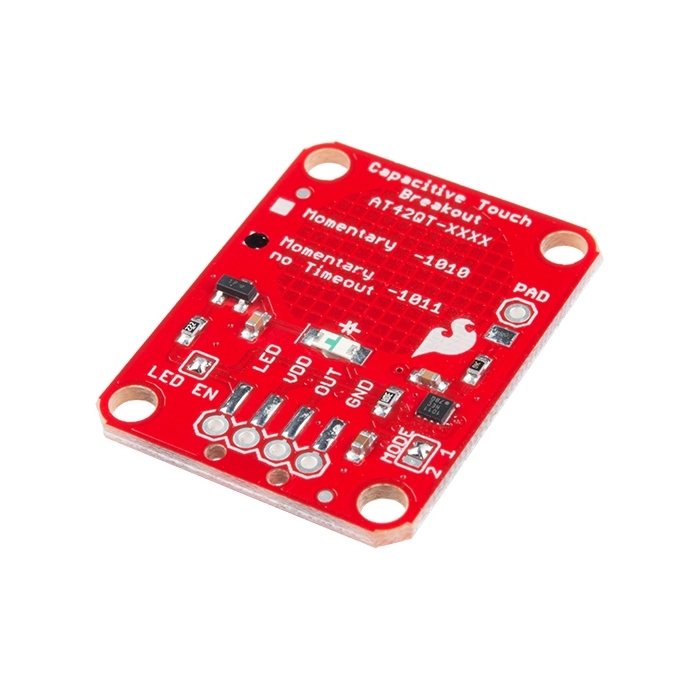
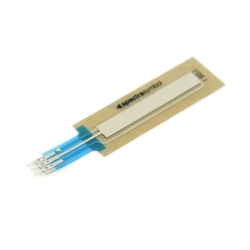
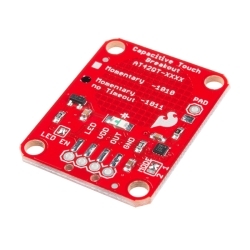
If you need to add user input without using a button, then a capacitive touch interface might be the answer. The AT42QT1010 SparkFun Capacitive Touch Breakout offers a single capacitive touch button with easy-to-use digital I/O pins.
The AT42QT1010 is a dedicated, single-button capacitive sense chip. The chip handles monitoring a conductive area for touch. As long as a touch (e.g. from a finger) is detected, the AT42QT1010 keeps the output line high. Otherwise, the line is kept low. You just need to provide a power source (1.8V - 5V) and ground for the AT42QT1010 to work. Additionally, a PAD pin is available if you would like to create your own external electrode.
Documents:
- Schematic
- Eagle Files
- Datasheet (AT42QT1010)
- Hookup Guide
- GitHub
Similar Items
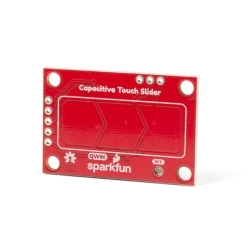


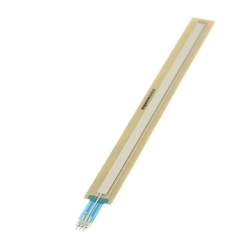
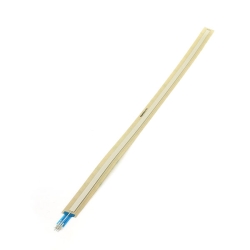


Hookup Accessories


Documentation
- Schematic
- Eagle Files
- Hookup Guide
- Datasheet (AT42QT1011)
- GitHub
Customer Reviews
SparkFun Capacitive Touch Breakout - AT42QT1011
$4.99
SEN-14520
Stock and Customer Discounts
$4.99 retail price.
Available Discounts
- $4.74 | 10+ units
- $4.49 | 25+ units
- $4.24 | 100+ units