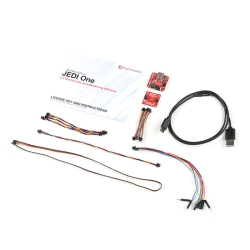
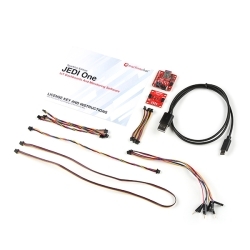
SparkFun High Precision Temperature Sensor - TMP117 (Qwiic)

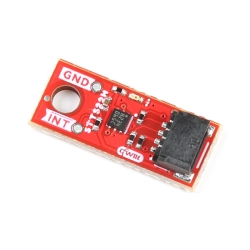
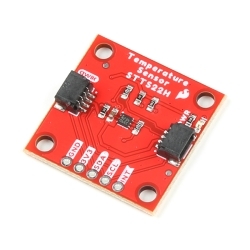
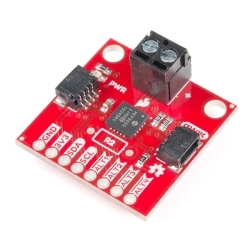
The SparkFun Qwiic TMP117 breakout is a high precision temperature sensor equipped with an I2C interface. It outputs temperature readings with high precision of ±0.1°C across the temperature range of -20°C to +50°Cs with no calibration and a maximum range from -55°C to 150°C. The SparkFun High Precision Temperature Sensor also has a very low power consumption rate which minimizes the impact of self-heating on measurement accuracy. Utilizing our handy Qwiic system, no soldering is required to connect it to the rest of your system. However, we still have broken out 0.1"-spaced pins in case you prefer to use a breadboard.

The SparkFun High Precision Temperature Sensor also includes programmable temperature limits, and digital offset for system correction. While the TMP102 is capable of reading temperatures to a resolution of 0.0625°C and is accurate up to 0.5°C, the on-board TMP117 is not only more precise but has a 16-bit resolution of 0.0078°C!

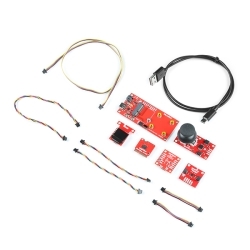
To make this breakout even easier to use, we've written an Arduino library to help you get started "Qwiic-ly." Check the Documents tab above for more information.


The SparkFun Qwiic Connect System is an ecosystem of I2C sensors, actuators, shields and cables that make prototyping faster and less prone to error. All Qwiic-enabled boards use a common 1mm pitch, 4-pin JST connector. This reduces the amount of required PCB space, and polarized connections mean you can’t hook it up wrong.

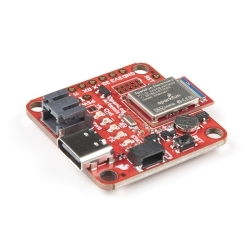
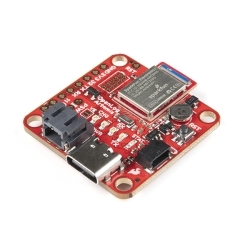
The TMP117 High Precision Temperature Sensor can also be automatically detected, scanned, configured, and logged using the OpenLog Artemis datalogger system. No programming, soldering, or setup required!


  • Uses I2C interface (Qwiic-enabled)
  • Four selectable addresses
    • 0x48 (default), 0x49, 0x4A, 0x4B
  • 16-bit resolution, 0.0078°C
  • High accuracy, digital temperature sensor
    • ±0.1°C (max) from –20°C to 50°C
    • ±0.15°C (max) from –40°C to 70°C
    • ±0.2°C (max) from –40°C to 100°C
    • ±0.25°C (max) from –55°C to 125°C
    • ±0.3°C (max) from –55°C to 150°C
  • Operating temperature range
    • -55°C to +150°C
  • Operating voltage range
    • 1.8V to 5.5V
    • Typically 3.3V if using the Qwiic cable
  • Low power consumption
    • 3.5µA (1-Hz conversion cycle)
    • 150nA (shutdown current)
  • Programmable operating modes
    • Continuous, one-shot, and shutdown
  • Programmable temperature alert limits
  • Selectable averaging for reduced noise
  • Digital offset for system correction
  • NIST traceability

SparkFun High Precision Temperature Sensor - TMP117 (Qwiic) Product Help and Resources

Qwiic TMP117 High Precision Digital Temperature Sensor Hookup Guide

November 14, 2019

Add a high precision, digital temperature sensor to your projects using the TMP117 over the I2C!

Temperature Sensor Comparison

March 18, 2020

A comparison of analog and digital temperature sensors. Which is better?

Qwiic Digital Indoor Thermometer

July 15, 2020

Qwiic-ly build a digital indoor thermometer to measure the ambient temperature of the room and display it using an OLED on an I2C bus!

Core Skill: Programming

If a board needs code or communicates somehow, you're going to need to know how to program or interface with it. The programming skill is all about communication and code.

2 Programming

Skill Level: Rookie - You will need a better fundamental understand of what code is, and how it works. You will be using beginner-level software and development tools like Arduino. You will be dealing directly with code, but numerous examples and libraries are available. Sensors or shields will communicate with serial or TTL.
See all skill levels


Core Skill: Electrical Prototyping

If it requires power, you need to know how much, what all the pins do, and how to hook it up. You may need to reference datasheets, schematics, and know the ins and outs of electronics.

2 Electrical Prototyping

Skill Level: Rookie - You may be required to know a bit more about the component, such as orientation, or how to hook it up, in addition to power requirements. You will need to understand polarized components.
See all skill levels


Comments

Looking for answers to technical questions?

We welcome your comments and suggestions below. However, if you are looking for solutions to technical questions please see our Technical Assistance page.

  • CheeToS / about 10 months ago / 1

    I really wish the TMP117 on this was either placed on a projection far out from the rest of the board, or placed on the opposite side of the board. With how this is designed, the Qwiic connectors are taller than the TMP117, making it not possible to place the TMP117 in direct contact with something you want to measure the temperature of.

  • ratsnest / about a year ago / 1

    Whoever wrote this description confused accuracy with precision.

  • keithjr / about 4 years ago / 1

    Doesn't seem to work. I attempted to use the example sketch "Example1_BasicReadings" and I wind up in the failure loop. This is using an ESP32 Thing Plus dev board. I also tried a simple i2c scanning program, and it cannot find any i2c devices when I have the TMP117 connected and the power LED indicating it is on.

    I tried using every combination of the Qwiic connector and/or SCL/SDA pins on the dev board and/or sensor. I can't find the device. Any other ways to debug this, or do I have a dead sensor on my hands?

    • santaimpersonator / about 4 years ago * / 1

      Hi there, it sounds like you are looking for technical assistance. Please use the link in the banner above, to get started with posting a topic in our forums. Our technical support team will do their best to assist you.

      That being said, I would follow the hookup guide and use a SparkFun RedBoard to determine if your sensor works. By following the hookup guide instructions, you can limit the number of failure points to just the wiring or sensor. There are caveats to using a ESP32; including, but not limited to the I2C communication is handled, your code, pin connections, etc.

Customer Reviews

4.2 out of 5

Based on 5 ratings:

Currently viewing all customer reviews.

3 of 3 found this helpful:

LED seems to be a mistake

Really like the board and how Sparkfun made it easy to cut traces to change addresses etc, but the onboard LED seems like a mistake. Purchased two of these boards, ran repeated tests and found that with the LED enabled the reported temp runs about 0.25 C higher when ambient temps are ~22 C. That's a lot for a sensor with 0.1 C accuracy. I tested that on multiple Sparkfun TMP117 boards in multiple locations with and without the LED trace enabled and got consistent results. No idea if this is due to electrical effects or actual heating.

3 of 4 found this helpful:

Perfect for the obsessive/compulsive nerd. Who-me?

Nice to have a NIST traceable temperature to confuse with all my other thermal sensors.

I did wonder about the slow time to acquire a reading - until I read the documents closely and realized that the TMP117 was internally averaging to reduce jitter. Easy enough to change a couple of parameters and just grab a single sample - the heck with jitter. Which of course contradicts the potential accuracy that I paid good $$$ for. Well, no one said I was consistent...

Accurate et easy to use

Good sensor accurate, with 16 bits resolution and low power.

Awesome I2C Temp Sensor

I love this board. It's a great temperature sensor and with the Qwiic connectors connections are a snap.