Humidity and Temperature Sensor - DHT20
SEN-18364
Humidity and Temperature Sensor - DHT20
SKU: SEN-18364
$8.95
In stock
SKU
SEN-18364
The DHT20 is a low cost humidity and temperature sensor with a I2C digital output protocol.
Helpful Documentation
 Datasheet
Product Overview
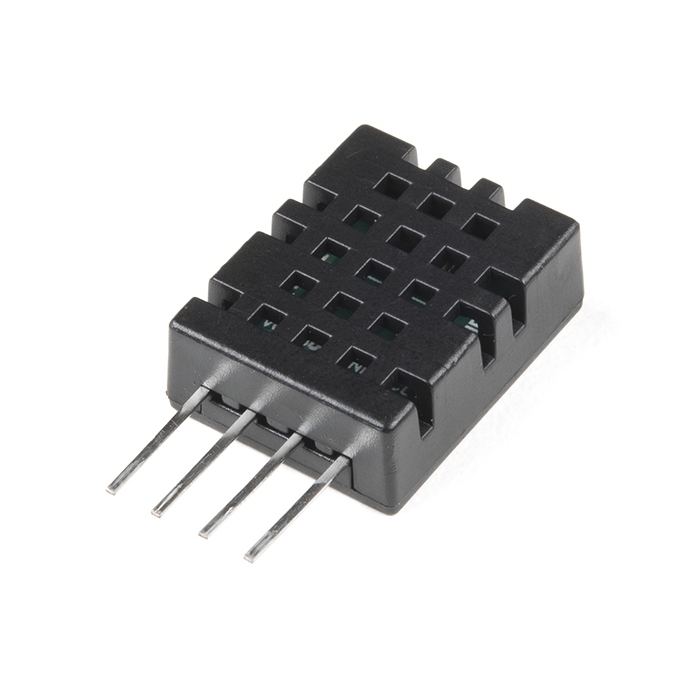
The RHT03 (also known by DHT-22) is a low cost humidity and temperature sensor with a single wire digital interface. The sensor is calibrated and doesn't require extra components so you can get right to measuring relative humidity and temperature.
Features:
- 3.3-6V Input
- 1-1.5mA measuring current
- 40-50 uA standby current
- Humidity from 0-100% RH
- -40 - 80 degrees C temperature range
- +-2% RH accuracy
- +-0.5 degrees C
Similar Items


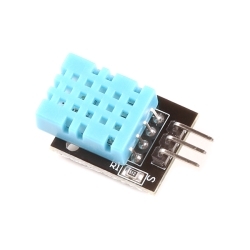


Hookup Accessories


Features & Specs
- Supply Voltage: 2.2-5.5V
- Communication: Standard I2C Protocol
- Humidity from 0-100% RH
- Typical accuracy: RH: ±3%, T: ±0.5℃
- -40 - 80 degrees C temperature range
Documentation
Customer Reviews

Humidity and Temperature Sensor - DHT20
$8.95
SEN-18364