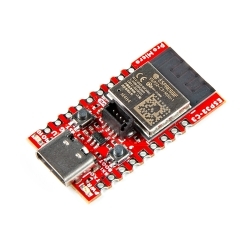
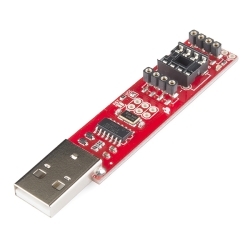
Pro Micro - 5V/16MHz
Helpful Documentation
 Hookup Guide
 Datasheet (ATmega32U4)
 Schematic
Product Overview
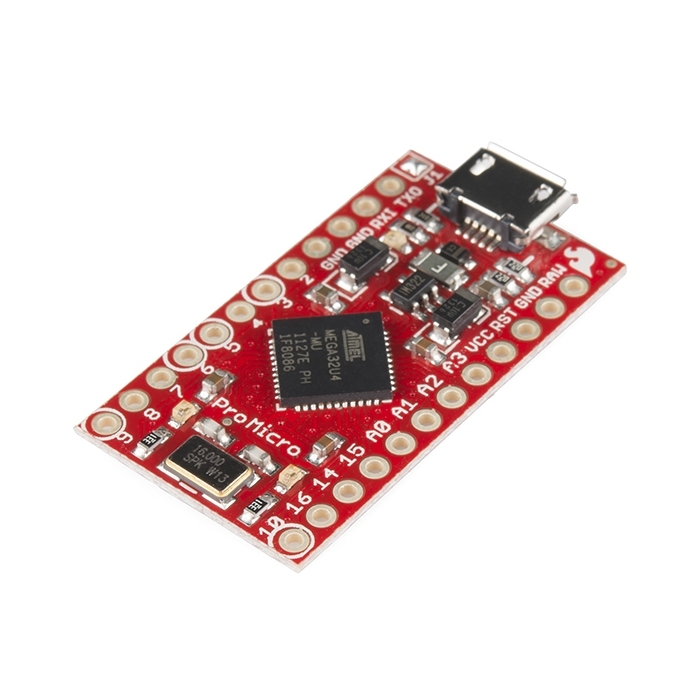
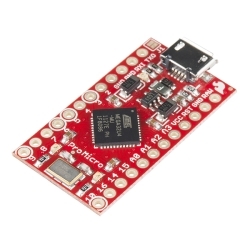
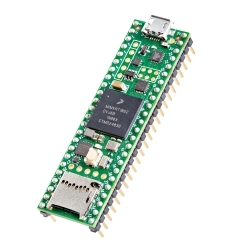
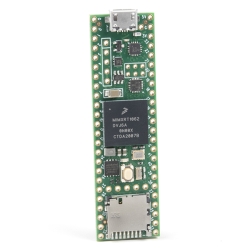
Here at SparkFun, we refuse to leave 'good enough' alone. That's why we're adding to our line-up of Arduino-compatible microcontrollers once more! The Pro Micro is similar to the Pro Mini except with an ATmega32U4 on board. The USB transceiver inside the 32U4 allows us to add USB connectivity on-board and do away with bulky external USB interface.
This tiny little board does all of the neat-o Arduino tricks that you're familiar with: 9 channels of 10-bit ADC, 5 PWM pins, 12 DIOs as well as hardware serial connections Rx and Tx. Running at 16MHz and 5V, this board will remind you a lot of your other favorite Arduino-compatible boards but this little guy can go just about anywhere. There is a voltage regulator on board so it can accept voltage up to 12VDC. If you're supplying unregulated power to the board, be sure to connect to the "RAW" pin on not VCC.
This latest revision corrects the silk error from the last version of the board so that pin 14 is correctly labeled. We've also added a PTC fuse and diode protection to the power circuit and corrected the RX and TX LED circuit.


-
-
-
 SparkFun PIR Breakout - 1uA (EKMB1107112)
Special Price Current price: $14.95 Regular Price Original price: $32.50In stock
SparkFun PIR Breakout - 1uA (EKMB1107112)
Special Price Current price: $14.95 Regular Price Original price: $32.50In stock -
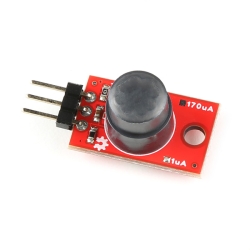
 SparkFun PIR Breakout - 170uA (EKMC4607112K)
Special Price Current price: $12.90 Regular Price Original price: $21.50In stock
SparkFun PIR Breakout - 170uA (EKMC4607112K)
Special Price Current price: $12.90 Regular Price Original price: $21.50In stock -
-
-
-
-
-
-
-


Features & Specs
- ATmega32U4 running at 5V/16MHz
- Supported under Arduino IDE v1.0.1+
- On-Board micro-USB connector for programming
- 9x 10-bit ADC pins
- 12x Digital I/Os (5 are PWM capable)
- Rx and Tx Hardware Serial Connections
- Our Smallest Arduino-Compatible Board Yet!
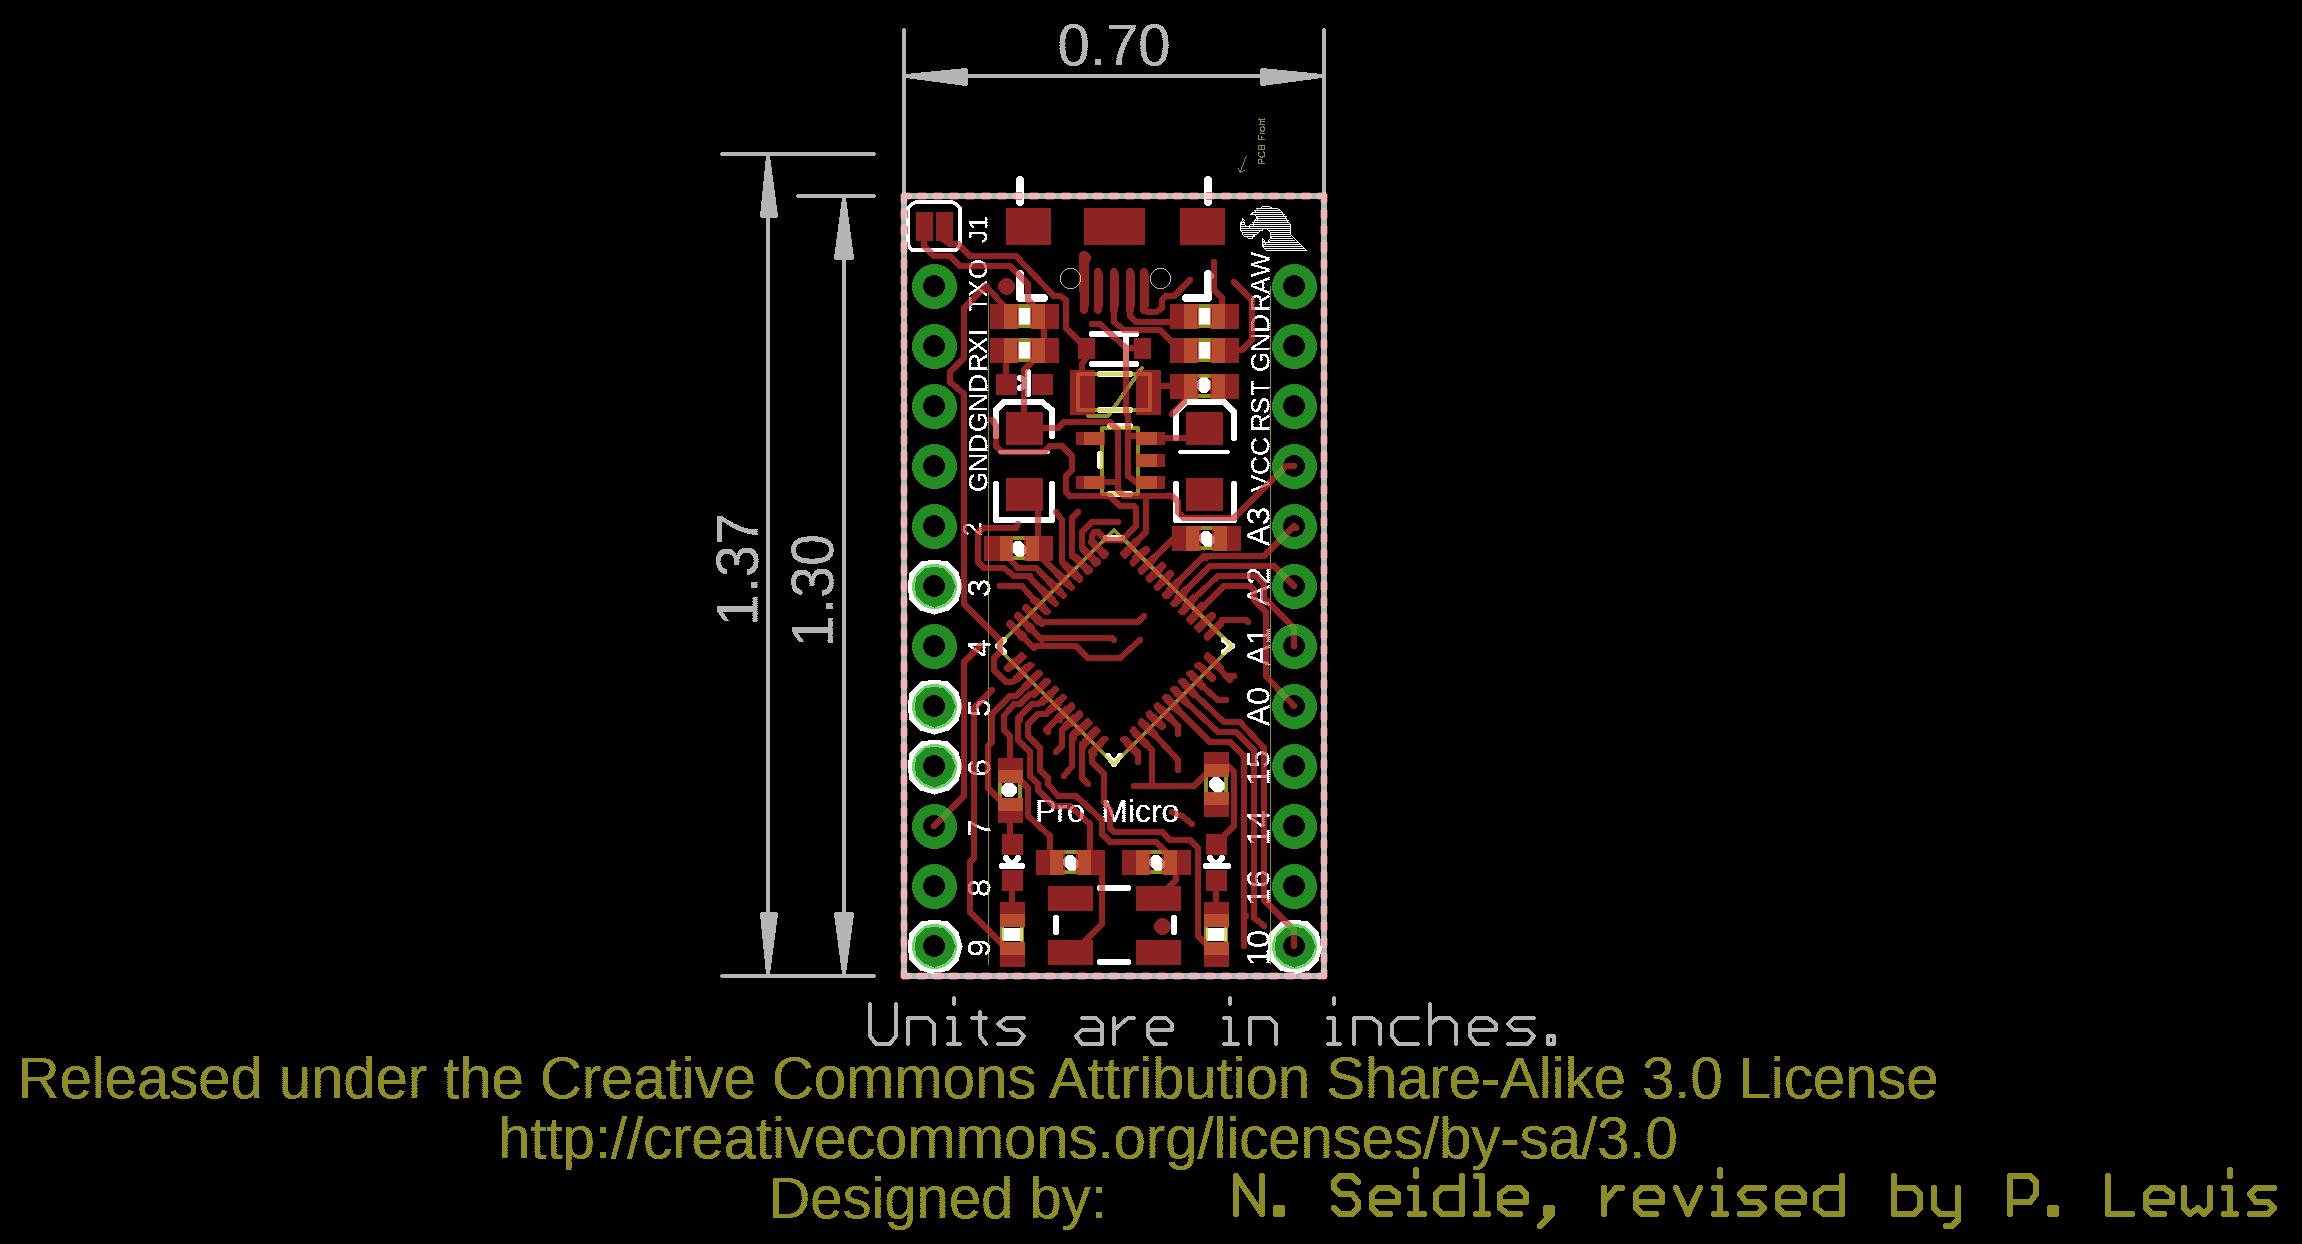
- 1.3"x0.7"
Documentation
- Schematic
- Eagle Files
- Board Dimensions
- Hookup Guide
- Graphical Datasheet
- Datasheet (ATmega32U4)
- Firmware Note
- Arduino Addon Files
- Arduino Addon Files (IDE 1.5+)
- GitHub (Design Files)
Customer Reviews

Stock and Customer Discounts
Available Discounts
- $21.38 | 10+ units
- $20.25 | 25+ units
- $19.13 | 100+ units