
About a month ago I did a weeklong class in San Jose with LightningHawk. We finished the class on Friday afternoon and had a little free time. I said to my esteemed colleague, “Let’s go to Weird Stuff Warehouse” (hereafter WSW). There’s lot’s of cool stuff to do in Silicon Valley, but for me, going to a scrapyard of old computer parts that is basically the Sargasso Sea of the digital age is up near the top of the list.

We hopped in the rental car, and up the 101 we went. I am at a loss to describe WSW, but imagine a slightly smaller version of the warehouse at the end of “Raiders of the Lost Ark,” and you’ve got a start. There is every possible configuration of monitor, keyboard, motherboard and peripheral you can imagine. There is test equipment, as well as spectrum analyzers, network analyzers, oscilloscopes and every permutation of cathode ray tube that man has leaned on for better understanding.
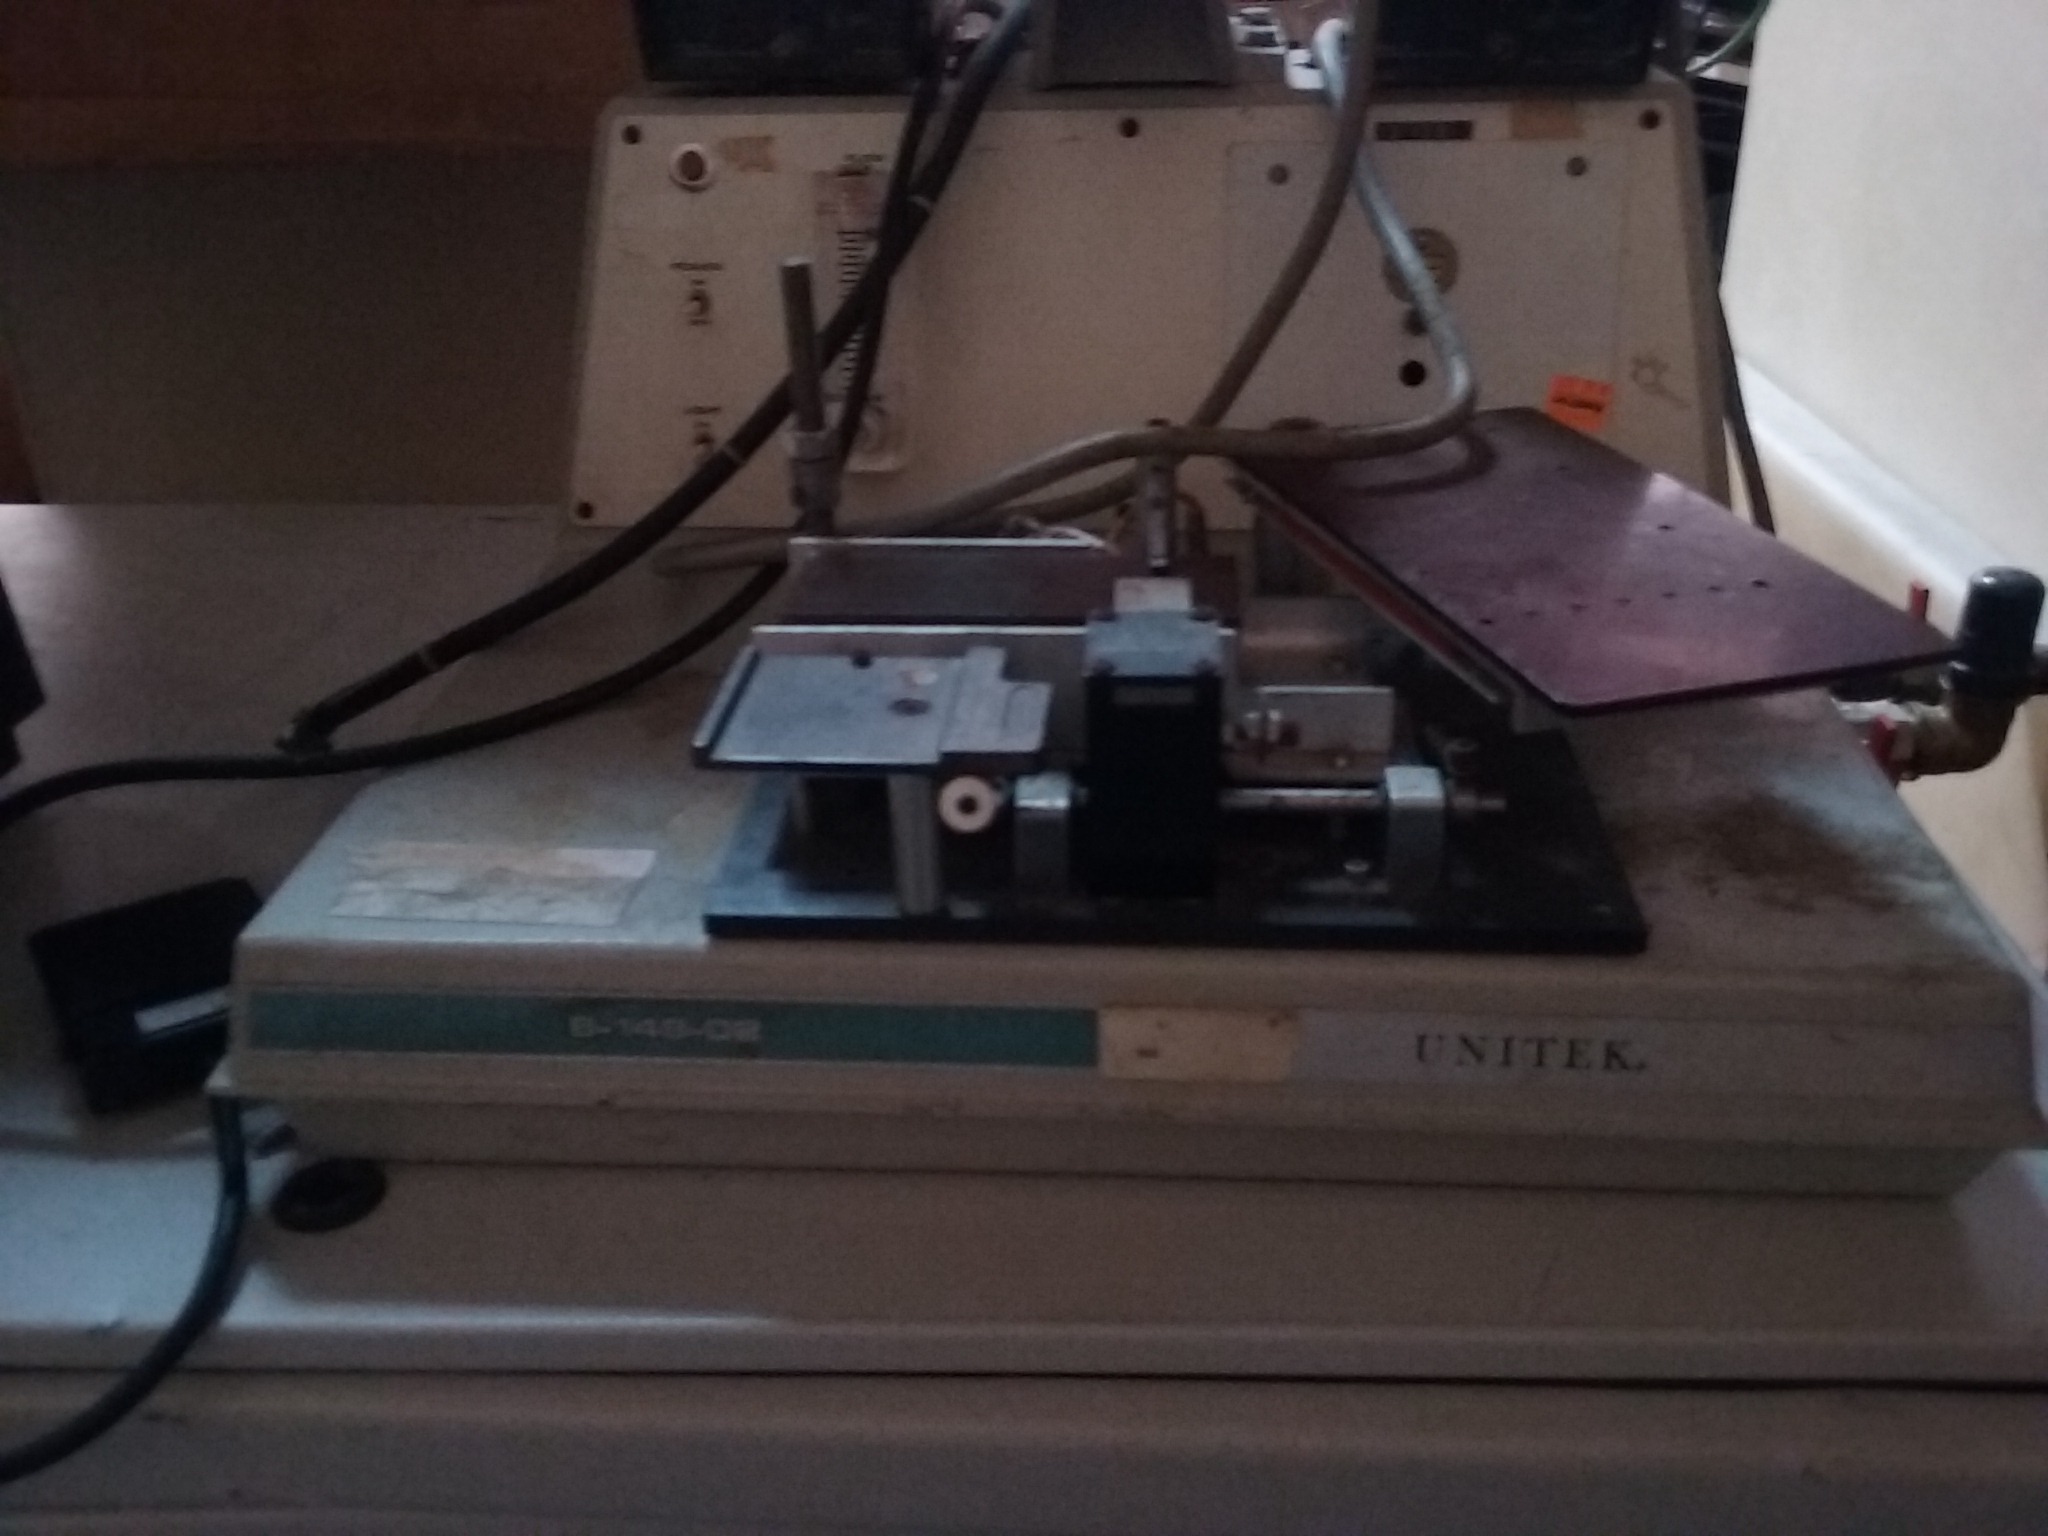
What IS this thing?
There are cables and parts bins that boggle the mind; there are bits and pieces that defy identification.
And wandering this amazing catalog are inventors and engineers of all cast and character.
Here I found small and precious treasure.
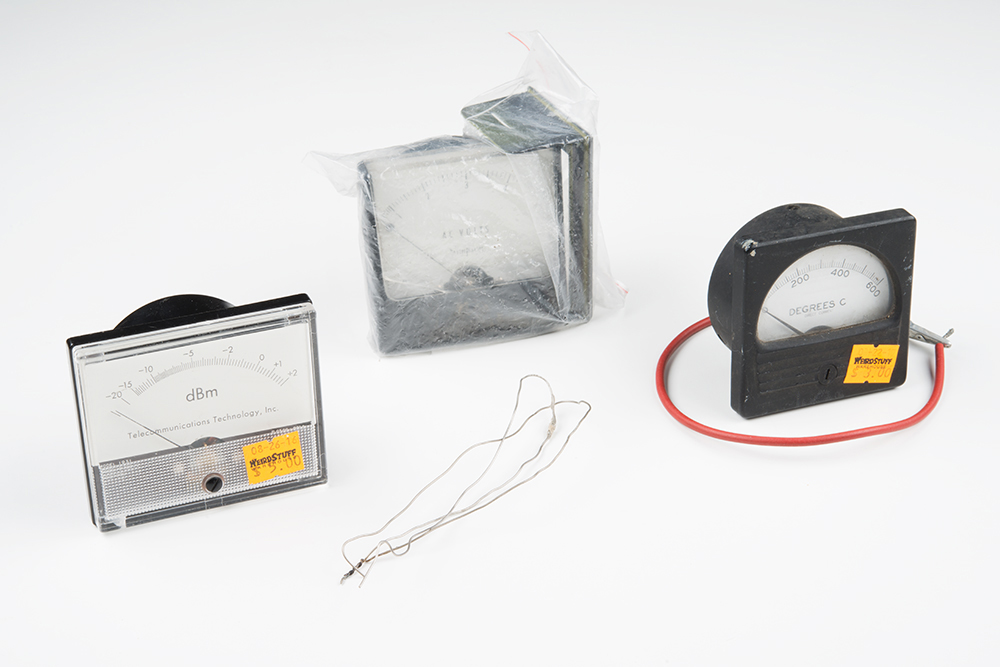
I love analog relics, and in a small box on a back shelf I found three prize analog gauges. It may seem trivial to many, but to me incorporating these into a project is a tribute to the pioneers who came before me --- and it has a super funky fun factor to it. Sold.
I got the gauges back to the office and started the process of unraveling what I’d found. The three had a level of self-explanation; there is a decibel(dBm) meter, an analog voltage meter and a temp meter. This gives me a start as to where to begin my explorations; all three will take a range of voltages at relatively low amperages.
dBm
This is relatively straightforward. There is a + and – on the back of the meter, so I’ll give it DC voltage. I don’t really know what range of wattage it was designed for, so I’ll set it up with a beefy current-limiting resistor, 10K ohm. I’ll give it a PWM voltage from an Arduino to keep from blowing it up. This is kind of my “best practices” way of probing unknown hardware.
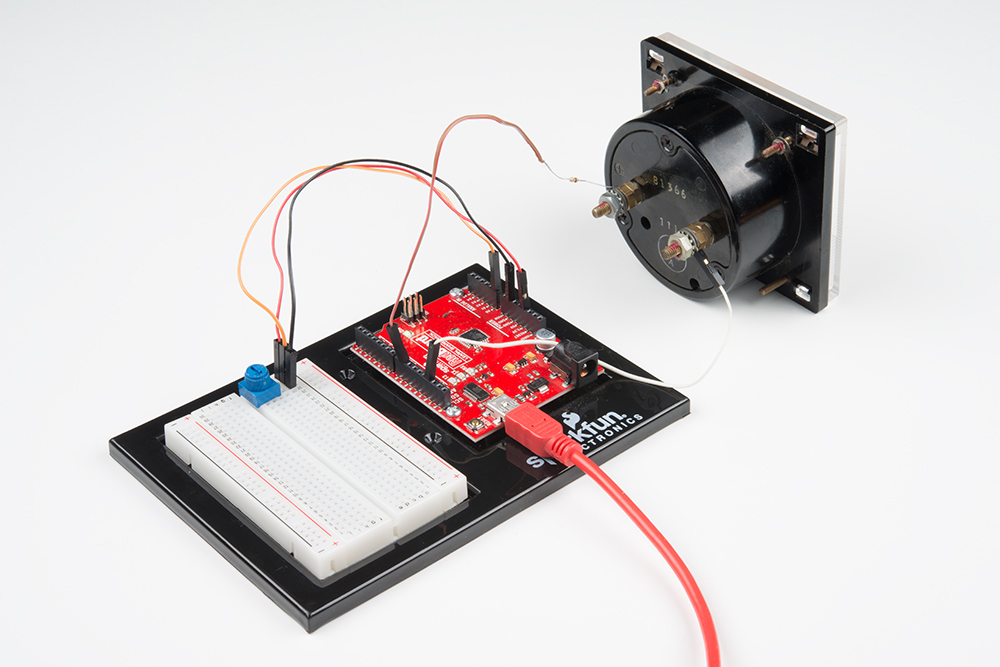
So far, so good. After a little testing it appears to be working in the center of its range at 1.25 volts, drawing roughly 130 milliamps. Well within the calibration and working order of a PWM pin on an UNO. This will fit nicely into a "hackpunk" project.
Next?
Now to tackle the temperature gauge. Sometimes when I dive into these things I need to meditate on them for a while, but I never do. The consequences of this rash approach will occur to the reader far quicker than it did to me.
The temp gauge came bundled with some pretty thick gauge wire ending in alligator clips wrapped up in what I took to be tie wire.
I pretty quickly sounded out the voltage on the temp gauge, and it was really small. Then I started looking at the wire that had wrapped up the bundle...it was twisted together at one end. Hmmm? It was also discolored at the point where the wires were twisted together. This had all the makings of a bimetallic junction.
My first reaction is that somehow this bimetallic junction had variable resistance and was calibrated to allow current to flow in different amounts based on temperature. I measured the resistance of each wire; they were different, and that meant I was getting somewhere.
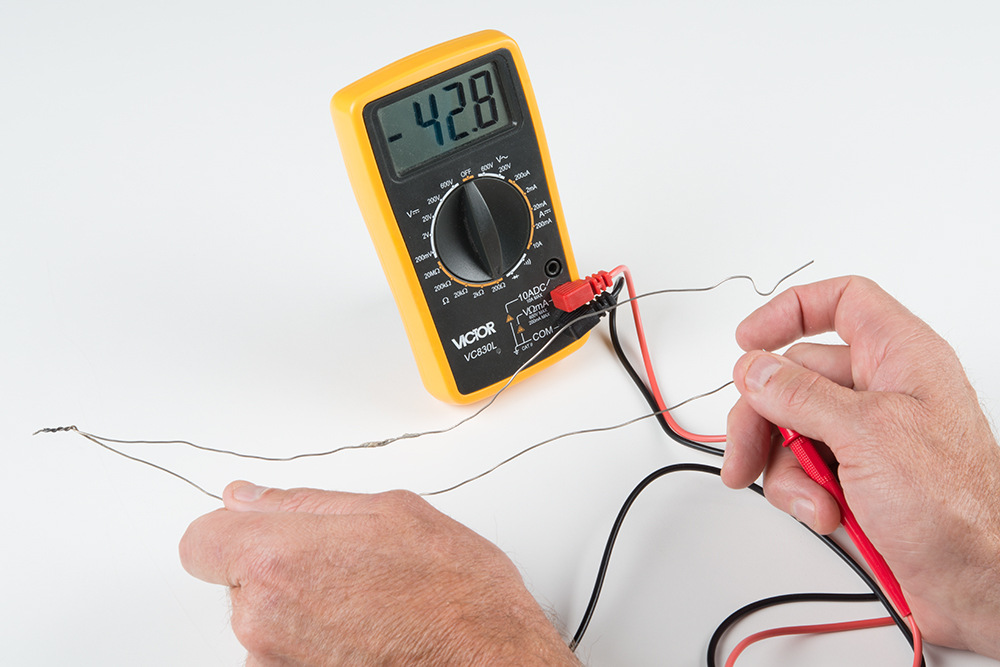
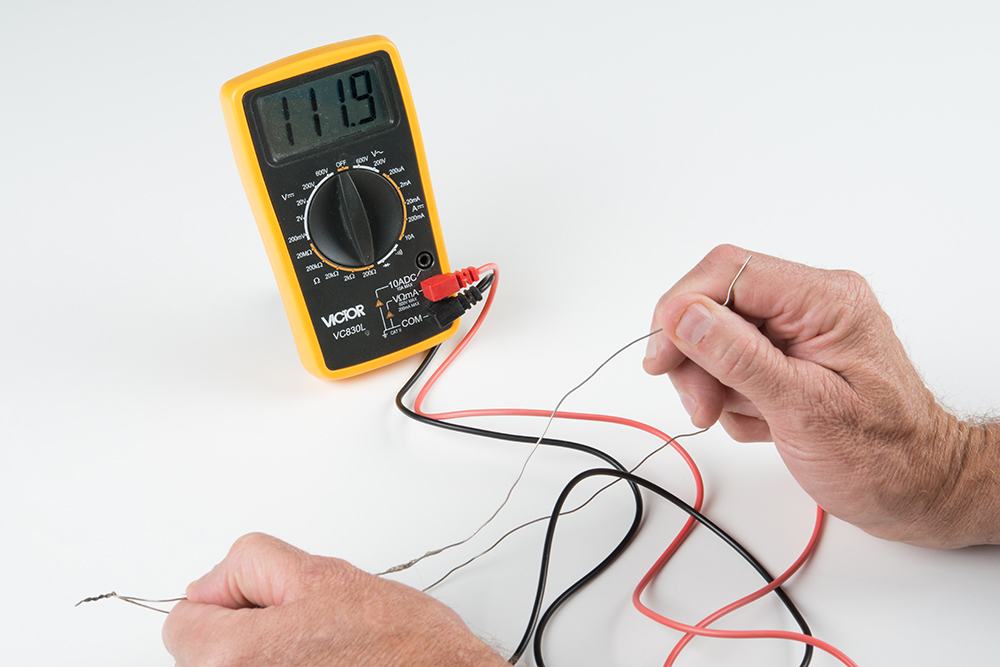
I walked over to one of our other engineers and started to describe my thought process to him. We both started to brighten at the same time and said almost in unison, “Could it be a homemade thermocouple?”
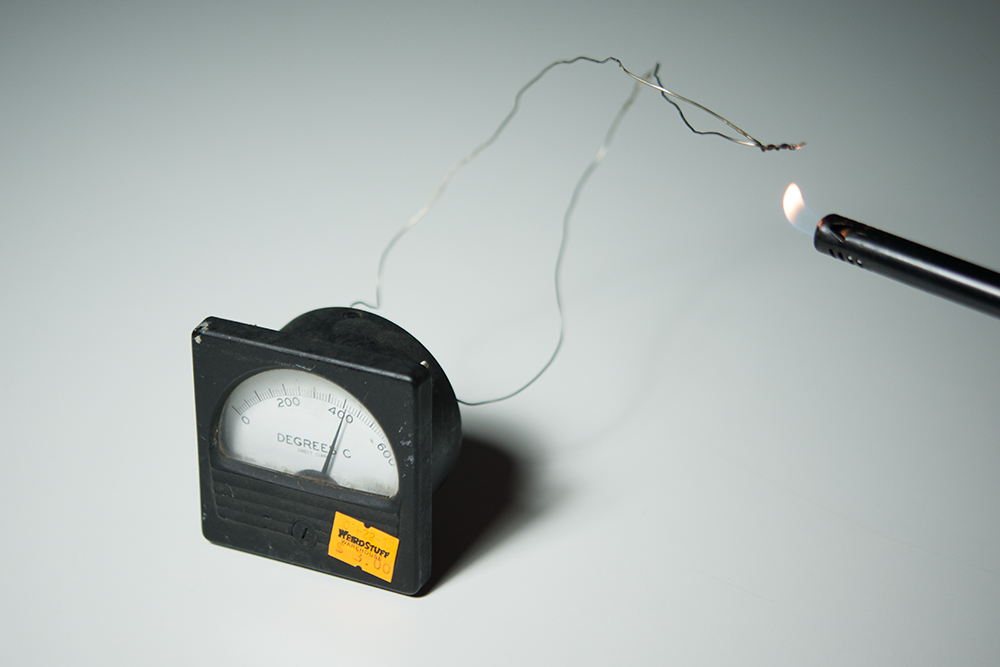
We hooked the wires directly to the back terminals and grabbed a lighter, Shazaam! The gauge jumped to life immediately, and we both broke into broad smiles.
Here is where the meditative approach would have really paid off. If I had dug into the deep recesses of my mind, I would have remembered the connection between thermocouples and voltage generation as you would see in a pilot light sensor or an older gas valve for a heater. A quick Google might have even enlightened the subject, but I just wasn’t clicking that way on that day.
I still need to dig into the AC meter I found, but that can wait for a juicy AC circuit.
So, that’s my story. I bet you all have a bunch of good tales to tell. Feel free to fire them into the comments, and I’ll look forward to reading them.


Next time in the bay area try "HSC" in Sunnyvale, a real trove of used and new electronics, just allow plenty of time. Another place is ALAN STEEL, Redwood City, often surplus government electrical stuff and of course metals. I liked Medelsons in Dayton, OH when I was there on business.
Awesome!!!! Thanks for the tips and I am on it.
I remember a sign on the wall at WSW Guaranteed not to work. If it does, bring it back and we will break it for free
Neat article!
One comment on the dBm meter, you mentioned 130mA and that being well within the range of an Arduino PWM, that's a lot of current for the micro to source from an IO pin, I believe the limits are more around 20mA per pin, though I'm not sure if that's assuming you are sourcing from every pin and thus a single output can be higher, but either way 130mA seems like a lot to source from your micro directly.
Good catch, I believe I made a typo here, should read "microamps". Great catch!
Glad to be of service!
I've seen some cool projects using old analog displays, can't wait to see what more you do with them.