“Fast” and “Easy” USB PD: Prototype to Production
Hit the road, barrel jack, and upgrade to USB Type-C power

Jonathan, a passionate hardware engineer, routinely found himself creating tools to assist in the projects he’d been working on for several years. In late 2018, he began to merge several of his personal projects into a single tool, and the Binho Nova Multi-Protocol USB Host adapter was born. A veteran of several Bay Area hardware startups, he enjoys wearing many hats and doing whatever it takes to bring high-quality products to market, from proof-of-concept through mass production. Above all, he wants to share his enthusiasm for developing quality hardware products with as many people as possible.
Curious to learn more about Binho or this project? Head over to the forum thread for this project! Binho’s Founder, Jonathan Georgino will be there to answer questions!
Ready to get started with the Binho Nova Multi-Protocol USB Host Adapter ?
Grab one today and get a Binho Qwiic Interface Board for free! Offer is available to the first 15 customers to use the promo code “BINHO20.” Be sure to place both boards in your cart before checkout.
Rules & Information:
- One per customer, 15 total uses available
- Code will be active September 15 - September 30th at 11:59 p.m. MT
- Add the Binho Nova (DEV-16382) and the Binho Qwiic Interface Board (BOB-16420) to your cart!
- Use code "BINHO20" during checkout (be sure to have both boards in your cart!)
- No rainchecks or backorders will be allowed. We will not be allowing the combining of orders. Distributor and reseller accounts will not be eligible.
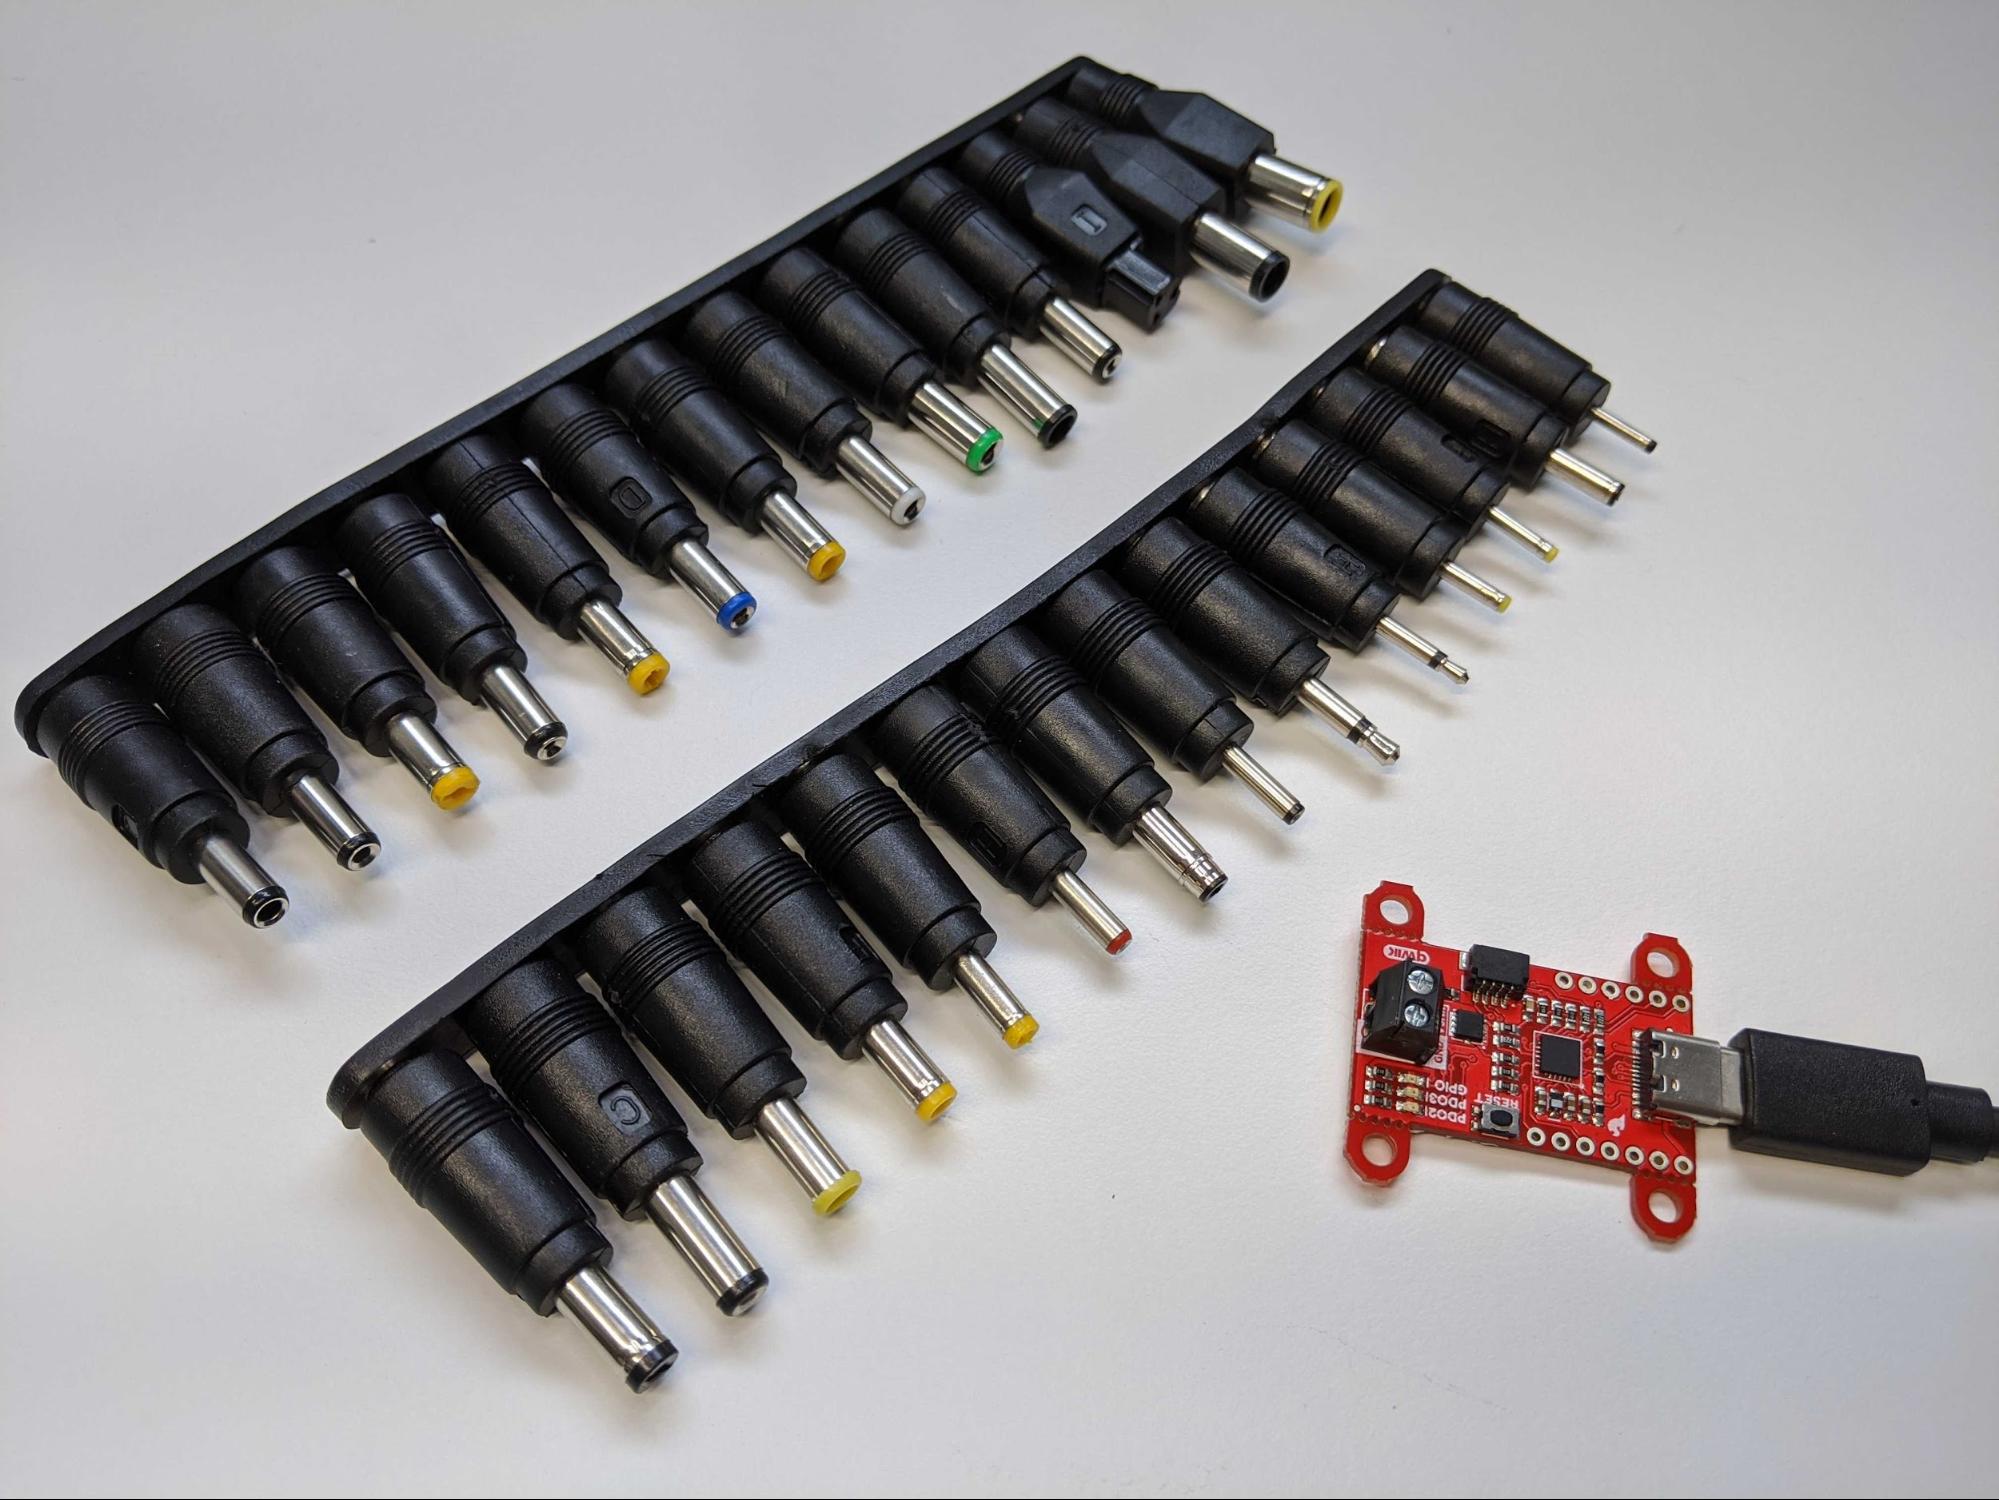
There comes a time in every electronic product’s development when you have to ask the question, “How will users supply power to this thing?” Maybe you have an older design that uses one of the various DC barrel jacks and associated wall warts, which always get lost in the tangled mess of the Misc. Power Adapter drawer. Maybe it’s time to upgrade that barrel jack to the increasingly standard USB Type-C connector for a more streamlined experience.
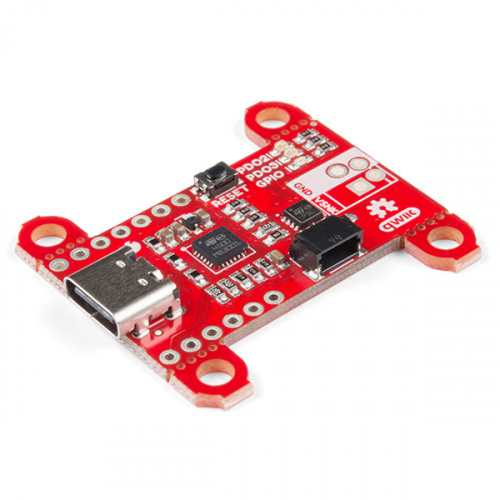
Fortunately, STMicro makes a chip (STUSB4500) designed precisely for fast and easy migration from DC barrel to Type-C. Now, “fast” and “easy” are four letter words in the manufacturing world, but in this short article we’ll turn those four letter words into four actionable steps toward successful implementation. Let’s get started!
Step 1: Prototype with the SparkFun Power Delivery Board
The first thing you’ll need to do is learn just enough to be dangerous. The formal USB Power Delivery documentation, while comprehensive, can be a heavy lift. Thankfully, the folks at SparkFun produced a Hookup Guide for the Power Delivery Board, which uses the STUSB4500 chip. This guide also provides an adequate briefing that covers the important aspects and nuances of using USB PD. Reading the USB-C Power Negotiation section should provide you with everything you need to know to get started.
Now that you’re armed with the knowledge of sinks, sources, PDOs and Power Contracts, it should be relatively straightforward to determine a good starting point for the STUSB4500 configuration you’ll want to use in your product. The STUSB4500 is a stand-alone USB Power Delivery Sink controller, meaning it doesn’t need to be connected to a microcontroller - rather, the desired configuration is simply loaded to its internal NVM (non-volatile memory) once, likely during product assembly, and will always use that configuration.
There are a variety of ways you can connect to the SparkFun Power Delivery Board to load the desired configuration into its NVM, but in keeping with the “fast” and “easy” theme we recommend using a USB host adapter like the Binho Nova to connect directly to the I2C bus on the board. Aside from being a handy tool to directly interface the board to your PC, using the Nova now gives us an easy path for manufacturing, discussed in step three below. The SparkFun Power Delivery Board conveniently has a Qwiic connector, so using the Qwiic Interface Board to connect to the Nova Host Adapter will probably be the quickest option (see what we did there?)

Step 2: Integrate the STUSB4500 circuit into your hardware design
Once you have prototyped your configuration with the SparkFun Power Delivery Board, it’s time to integrate the STUSB4500 chip into your hardware design.
If you’re using Eagle, you can go right ahead and pull the symbols and footprints from SparkFun’s open source design files for this board.
If you’re using Altium, STMicro provides reference design files that can be accessed here. The files can be found in the section titled "Hardware Resources" about a third of the way down the page. The item is titled "STREF-SCS001V1 Altium Library."
For any other tool, I’d recommend pulling the design assets from SnapEDA.
Be sure to expose the SCL and SDA signals, as well as GND, on test points. These will be used for loading the configuration determined in step one onto the STUSB4500 IC on each and every board during production. The folks at FixturFab have a fantastic blog post regarding best practices for putting test points on your PCB. Once the design is ready, go ahead and fab a handful of them - I always recommend building first-articles by hand as you’ll get to intimately review aspects of your design that might have otherwise been missed.
Once everything visually looks good, go ahead and load the configuration and give it a try! Again, you can use the same Binho Nova to load up that configuration, connecting via those exposed test points on your form factor board.
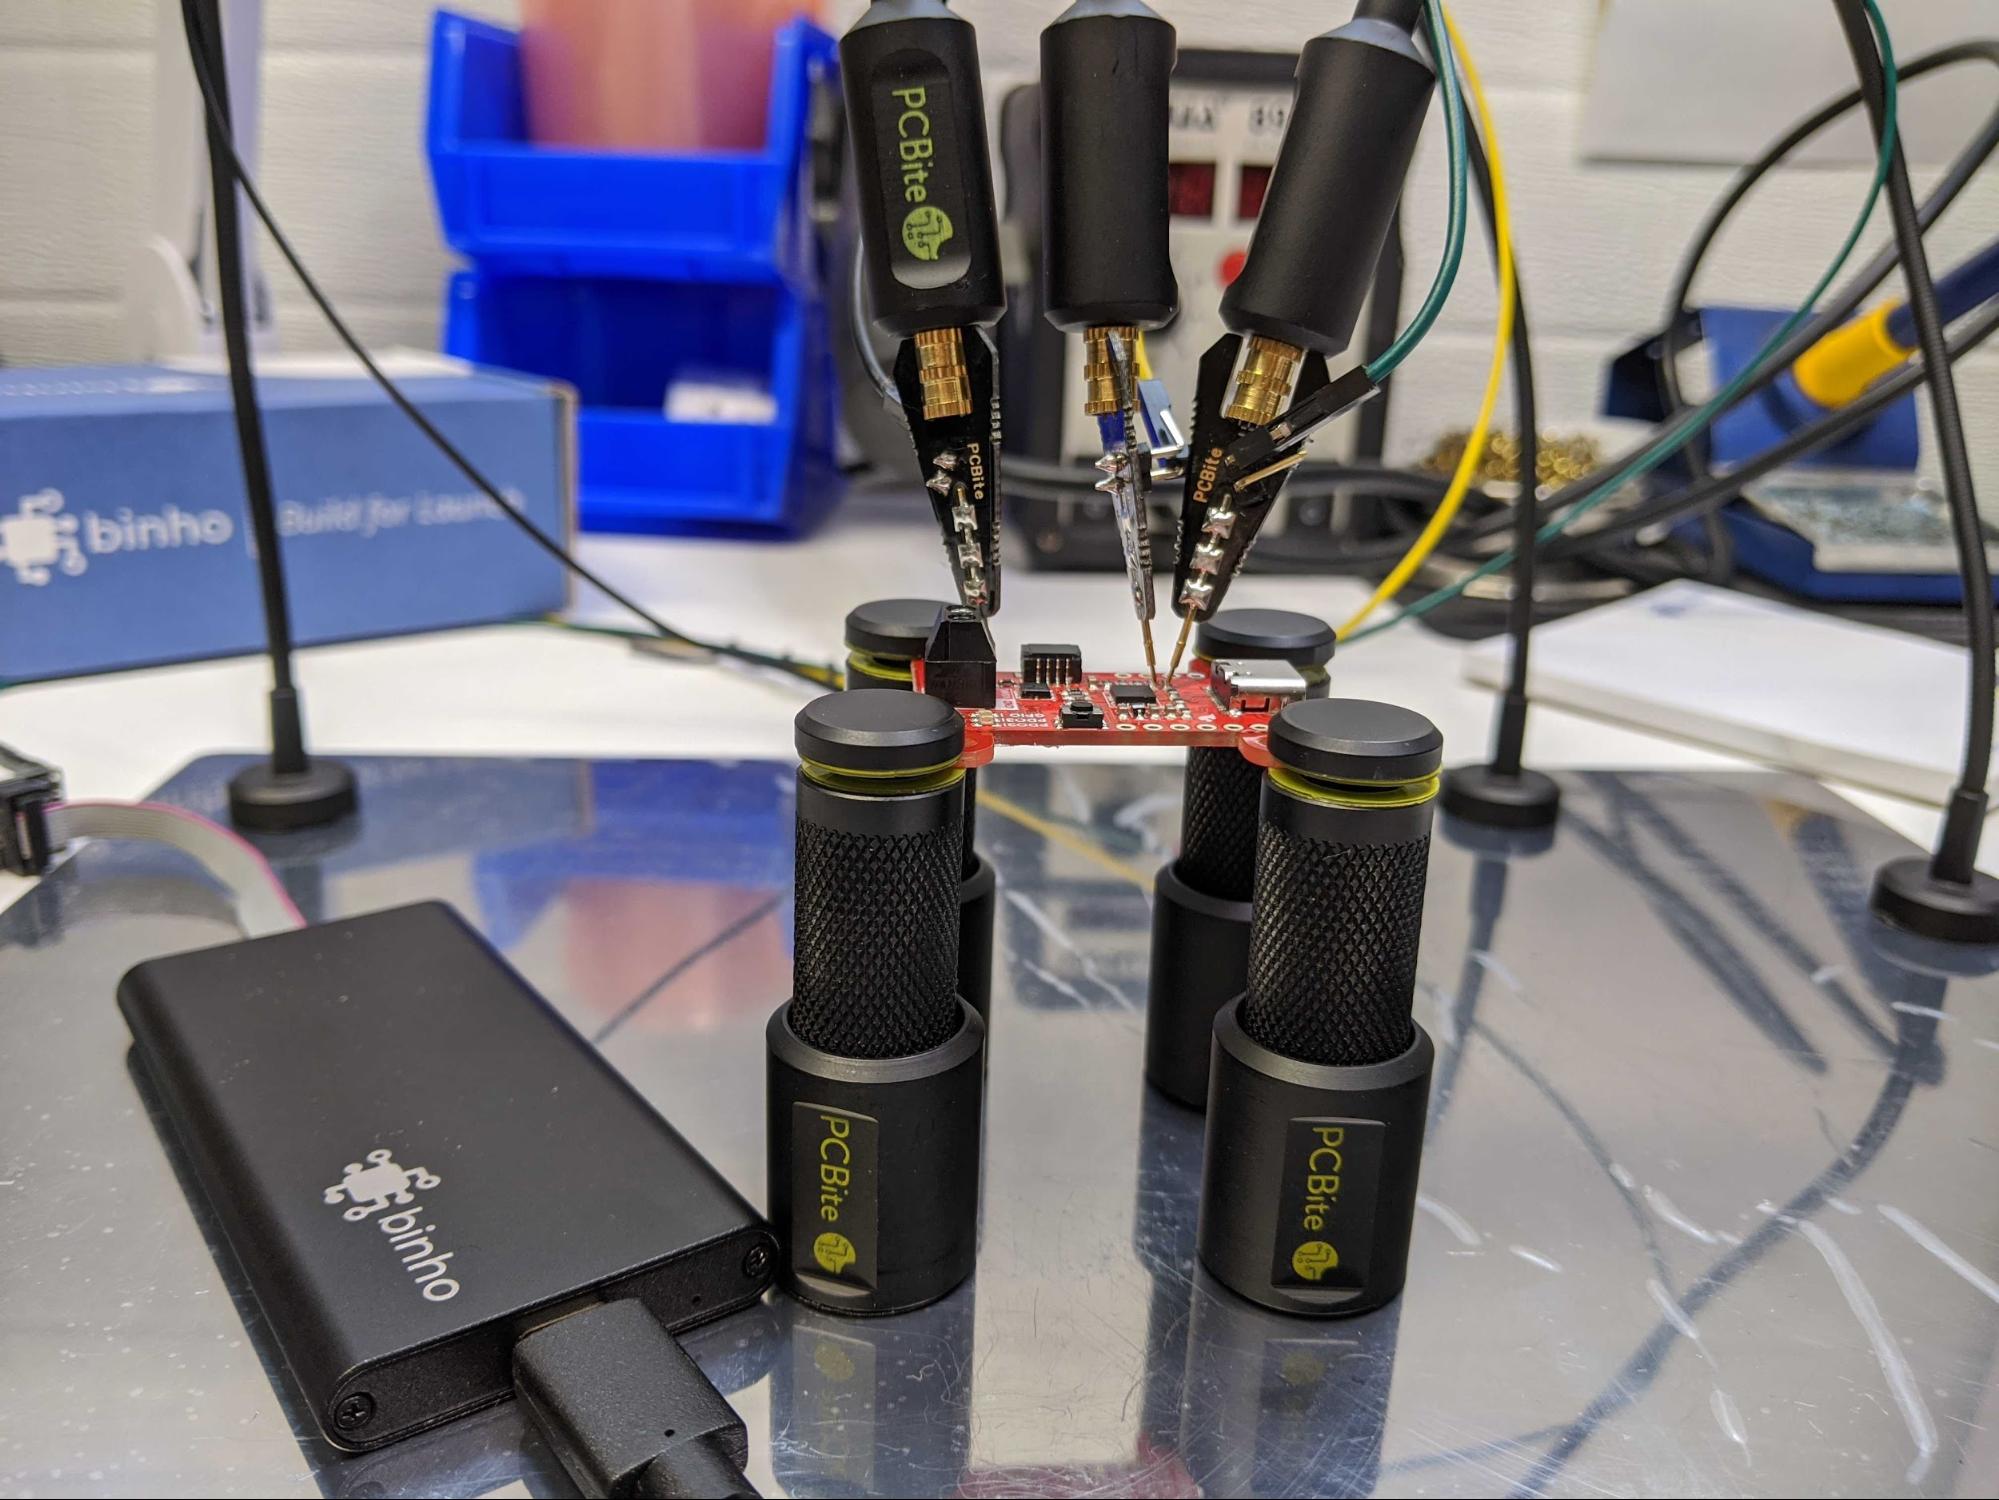
Connecting Nova to the I2C bus using PCBite probe kit. Note that in practice you’d actually be probing your custom board. I worked on a proprietary design that I couldn’t photograph, so I’m demonstrating this technique with the SparkFun board.
If you’re moving very fast, you may already have a bed-of-nails test fixture ready, although it’s very likely that your first boards are available before the fixture is ready. The Sensepeek PCBite probe kit is the perfect way to zoom through the testing and validation stage when you don’t have access to a test fixture. These probes provide a solderless, hands-free method to connect to the surface mount test points on your board. Even if you forgot to add a test point to an important signal, the pins on the probes are so fine that you can easily probe the leads on the IC itself if necessary.
When the new design has been tested and verified, it’s time to look at the changes that will need to be made on the production line.
Step 3: Update the manufacturing line
Now that the STUSB4500 IC is integrated into your hardware design, you’ll need to put on your industrial engineer hat and figure out the best way to introduce an automated fixture capable of loading the configuration for that IC, verifying the configuration, and performing the appropriate tests. It’s not uncommon for firms to spend $10K+ on automated fixtures, but the good news is that doesn’t always have to be the case. Fortunately, there is a more budget-friendly solution that will work just fine for production runs up to tens of thousands of devices. This solution comprises a FixturFab DEV260 Test Fixture, pyTest (a Python framework for automated testing), and a Binho Nova (the host adapter you used in steps one and two above).
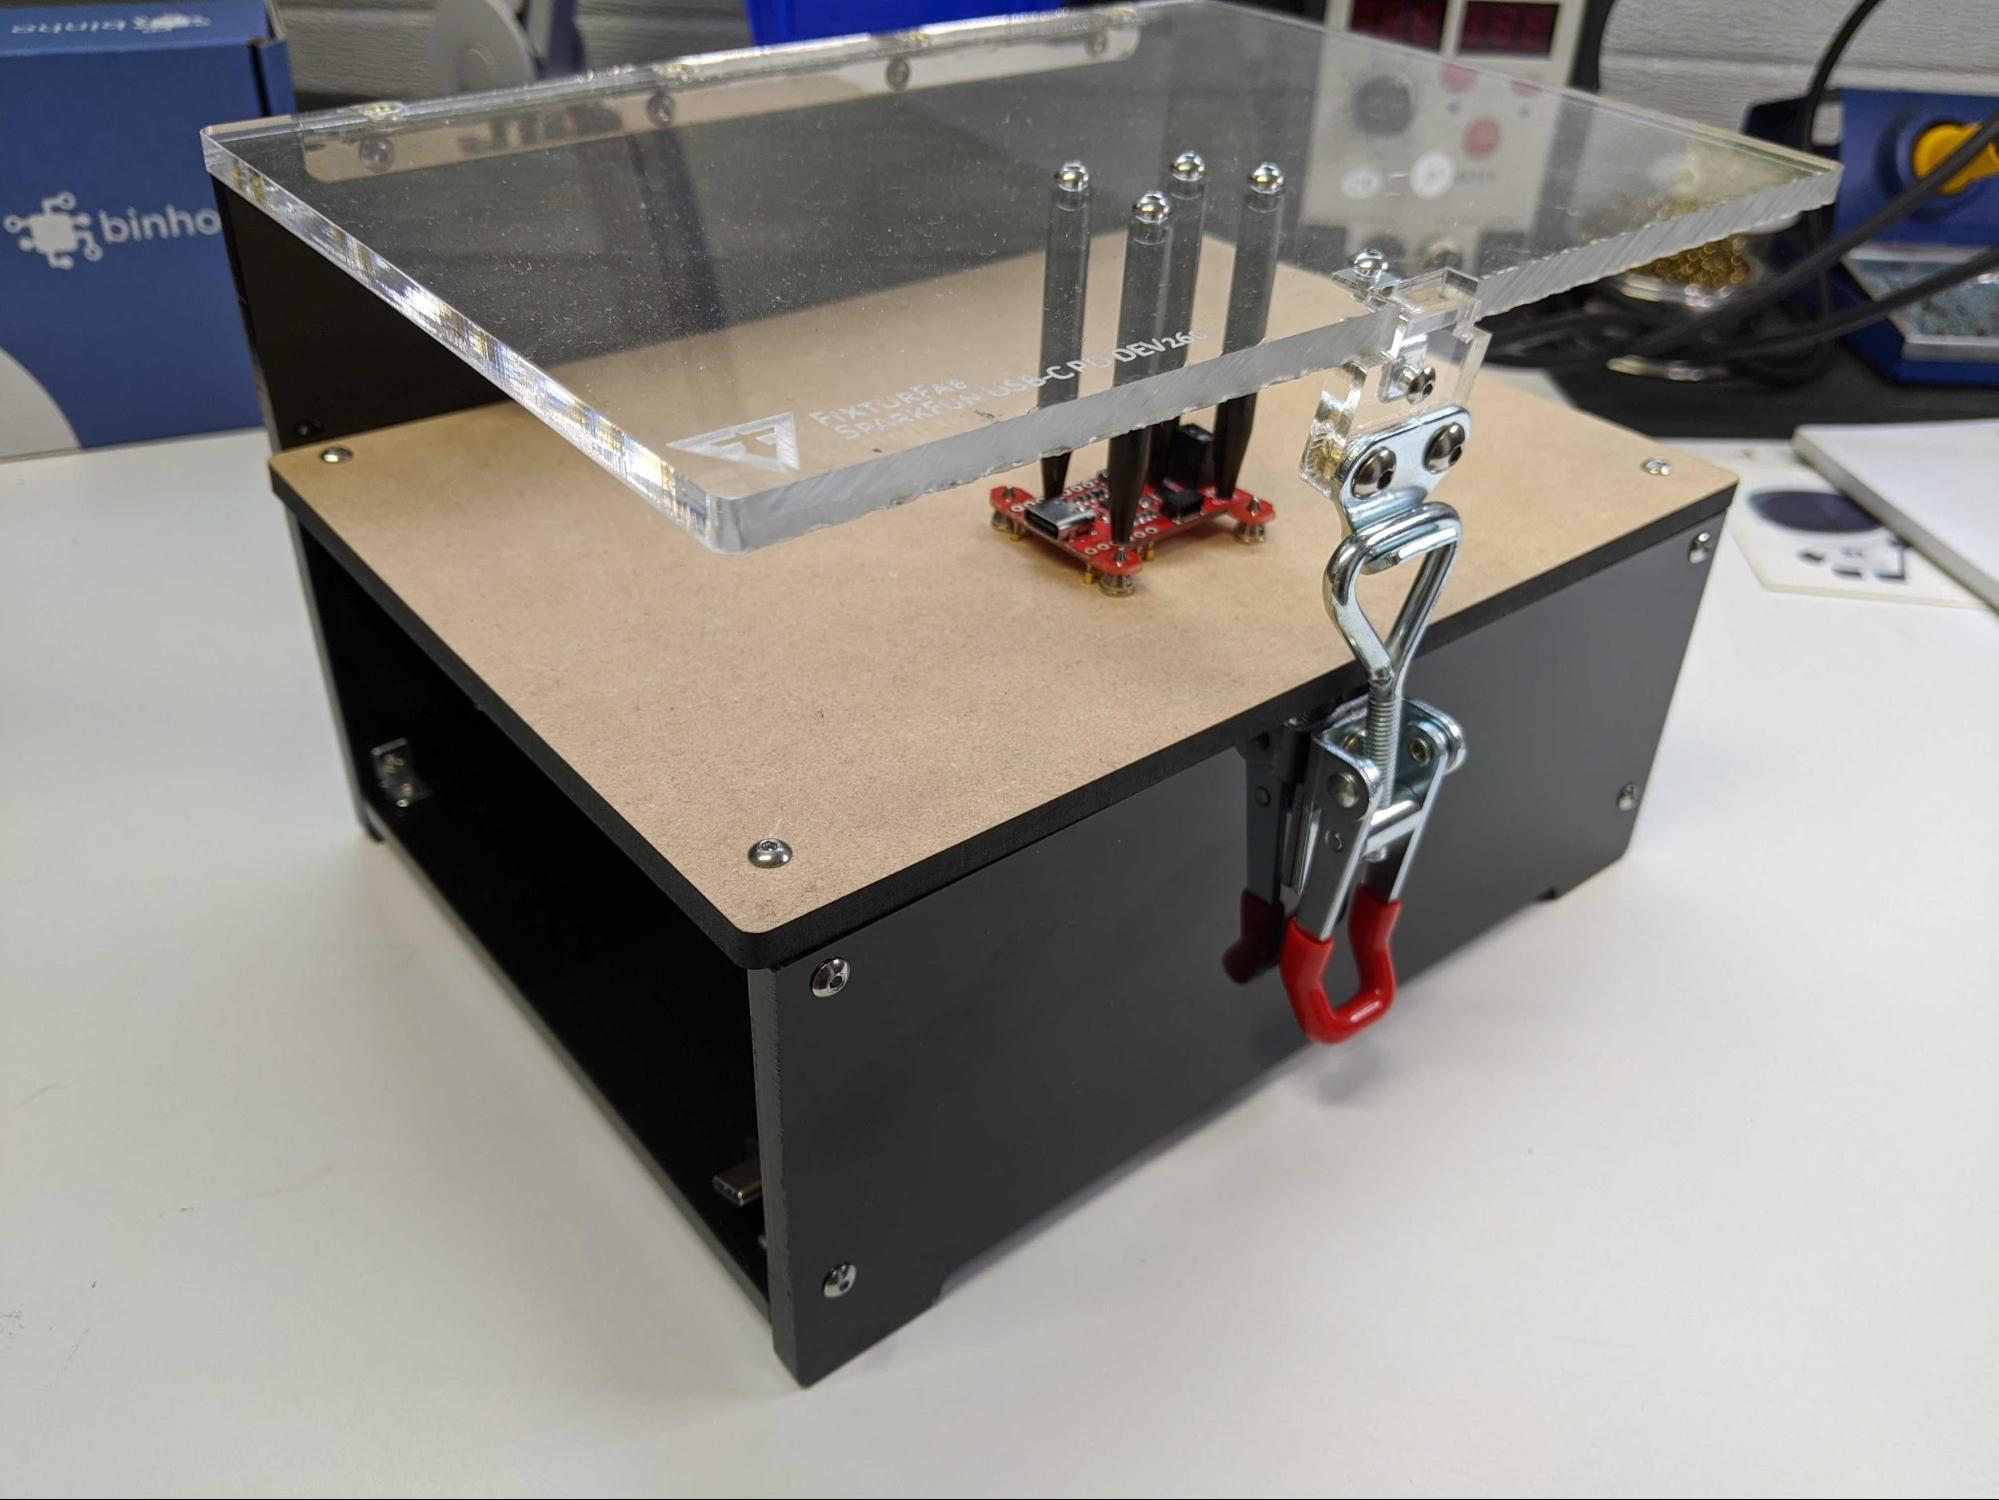
To create your own custom fixture, you can follow this demo from the team at FixturFab, where they show you how to generate design files to quickly build a bed-of-nails test fixture for this exact board.
Then with your fancy new custom fixture in hand, you can use this demo test script as a starter for getting the automated testing part of your fixture rolling with the Binho Nova and pyTest framework. The demo code loads the configuration to the STUSB4500 and verifies it. Here’s a screen capture of the test script in action:
Step 4: Celebrate
Yes, that was “fast” and “easy.” Pat yourself on the back - you’ve given new life to an aging product through an updated, sleek USB Type-C connector, your manager is pleased, and your customers enjoy the improved user experience. And even better, hopefully you’ve learned something new along the way and added some new tools to your toolbox for future use.
Happy Debugging!


I wonder if the less expensive MCP2221 would work in this situation as well. It's a USB to I2C converter chip.
The blog from FixturFab is good, though one thing I've seen that it didn't mention is using a "via" or un-populated PTH pin as a test point. (This would be especially advantagous to folks like SparkFun or Adafruit who expect their customers to be soldering on additional components, such as connectors or headers.)