It is widely acknowledged that children love Minecraft. They also tend to love things that glow. So why not combine these into a super-mega-happy-awesome project? Behold, the Enderman head:
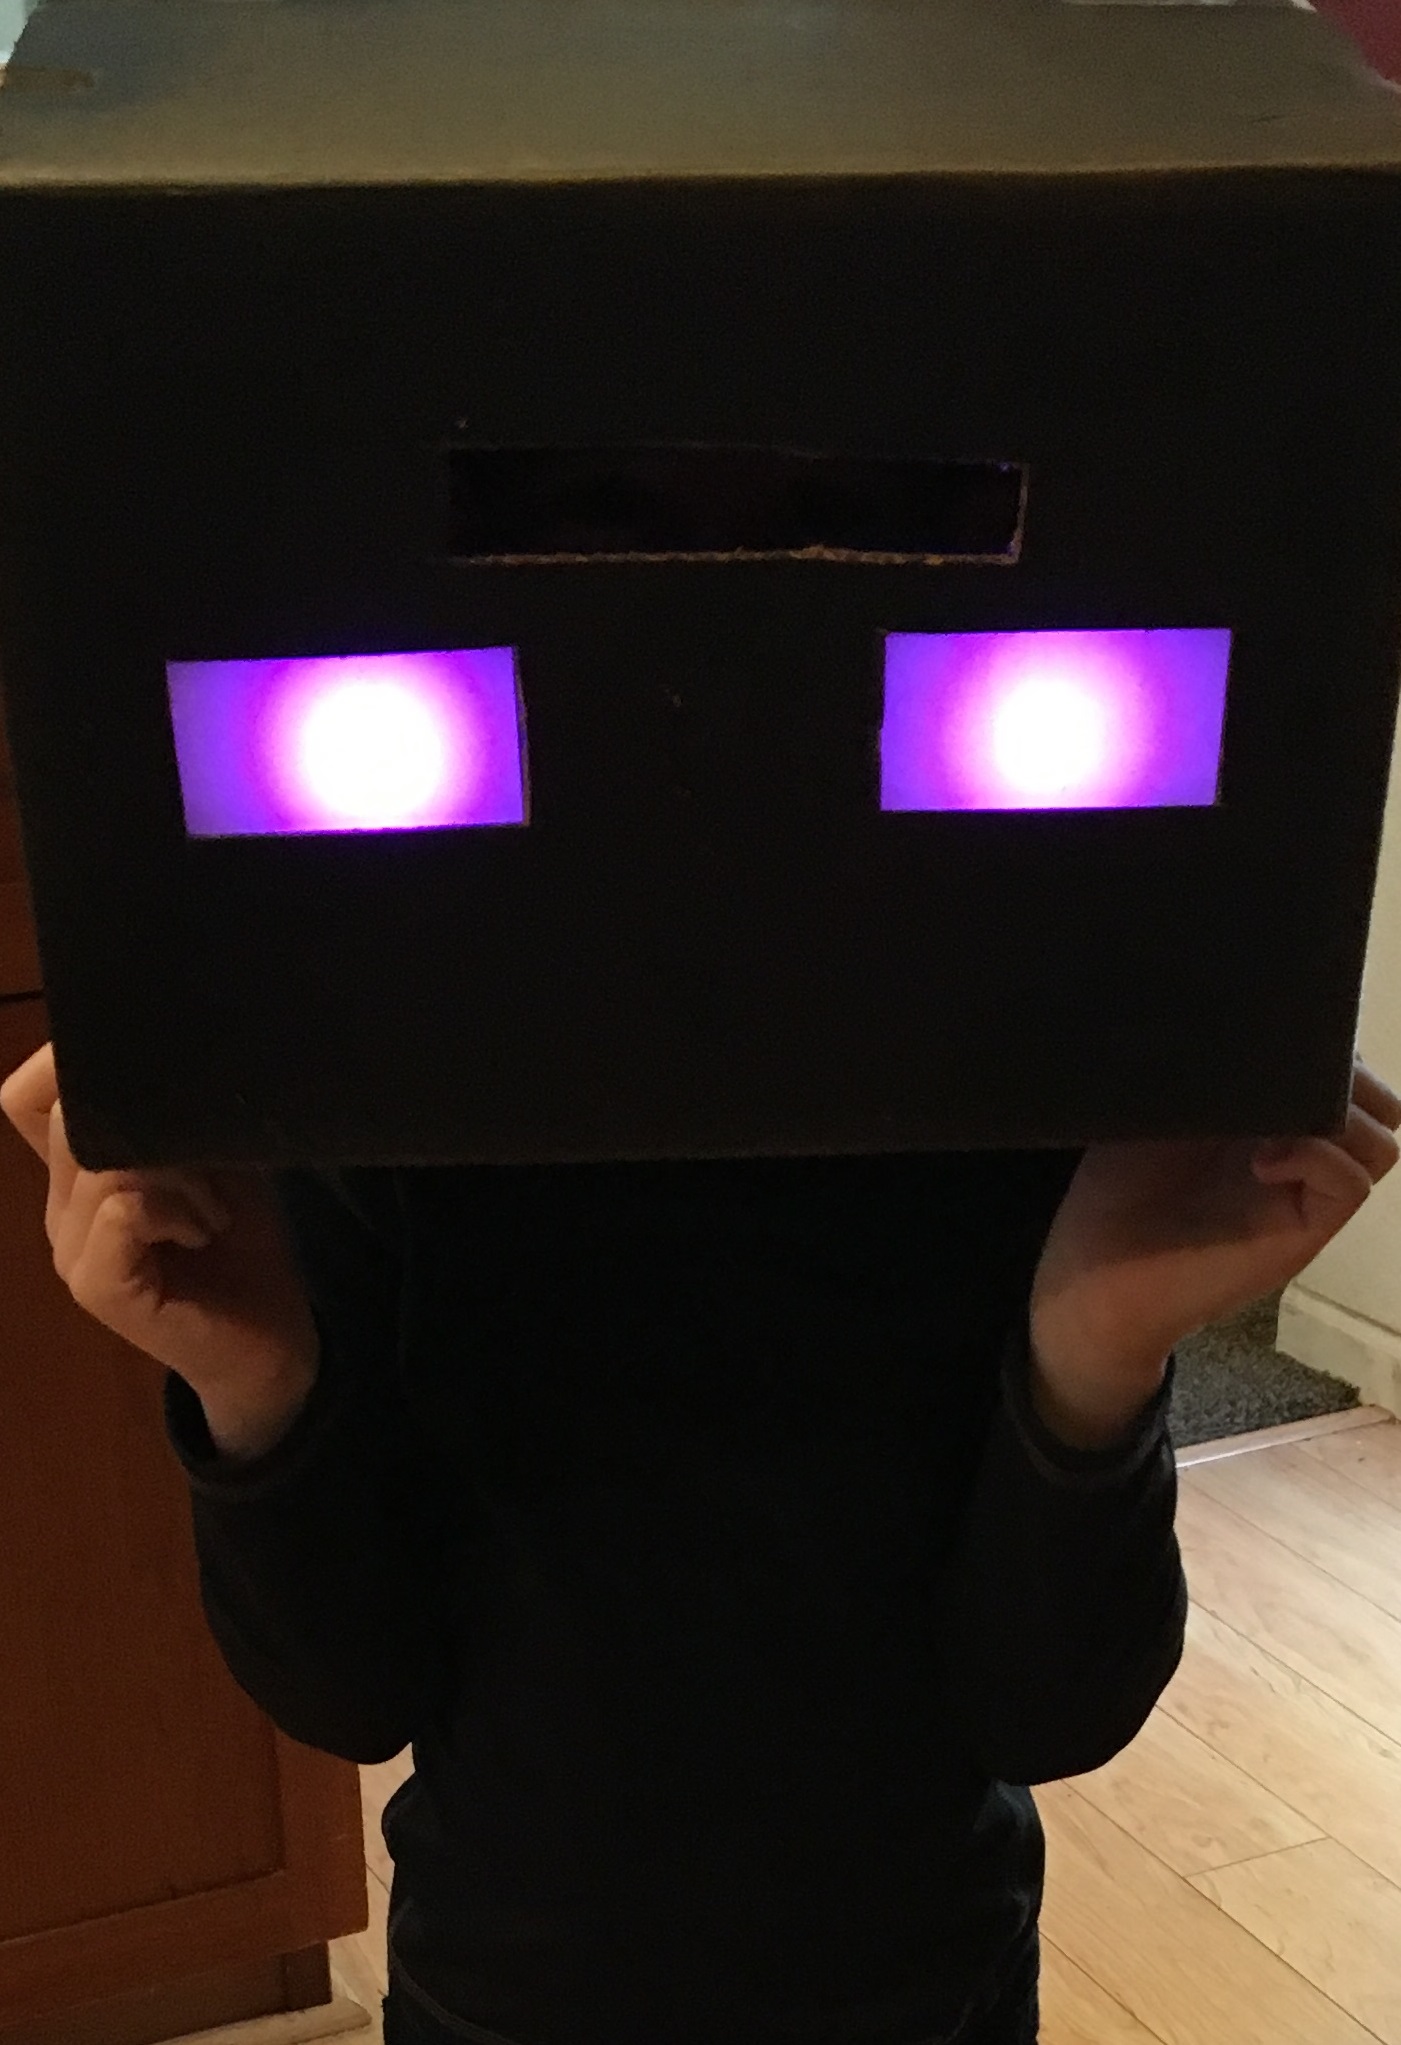
Spawned from an overabundance of cardboard boxes, a few extraneous Pixel Boards, and some spray paint and fancy sewing, we now have a glowy-eyed Enderman head that brings all the neighborhood kids to the yard.
To make this project, I used the following:

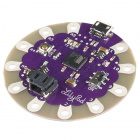
The LilyPad line has some pretty amazing documentation - I followed the LilyPad Pixel Board Hookup Guide to get my board and pixel boards all hooked up. There's also a wishlist in this hookup guide that has pretty much everything you need!
If you've never worked with e-textiles or the LilyPad line, I recommend starting here:
In addition to the hookup guide wishlist, you will also need the following:
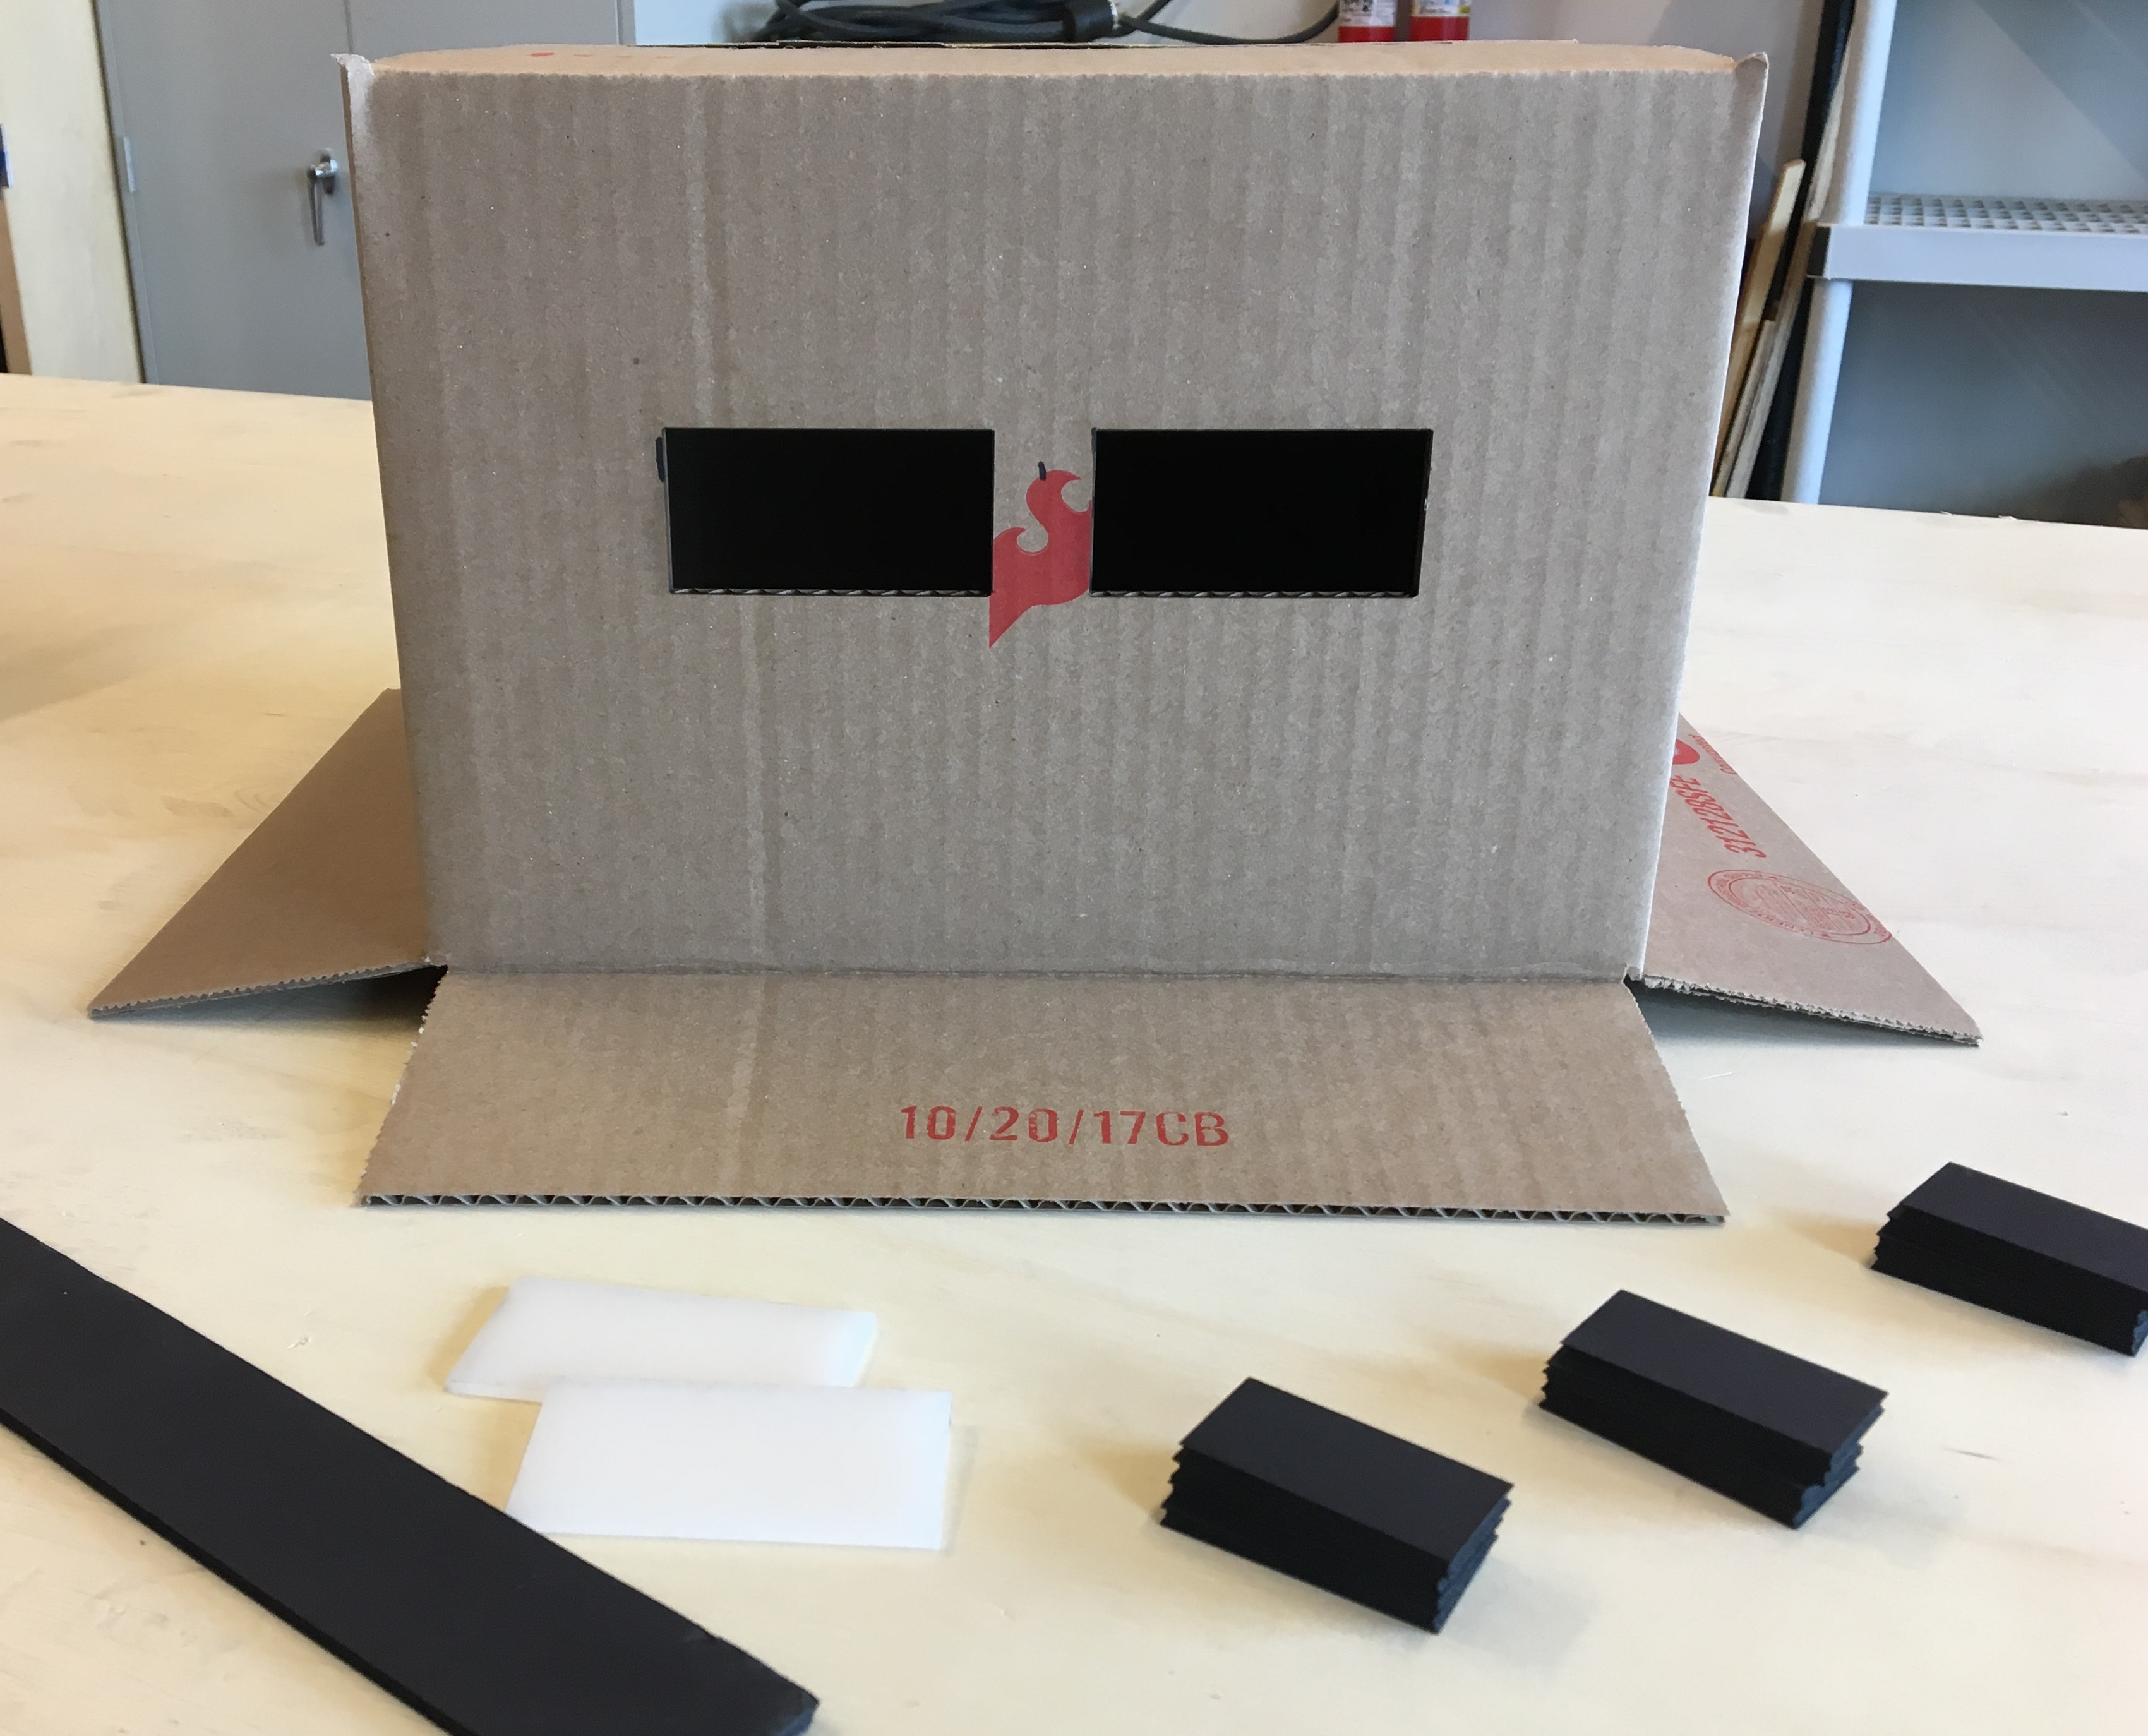
- A box that fits your child's head (SparkFun boxes are PERFECT)
- Some black foam board
- Black spray paint
- Glue, tape, or a glue gun
- Two opaque acrylic rectangles
- A child
For the box, we glued the top flaps shut for the painting and left the bottom open for ease of assembly. Once we were all painted up, we cut an appropriately sized hole out of the bottom for the head to fit through. We also measured about halfway down the box and cut holes for the acrylic eye plates. Keep in mind that you will need to cut another hole above these eye plates so your kiddo can see out of the box. Also - don't mount those acrylic plates yet!
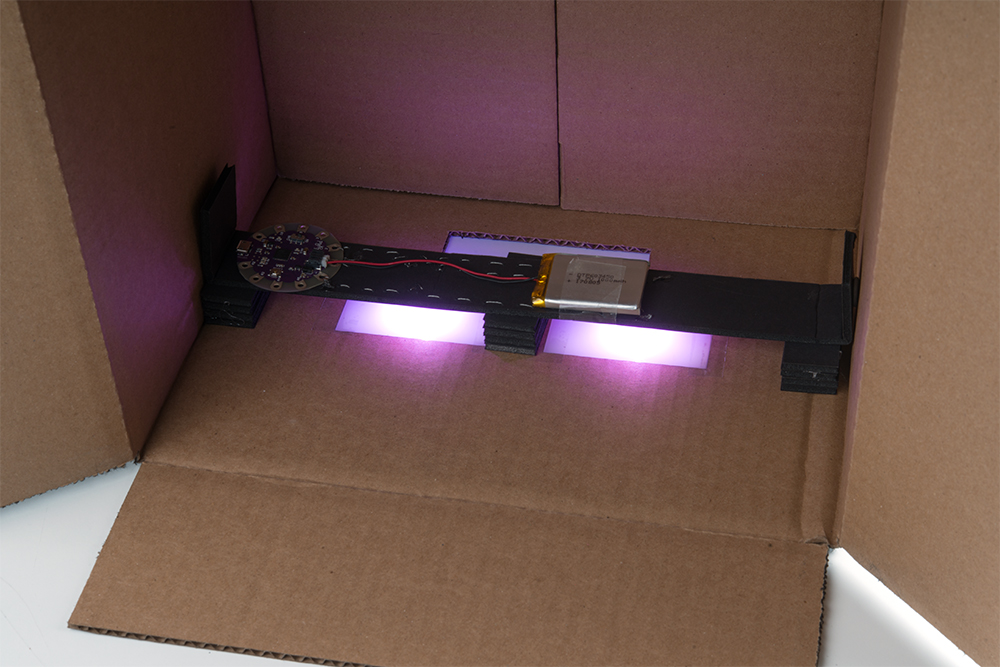
Now for the fun stuff! The Pixel Boards, Arduino and LiPo battery are all mounted on a foam board strip inside the box head.
I cut the foam board strip a little longer than the box width to help with mounting. I centered it on the box and folded the ends back as flaps. Once it was folded and in place, I marked where I wanted the glowing eyes from the front of the box.
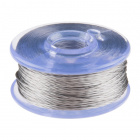
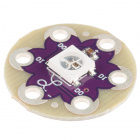
Once I knew where the Pixel Board eyes would go, I set about sewing the Pixel Boards as well as the Arduino to the foam board strip. I mounted the Arduino controller on the backside of the strip so that the lithium battery could also be mounted on the back of the strip. This makes for easy access to the on/off switch and for battery charging. Again, refer back to the tutorials listed above if you have never worked with conductive thread.
After verifying that the circuits were working and my Pixel Boards glowed a beautiful purple color, it was time to mount everything!
Start with the acrylic plates. I just used clear tape on the inside of the box to affix these guys into place. I also used spacers - three sets of them - to offset and stabilize the foam strip carrying the Pixel Boards. I used the same foam board (four thick) and my trusty glue gun to fix these into place. I then glued the Pixel Board flaps into place and switched it on.
A few notes:
Before sewing the circuits, I used a ballpoint pen to draw the connection lines on my foam strip to ensure connections would be made appropriately and that there would be no shorts. I also used the needle to poke holes along those circuit lines so that the actual sewing would be easier.
After sewing the circuits, I used a glue gun to seal the loose ends to the foam board. This prevents shorts from happening!
While I used clear packing tape to set both the acrylic eye plates as well as the battery in place, I used a glue gun to secure the foam board spacers as well as the Arduino and the flaps of the Pixel Board strip.
We ended up using black yarn to sew a baseball cap into the interior of the box (which was no small feat) to keep the box from sliding around on the kiddo's head. We also ended up cutting an eye slot above the glowing eyes and putting a black mesh on the inside of it to keep his face obscured.
We had a great time making this project and it was a great way to get a kiddo involved and learning about circuits! What projects have you made with LilyPad? Let us know in the comments!
Interested in learning more about LEDs?
See our LED page for everything you need to know to start using these components in your project.


Adults love Minecraft too. <3 I love how this project can be extended to include the LilyPad MP3 trigger to play the Enderman "death" and "teleport" sound effects and you got the purple just right.
You could also do this in a much simpler (& cheaper) fashion using 2 purple LEDs, some wire and solder (along with the battery, resistors, and a switch). I guess it is a matter of what you are comfortable with.
True. I chose this method because I was teaching the basics to young'uns. I also had some of the parts just sitting around so it worked out to be pretty inexpensive as well. Win win!
Yeah, I made my Enderman costume with rectangular LED panels and coin cell batteries.
https://www.youtube.com/watch?v=XcrxgFwA3gI
The purple is on point in this make, though. Nice project!