Getting started with Arduino cryptography
I love puzzles – in particular, I love puzzles that involve cryptography.

I'm always looking for a way to teach difficult concepts in classroom settings, especially if I can lean on the confluence of my love of tinkering and my love of puzzles.
I bought a new house several months ago and it has a garage. I don't want to buy new garage remotes (that would be much too easy) when I can build them out of parts that SparkFun sells everyday. The thought occurred to me that it would be fun to do in encrypted wireless using an XBee module; that way I could program not only commands for the garage door, but for lights and the front door and anything else that I can put on electronic control.
At the heart of the way we do business on the web is RSA encryption. RSA is a brilliant and complicated way to encrypt information using large prime numbers. As many of us can remember from algebra, the prime factorization of large numbers can be very difficult. RSA relies on using this within a framework of modular exponentiation and totient equations to pass information safely.
All of this is very effective for secure banking transactions, but probably not necessary for turning on lights at my house.
When I started thinking about this problem I did, however, take some of the way we think about RSA encryption and applied it to a simple Arduino program. Here is how I thought about my problem:
Using an Arduino base station to store an array of three-digit numbers.
Use the random function in Arduino to generate a random number, store it in a variable and subtract it from a random place in the array.
Pass the place in the array and difference generated to a client device as values separated by commas.
If the client device has the matching array as the base station, it will subtract the number it received from the specific place in the array, and pass the difference back to the base station.
The base station will add the answer it receives from the requesting device to the number stored in the variable. If the sum of these two things is equivalent to the place in the array that the base station has been working with, it will grant access to the client device.
Let's look at this in action!
My array = {103,147,171,199}

My random number generated = 59

My random pace in the array = 2

So: 171-59 = 112

I pass to a device requesting access (2,112).

If that device has the same array stored on it as my key array on the base station, it will subtract what it received from the specified place in the array.

 171-112 = 59
I send back to the base station a request (like the character “r”) and 59, so the transmission would be (r,59).
The base station then adds the number it receives - if that number and the number it sent are equivalent to the value in that place in the array, it grants the request. In my Arduino code I have set it up so that our lights are red LEDs.
Here’s some Arduino code; test it with the serial terminal.
///////////////////////

int keys[]=

{117,161,173,187,199};

int arryPos=0;

char request;

int arrayPos;

int subtractNum;

int returnVal;

int red=0;

int blue=0;

int green=0;

void setup()

{
Serial.begin(9600);


pinMode(13,OUTPUT);

pinMode(12,OUTPUT);

pinMode(11,OUTPUT);

pinMode(10,OUTPUT);

pinMode(9,OUTPUT);


}


void loop()

{


//subtractNum=10;


  if(Serial.available()!=0)

  {

request= Serial.read();

 digitalWrite(13, HIGH);

if(request=='a')

{

arrayPos=(random(0,4));

subtractNum=(random(1,100));


delay(10);

Serial.print(arrayPos);

Serial.print(",");

Serial.println(keys[arrayPos]-subtractNum);


}

if(request=='r')

{

 returnVal=Serial.parseInt();

Serial.print("array val =");

Serial.println(keys[arrayPos]);

Serial.print(returnVal + keys[arrayPos]-subtractNum);//subtractNum=10+ x = 117

delay(50);

if(returnVal + keys[arrayPos]-subtractNum==keys[arrayPos])

{

digitalWrite(9,HIGH);

delay(350);

digitalWrite(9,LOW);

delay(350);

digitalWrite(9,HIGH);

delay(350);

digitalWrite(9,LOW);

delay(350);

digitalWrite(9,HIGH);

delay(350);

digitalWrite(9,LOW);

delay(350);

}

}


}

digitalWrite(13,LOW);

}

//////////////////////
When you get this code loaded to the Arduino, you can then follow these steps:
- Open a terminal in Arduino and send your board the character “a.”
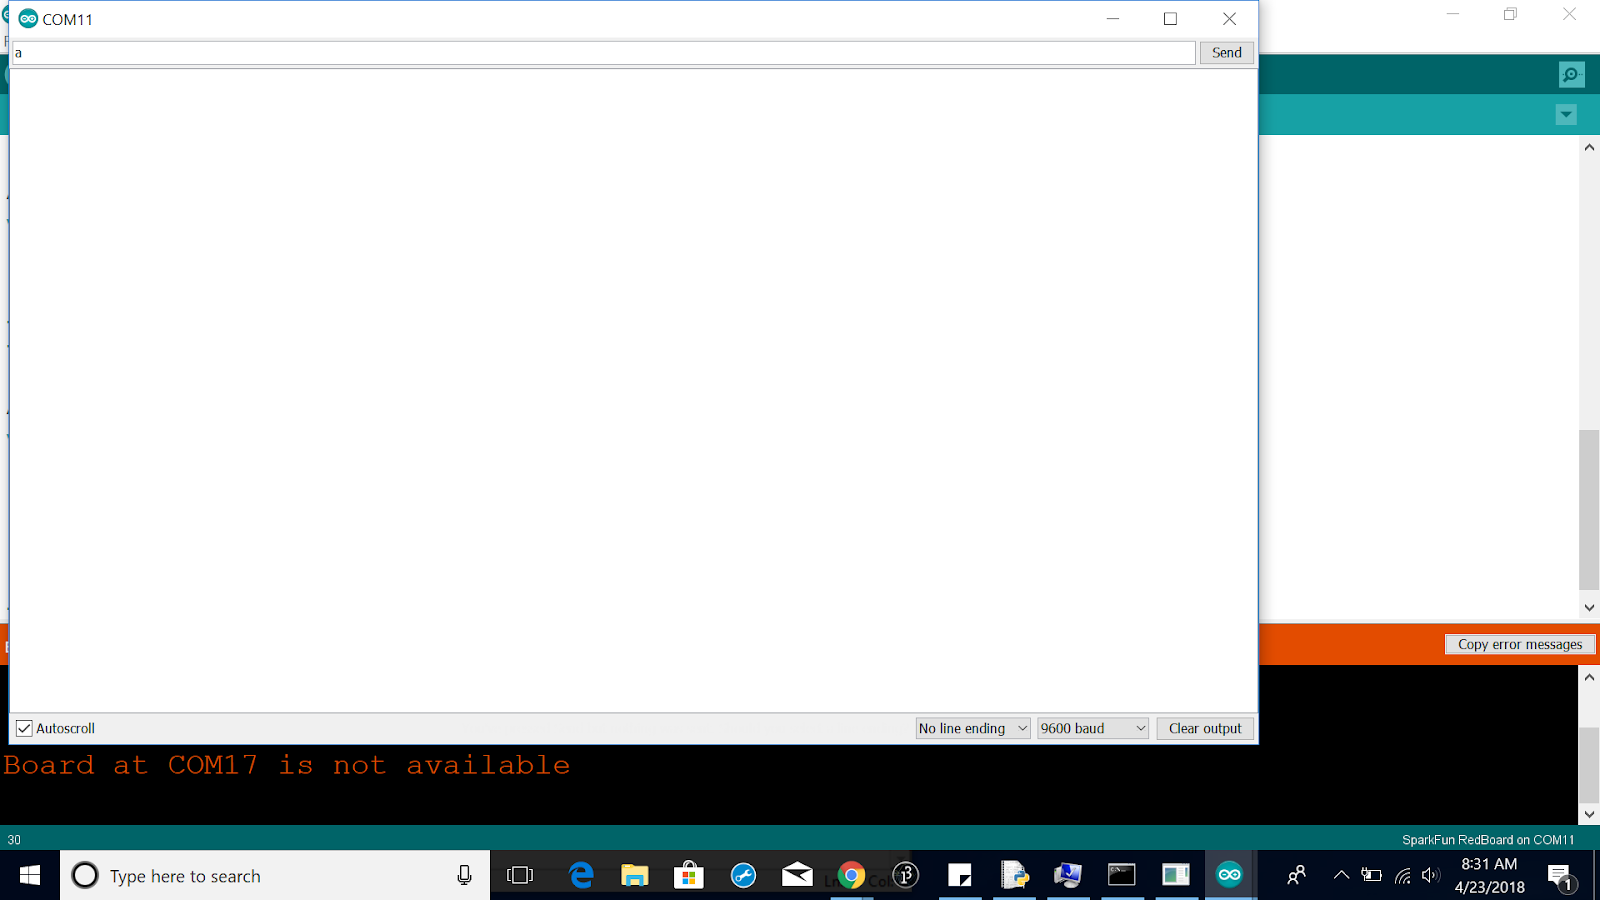
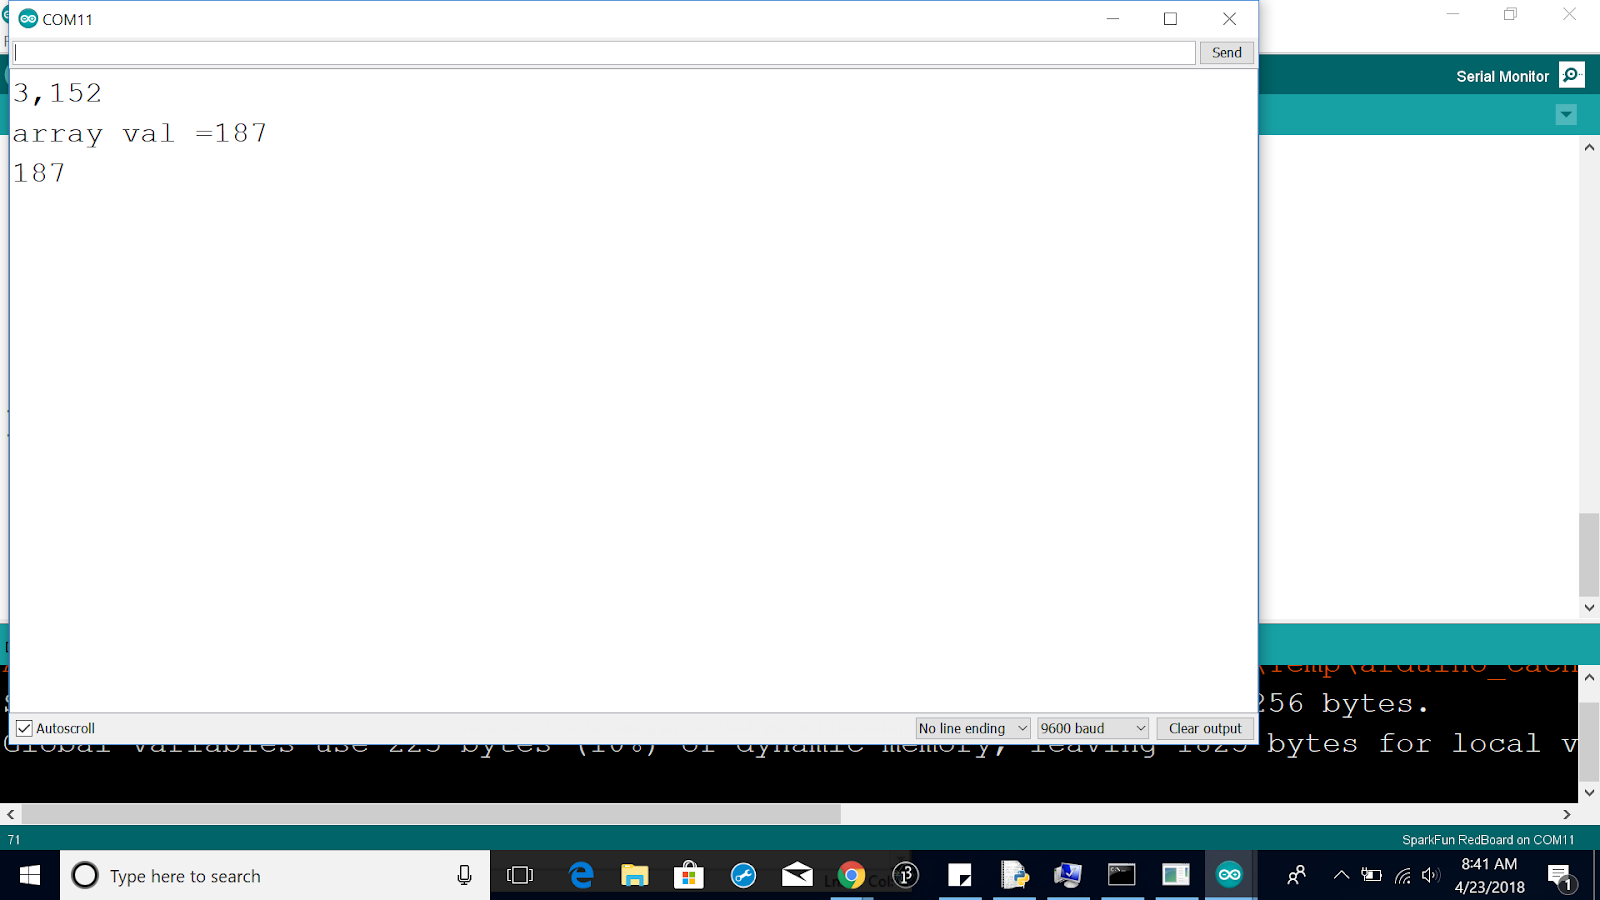
- You will receive two values separated by commas. The first value is the place in the array, and the second value is what to subtract from the value in the array.

- Return the character “r,” separated from the difference with a comma.

- You should get a return equivalent to the array value and the sum of the two values. If you have an LED connected to pin 9, it should blink.
The next step is creating a device to send the serial commands. This could be another Arduino, and this is where it really opens up. The client could be a traditional remote with push-button function, or a keypad, or even a fingerprint reader.
I think the classroom applications of this project are particularly interesting. The idea I had was to let students “tune into” the traffic being passed back and forth, and try to figure out the key array based on the behavior of the packets – seems like a great hacking/cryptography prompt.
I am adding code to my GitHub page, so you are welcome to dig around there and take this further. Happy hacking!


Cool!
I wrote an enigma machine for the AVR back probably 2007 or so. I had just finished a print cartridge system for a client that used multiple wires for communication. I only needed two, but they had designed in eight, so I set up my comms on two lines and fed digital noise down the other lines, and radically changed the comms speed (clocked serial) so as to frustrate a logic analyzer attack, then I started changing which wires I was using to communicate every so often, and finally encrypted the data that was running over the link. I don't think it ever got hacked. Paid the bills... :)
The enigma is still a pretty cool little beast. Brute force cracking it is still rather difficult. http://www.bytereef.org/m4_project.html
Yeah, If it isn't clear from the post, this is a teaching tool. Don't use it for anything you can't afford to have hacked.
You should add a big disclaimer to this article to not even think of using this algorithm for actual security. While it's a nice demonstration and fun toy, it's trivial to crack and anyone who actually uses it, especially over the internet, is going to get no protection at all.
I can just see an inexperienced person trying to add security to an IOT app running across this and being overjoyed since it's so much easier to understand than a lot of other examples out there.
yep. This algorithm discloses one "secret" value at a time for anyone listening to the exchange. Equivalent to just sending one value of the array at every transaction. Wait a couple of exchanges, and you have already enough values to be able to respond to a challenge.
The best security algorithms are the one you do not design on your own...
There is an easy way to do programmatically simple "encryption" that's uncrackable: A one-time pad, or OTP.
Basic gist: Have a single-use random string that's the same length as (or longer than) the message you wish to send. Take your original message, add the OTP to it (per-character), and then MOD 26 the result (again, per-character. The Wiki page has a great example section for this.)
Only downside is that the security of a OTP comes from the secret never crossing an insecure channel. You could preload the entirety of spare flash with a massive (or several smaller) pads, then mark in EEPROM when they get used. (The base station would similarly keep track of this.)
Once all the pads are used up you'd have to re-compile (with new pads) and flash your transmitter again. Bonus points for just using a "small" (~8 GB) SD card instead and filling it with pads. Even if you did use them all it's just a matter of swapping in a freshly filled card.
Cool! if you have any sample code, I'd love to tinker with it!