ESP32-based Rezz Rave Glasses
What's a good rave without some flashy LEDs? Read on to find out how I made these!

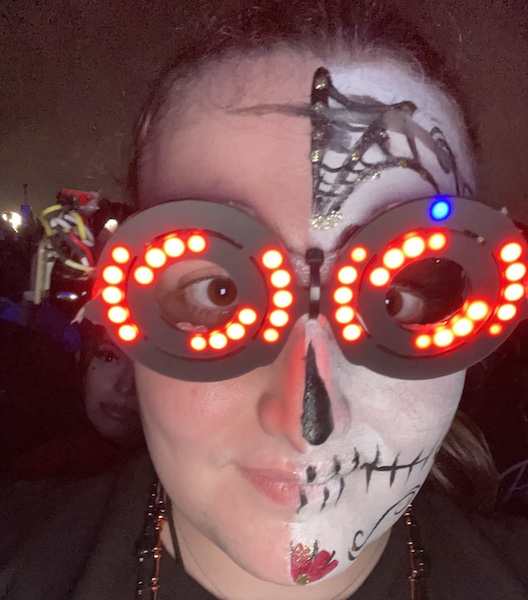
I love raves! Growing up in Miami, and having a mom who loves techno, I got exposed to EDM when I was pretty young and have been hooked ever since. I was pretty disappointed when all of my favorite festivals were postponed due to COVID. But, 2 weeks ago I went to my first festival in more than 2 years and made these amazing glasses!
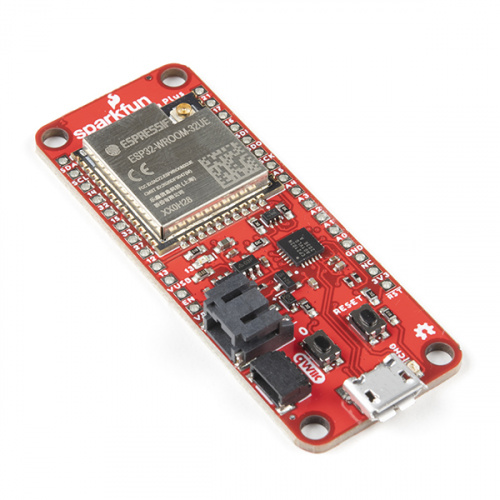
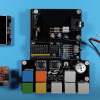
For context, I went to the Day of the DeadMau5 festival in Miami, which was hosted by none other than DeadMau5 himself. Since this festival was Halloween-themed and one of my favorite artists, Rezz, is on DeadMau5’s label, I decided to replicate her signature LED glasses. Plus, the limited-edition Skeleboard's Skeleton silkscreen fit perfectly with the aesthetic I was going for. If you didn't get a Skeleboard, the SparkFun Thing Plus - ESP32 WROOM (U.FL) can be used instead.
In this post, I'm going to cover the three main objectives that I knew I had to get right when building the glasses. I would have made a full guide, but these glasses are pretty hacked together because I built them within 24 hours of the festival. However, if you want to make your own, you can find the full parts list on my Hackster guide.
Goal 1: Accuracy
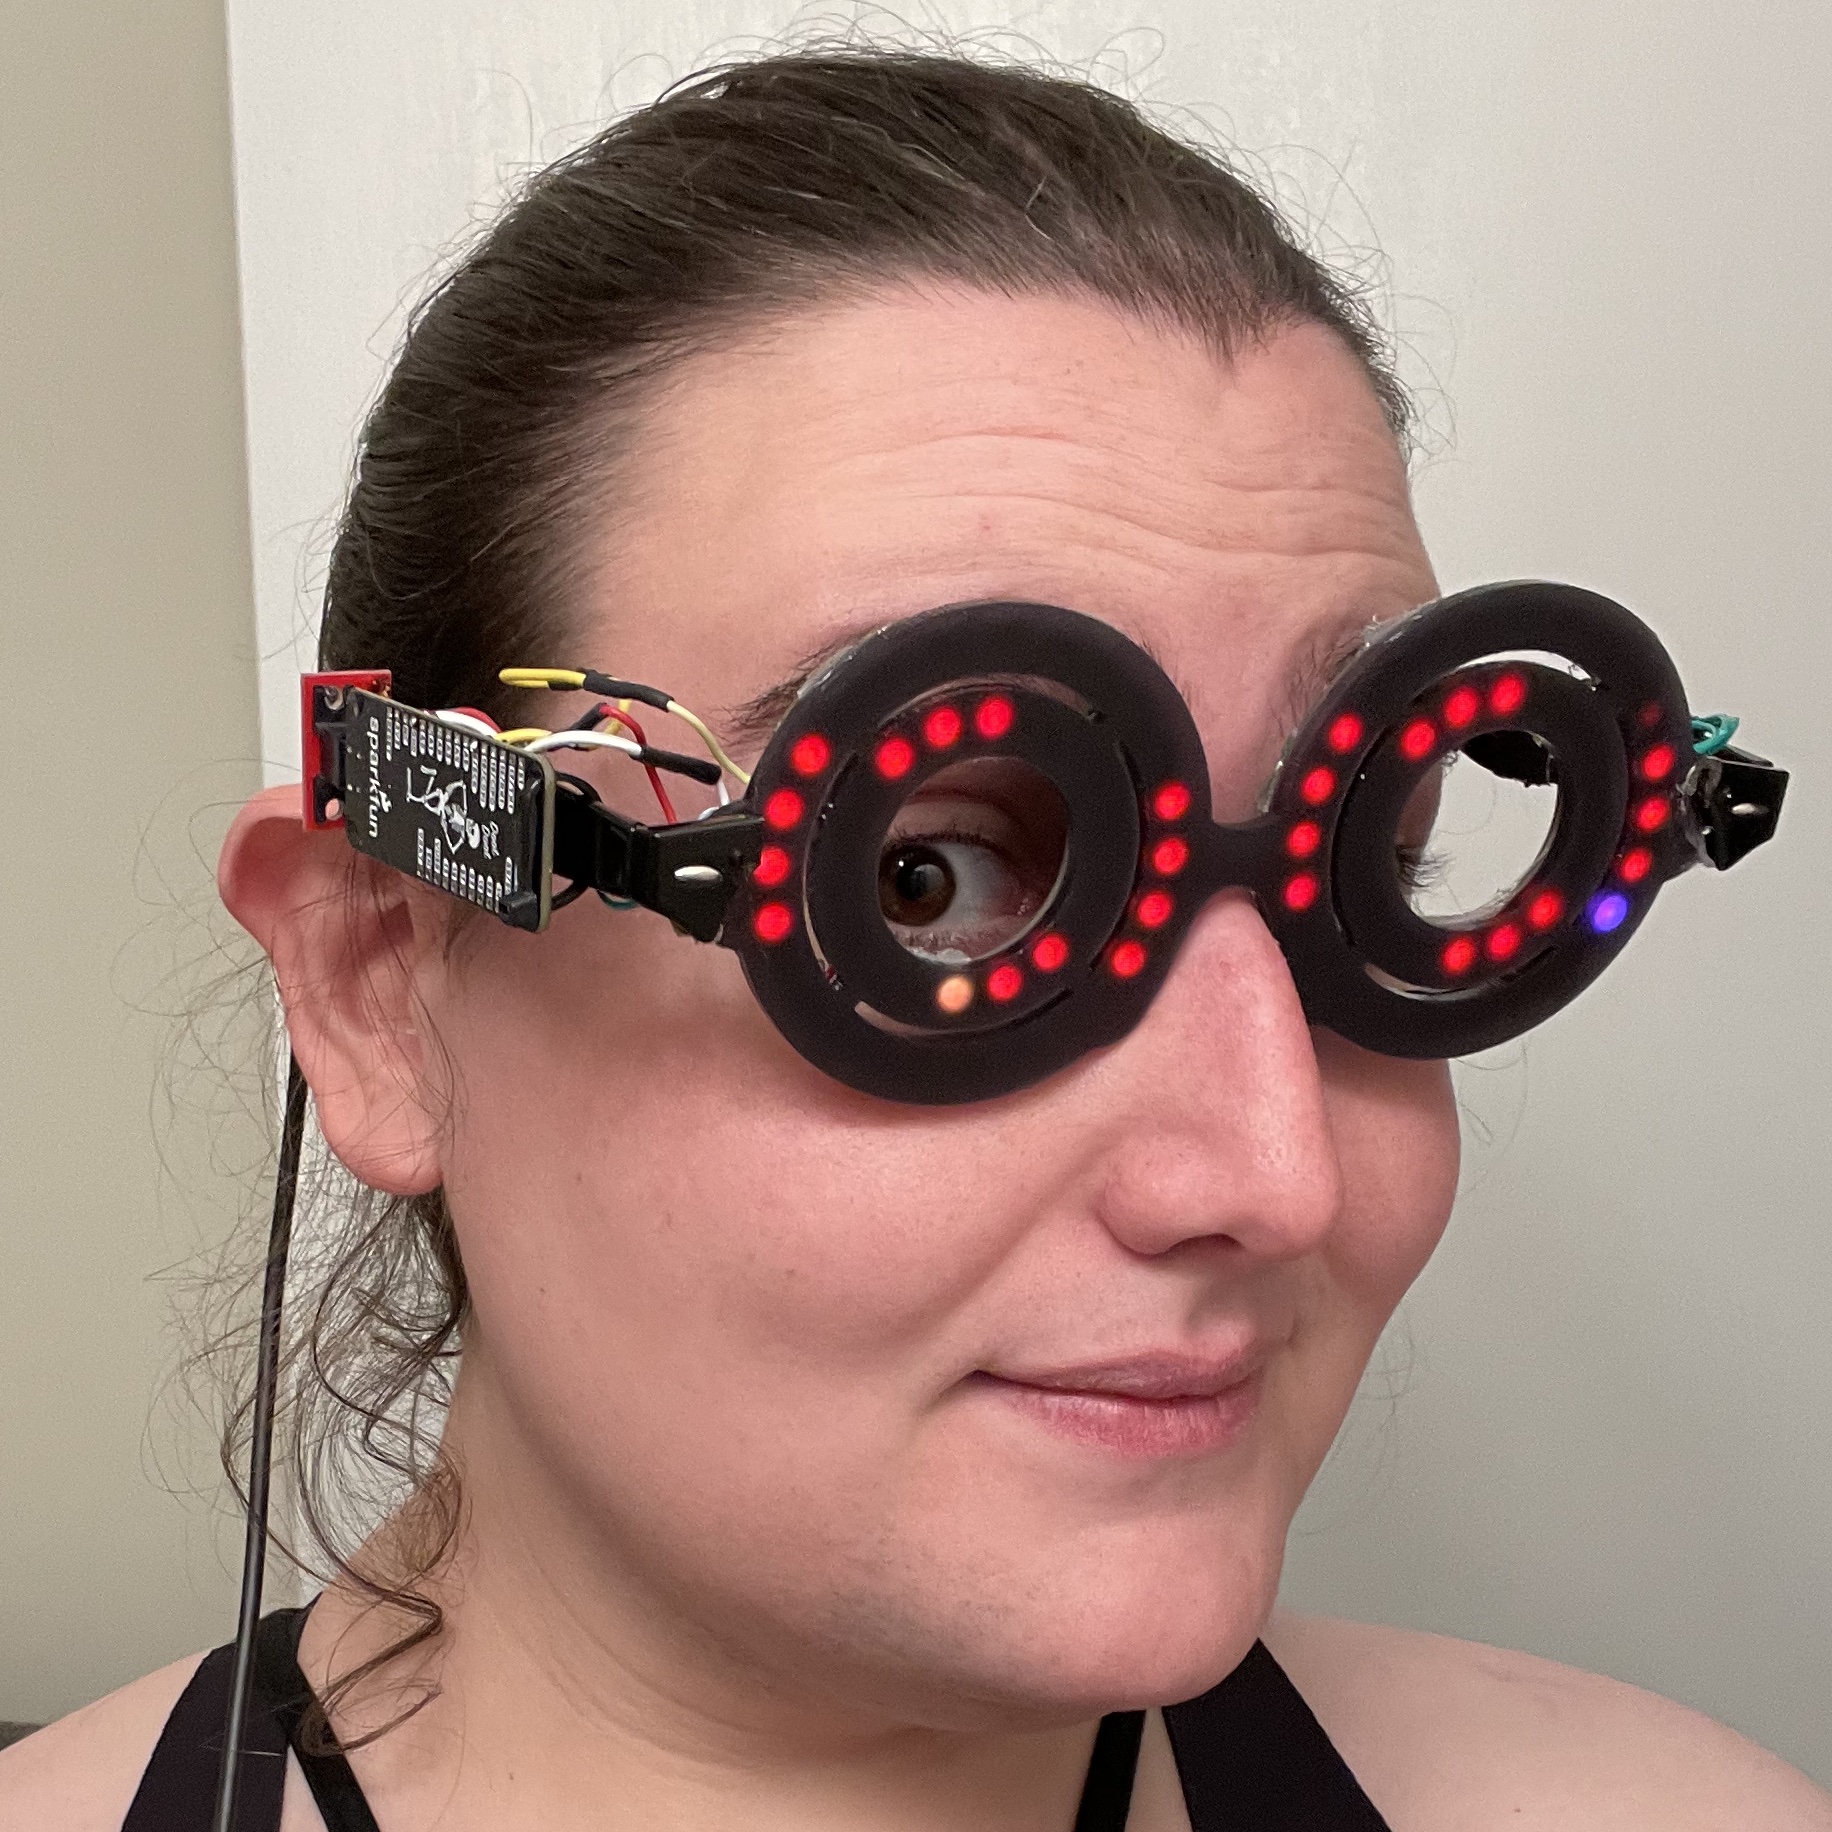
The first goal was to make the glasses recognizable as Rezz glasses. You can buy similar glasses online but none of them have the exact right animation. To get the right animation I scoured the internet for clear, and up-close, videos of Rezz’s glasses. From there, I went frame by frame, analyzing the movement of the LEDs and noting down the timing as well as the shape they kept throughout the movement. Luckily for me, there were already LED rings on the market with the correct number of LEDs. Regardless, it was still difficult to figure out the correct timings for each LED movement. But, with some coffee and lots of trial and error, I got the speed and animation within a few milliseconds of the real thing. Below is the Arduino code.
////////////////////////////////////////////////
//MADE BY: Alie Gonzalez - @Alie_GG - 10/28/21//
////////////////////////////////////////////////

#include <Adafruit_NeoPixel.h>

Adafruit_NeoPixel strip = Adafruit_NeoPixel(80, 5, NEO_GRB + NEO_KHZ800);

uint32_t brightness = 10;
uint32_t color = strip.Color(brightness, 0, 0);

unsigned long outerRingInterval = 42; //ONLY PUT EVEN NUMBERS // the time we need to wait
unsigned long innerRingInterval = outerRingInterval*1.5; // the time we need to wait

unsigned long innerRingPreviousMillis = 0; // millis() returns an unsigned long.
unsigned long outerRingPreviousMillis = 0; // millis() returns an unsigned long.

uint16_t outerRingCounter1 = 0;
uint16_t outerRingCounter2 = 12;

uint16_t outerLeftRingCounter1 = 56;
uint16_t outerLeftRingCounter2 = 68; //68

uint16_t innerRingCounter1 = 37; //37
uint16_t innerRingCounter2 = 29;

uint16_t innerLeftRingCounter1 = 53;
uint16_t innerLeftRingCounter2 = 45;


void setup() {
  strip.begin();
  strip.setBrightness(255); //adjust brightness here
  strip.show(); // Initialize all pixels to 'off'

  Serial.begin(115200);
}


void loop() {

  unsigned long currentMillis = millis(); // grab current time

  //////////////
  //INNER RING//
  //////////////

  if ((unsigned long)(currentMillis - innerRingPreviousMillis) >= innerRingInterval) {

    strip.setPixelColor(innerRingCounter1, color);
    strip.setPixelColor(innerRingCounter2, color);
    strip.setPixelColor(innerLeftRingCounter1, color);
    strip.setPixelColor(innerLeftRingCounter2, color);

    strip.setPixelColor(((innerRingCounter1+16-5)%16)+24, 0);
    strip.setPixelColor(((innerRingCounter2+16-5)%16)+24, 0);
    strip.setPixelColor(((innerLeftRingCounter1+16-5)%16)+40, 0);
    strip.setPixelColor(((innerLeftRingCounter2+16-5)%16)+40, 0);

    strip.show();

    innerRingCounter1--;
    innerRingCounter2--;
    innerLeftRingCounter1--;
    innerLeftRingCounter2--;

    if (innerRingCounter1 == 23) innerRingCounter1=39;
    if (innerRingCounter2 == 23) innerRingCounter2=39;
    if (innerLeftRingCounter1 == 39) innerLeftRingCounter1=55;
    if (innerLeftRingCounter2 == 39) innerLeftRingCounter2=55;

    innerRingPreviousMillis = currentMillis;
  }

  //////////////
  //OUTER RING//
  //////////////

  // check if "interval" time has passed (1000 milliseconds)
  if ((unsigned long)(currentMillis - outerRingPreviousMillis) >= outerRingInterval) {

    strip.setPixelColor(outerRingCounter1, color);
    strip.setPixelColor(outerRingCounter2, color);
    strip.setPixelColor(outerLeftRingCounter1, color);
    strip.setPixelColor(outerLeftRingCounter2, color);

    strip.setPixelColor((outerRingCounter1+24-4)%24, 0);
    strip.setPixelColor((outerRingCounter2+24-4)%24, 0);
    strip.setPixelColor(((outerLeftRingCounter1+24)%24)+56, 0);
    strip.setPixelColor(((outerLeftRingCounter2+24)%24)+56, 0);

    strip.show();

    outerRingCounter1++;
    outerRingCounter2++;
    outerLeftRingCounter1++;
    outerLeftRingCounter2++;

    if (outerRingCounter1 == 24) outerRingCounter1=0;
    if (outerRingCounter2 == 24) outerRingCounter2=0;
    if (outerLeftRingCounter1 == 80) outerLeftRingCounter1=56;
    if (outerLeftRingCounter2 == 80) outerLeftRingCounter2=56;

    outerRingPreviousMillis = currentMillis;
  }
}
Again, I made this pretty quickly, so please don’t be too harsh on the code.
Goal 2: Usability
The second goal required me to sacrifice a bit of goal one in favor of actually being able to use these glasses. If you remember, I took these glasses to a festival and an important part of the festival experience is being able to see the light show crafted for each performance. Unfortunately, the original design of the glasses includes 4 LEDs right in the center. Now, if I had had the time to design my own PCB, I could have made the structure for the LED rings and center LEDs super thin. But since I was using off-the-shelf components, I would have had no space for my eyes to see. Because of this, I decided to remove the 4 center LEDs from the design to make room for those wonderful photons to reach my eyes. The LED rings still blocked some of my vision, causing me to stumble around a bit on the first day, but I got the hang of it as the days went on.
Goal 3: Waterproofing
If you've been to Miami at the end of October, you know that it’s still very hot here. During the day, the temperature was peaking around the low 90’s F (low 30’s C) and only dropping down to the mid 80’s F (high 20’s C) at night. On top of this, random 10-minute rainstorms are not uncommon and can be very unpredictable. All of this meant that I needed to waterproof these glasses to prevent my sweat and any possible rain from washing away (see what I did there?) my hard work. Thankfully, I wasn’t planning on using any tactile buttons or potentiometers, so once I finished soldering everything together, I gave the PCBs and wires several coats of acrylic conformal coating spray from as many angles as I could.
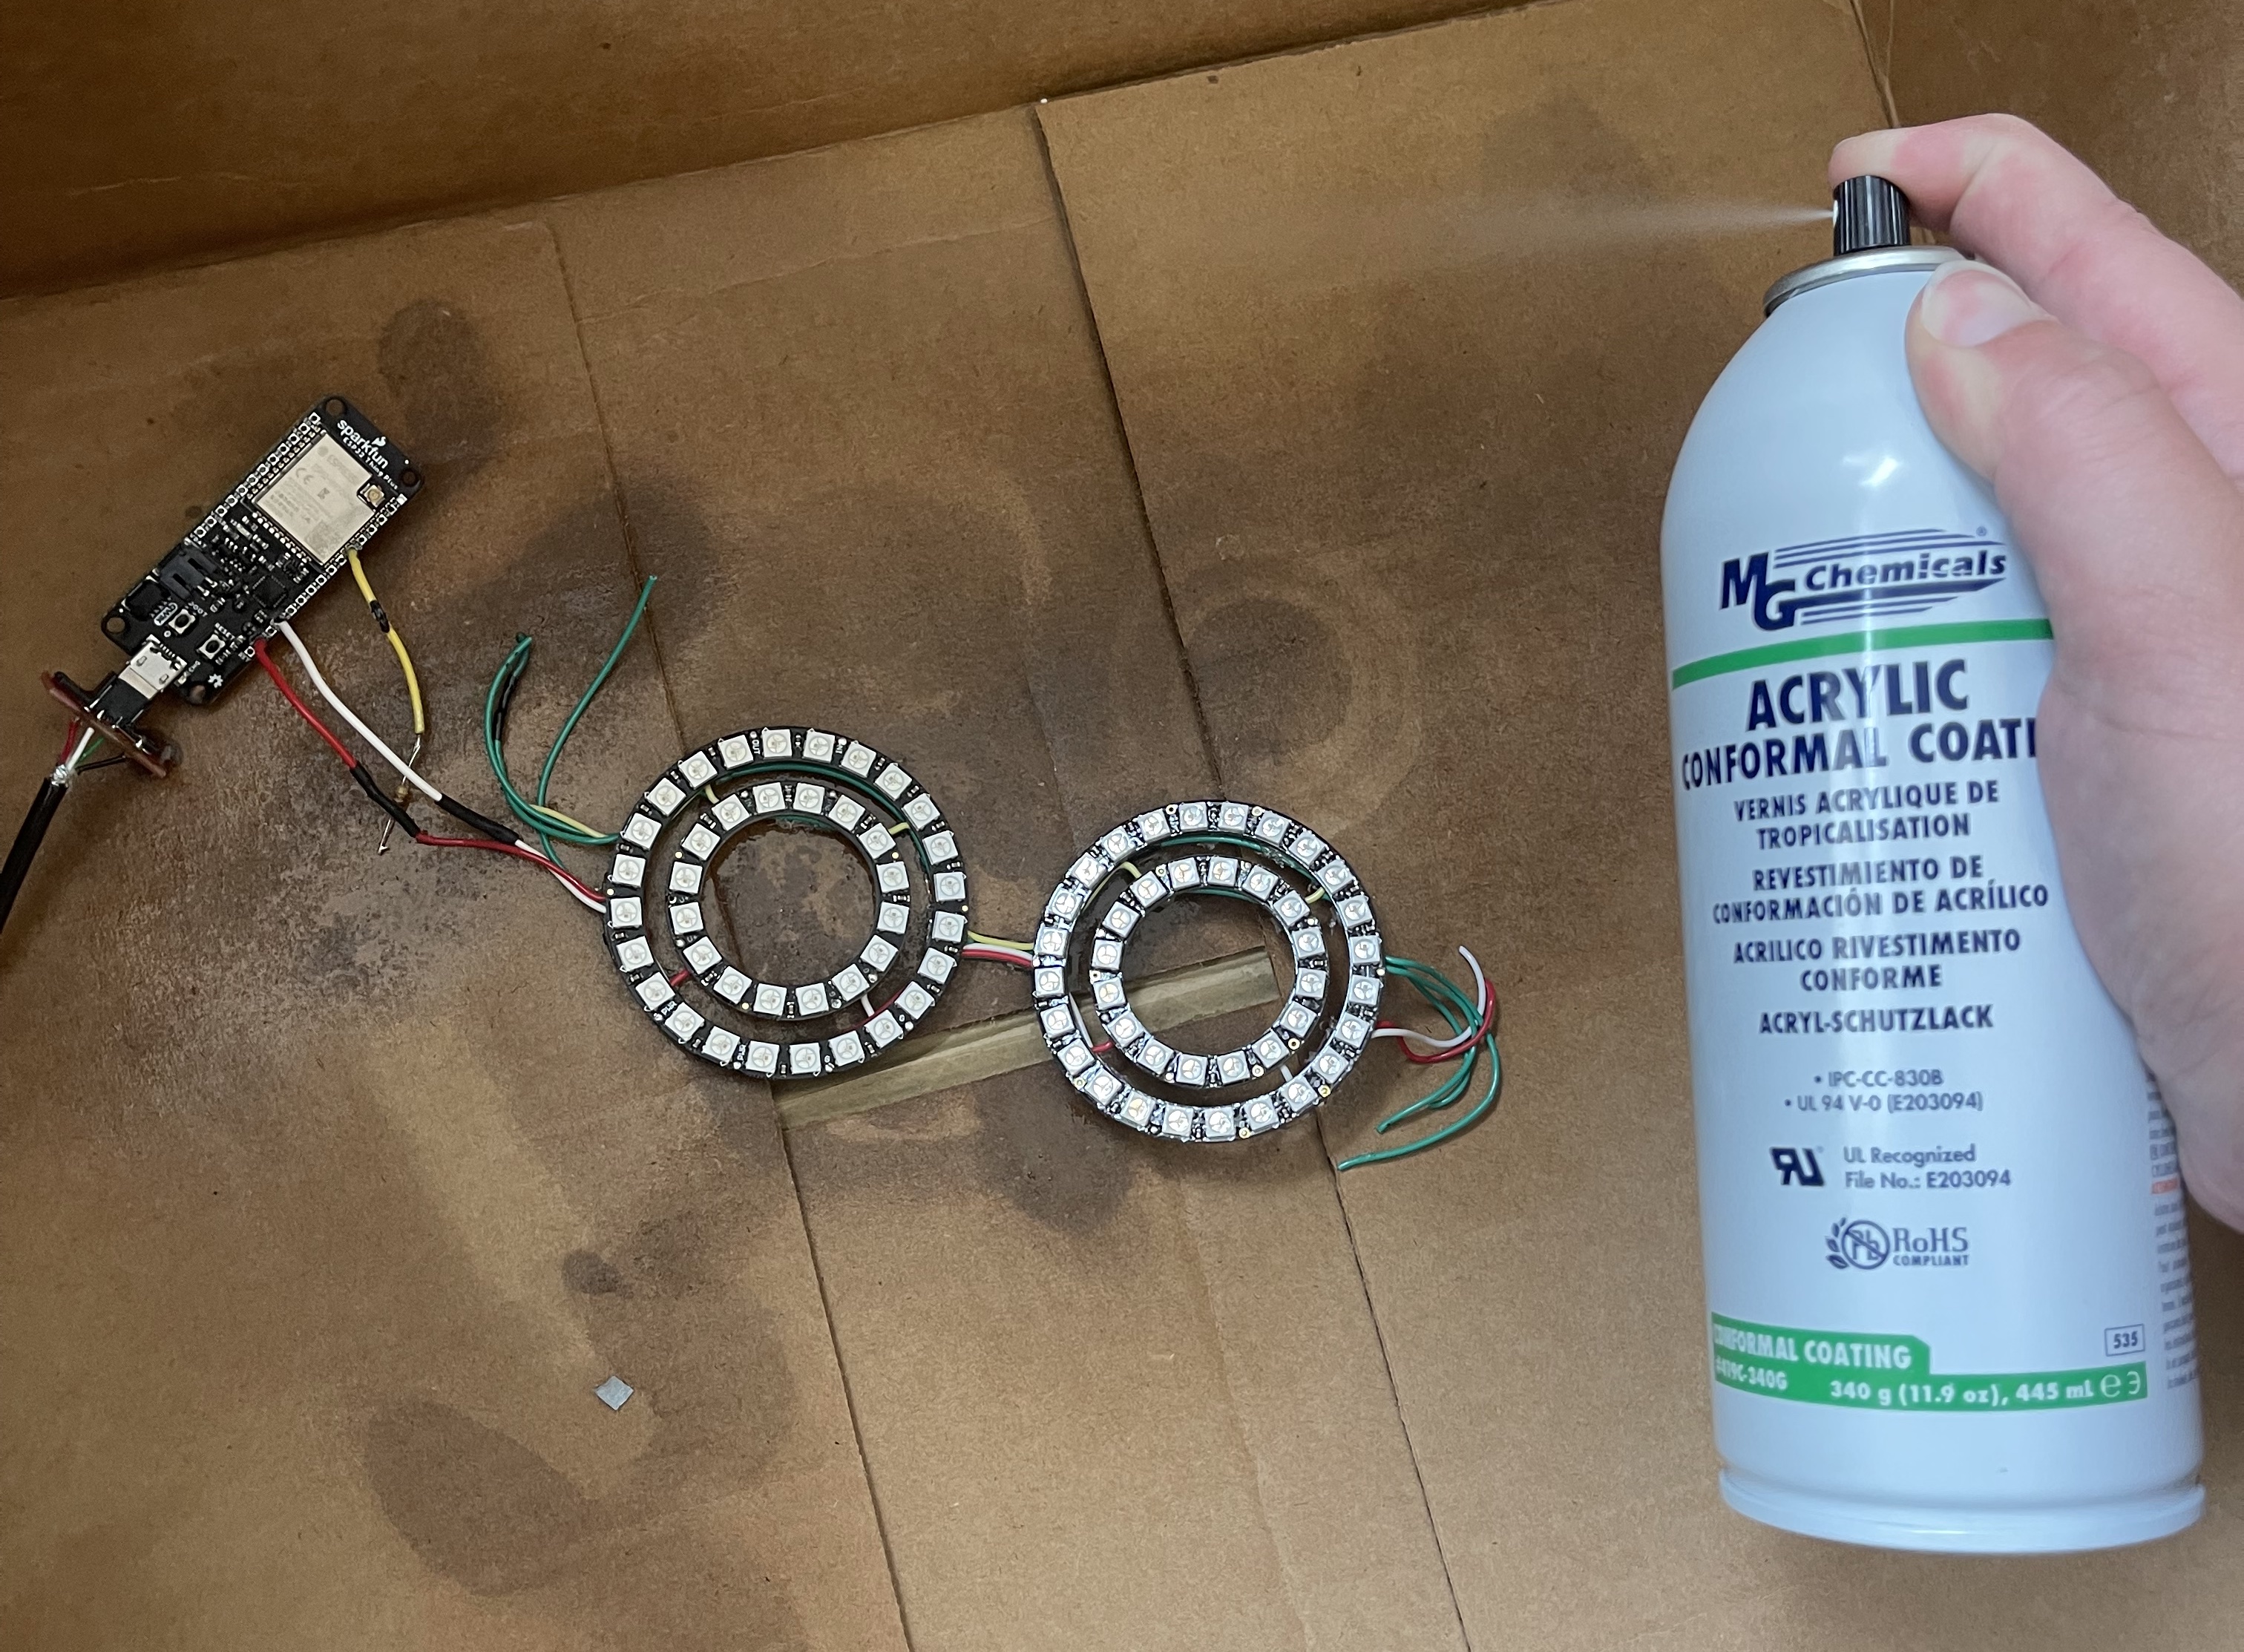
Heads up! Make sure to wear a mask and safety glasses if you try this yourself!
Once I felt like I had overdone it enough, I cooked the whole thing in my oven for 30 minutes at 145 F (62 C). I didn’t have the nerve to test if the coating had worked in advance, so I just took them with me and hoped for the best. As luck would have it, on the first night, the festival was rained on and everyone had to evacuate right as DeadMau5 was starting his set. To my surprise, the glasses didn’t even flicker! I continued to wear them for the next two days with the wires and contacts of the LED rings right on my sweaty face and they held up as if they were completely dry.
Fin
In the end, this project was a complete success! I really didn’t expect it to go this well given the amount of time I had, but I suppose the EDM gods were watching out for me.
Before I end this, I just wanted to give a big thanks to Alex Glow from Hackster for laser cutting the front frames out of LED acrylic for me. I wouldn’t have been able to make these in such a short amount of time if I had to design and 3D print the frames, so thank you! Doot!


