Make a Magic 8 Ball with the micro:bit
For part 2 of Getting Started with micro:bit, we create a virtual Magic 8 Ball.

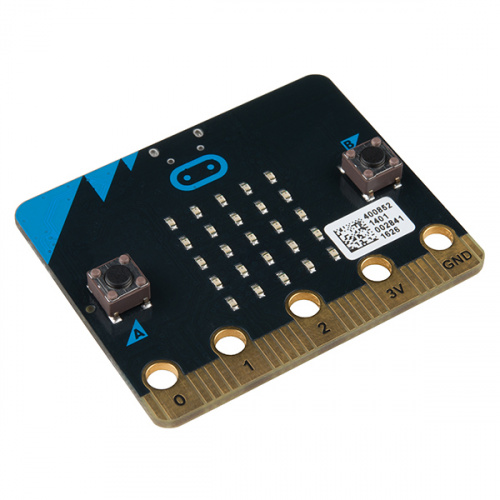
Last week, I showed you how to boot up the micro:bit and put some simple graphics on the LED array. Today we'll continue with Microsoft's MakeCode block editor to make something that approximates a simple Magic 8 Ball.
In case you don't remember the Magic 8 Ball from your youth, it's a plastic toy that has a 20-sided die with various messages suspended in blue liquid. You ask it a "yes" or "no" question, shake it and turn it over. A single face of the die appears in a window on the back giving you a random highly accurate prediction of the future.
The micro:bit contains an onboard accelerometer that we can read, and the drag-and-drop editor has several predefined functions for us, including the ability to tell whether the board was shaken. We can use the "on shake" event to generate a random message, like "yes," "no" and "try again." If you want to get more creative, you can come up with your own responses (here are the original Magic 8 Ball answers).
One of the neat features of MakeCode is that it can import and decipher special codes stored in the .hex files generated from MakeCode. This means you can share your .hex files with others, and when they import it into MakeCode (Projects > Import File), it recreates the original code.
In addition to sharing the .hex, you can click the Share button to create a web page (hosted on the MakeCode site) where users can simulate the project, download the .hex file and clone your project. In fact, you can embed the shared project on another web page to allow others to play with the code and simulate it (try clicking on the SHAKE button on the micro:bit image below):
It's still on pre-order at the time of this writing, but you can learn more about the micro:bit here:
Can you think of other projects that might be fun for students to build using the micro:bit and its accelerometer?


When I get mine I want to build a "Micro-bot" which will be one of those robots that drives around, bumps into something, backs up and turns, goes ahead forward. Will add some cute expressions on its display as well. Looking at designing a 3D printed enclosure for that project.
I really like this plan for the micro:bit. I think it would make for an adorable robot!