Hardware Hump Day: Be a Spectacle at Graduation!
Stand out at graduation using the Spectacle ecosystem to decorate your cap!

'Tis the season to graduate, and we have a great project for grads of all ages! Decorating grad caps has been a trend for years. It helps the graduating individual stand out for their friends and family amongst a sea of identically dressed classmates. I’ve always been a big fan of rhinestones and glitter, but nothing says "LOOK AT ME!" like lights and movement. That's why I decided to use the new Spectacle ecosystem to build a grad cap that lights up and moves the tassel for me!

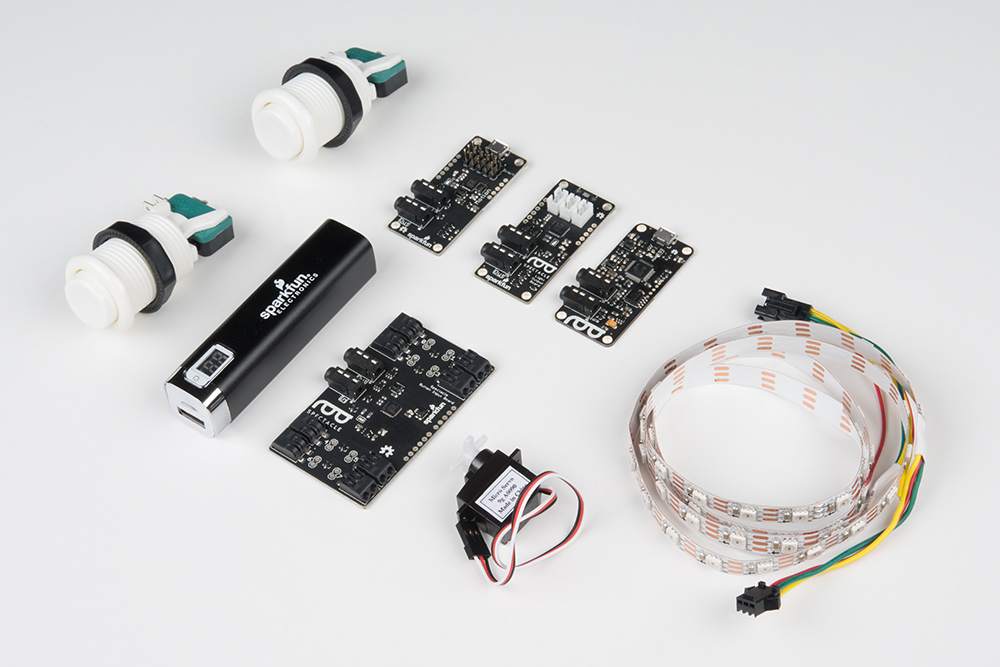
To make your own Spectacle Grad Cap, you will need the following supplies:

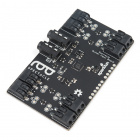

Our first step is to build our circuit. One of the most exciting features of the Spectacle ecosystem is that zero soldering is required to put a project together. You can use the audio cables to chain the boards together. One thing we need to pay attention to when building a Spectacle circuit is the order in which we daisy chain the boards. The order of boards in this project is illustrated in the image below.
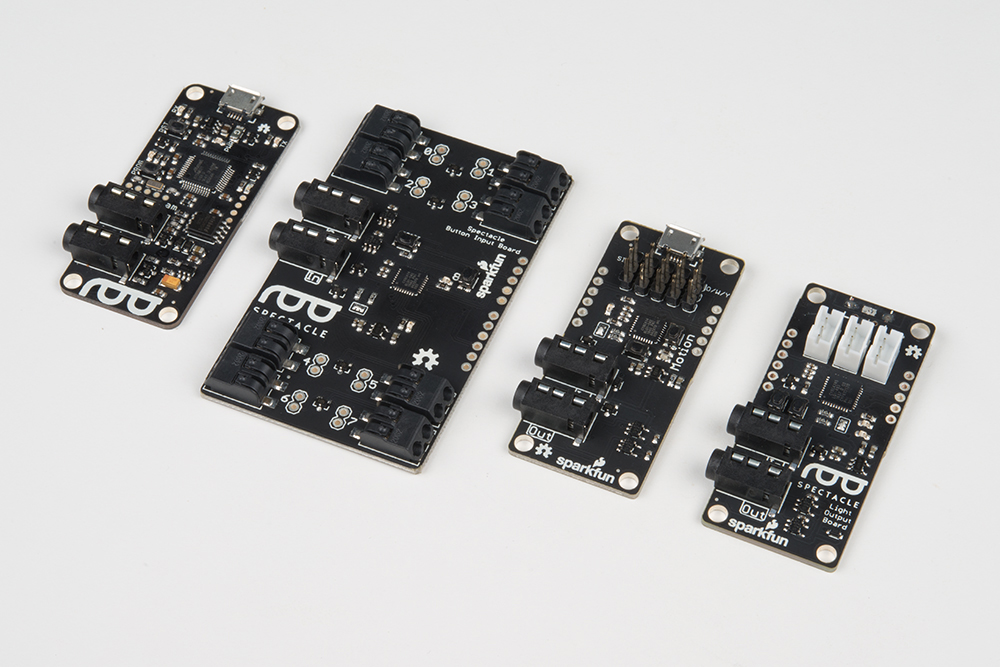
Director -> Button -> Motion -> Lights
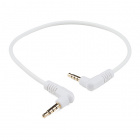
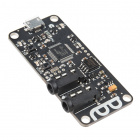
To put everything together, we will need four individual audio cables. The first will go into your computer or phone's headphone jack and connect to the Spectacle Director Board’s ‘Program’ jack for programming. The second audio cable goes from the ‘Direct’ jack on the Spectacle Director Board to the ‘In’ jack on the Spectacle Button Board. The third goes from ‘Out’ on the Spectacle Button Board to ‘In’ on the Spectacle Motion Board. And the last goes from ‘Out’ on the Spectacle Motion Board to ‘In’ on the Spectacle Light Board.
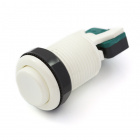
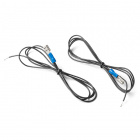
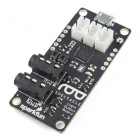
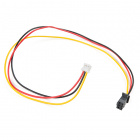
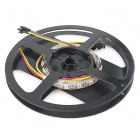
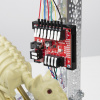
Now we need to add our parts. Use the Spade Connector Wires to connect two buttons to the Spectacle Button Board (terminals 1 and 3), the JST to JST-SM Wire to connect the LED Strip to the Spectacle Light Board (terminal 2) and the existing servo motor connector to attach to the Spectacle Motion Board (terminal 0).
Programming the Spectacle Ecosystem is a breeze, and you don’t need to have any programming experience to make your project work! Let’s walk through the steps of programming this cap. The one thing to keep in mind is the order in which we daisy chained our boards. The program that we build will call the boards in the same order.
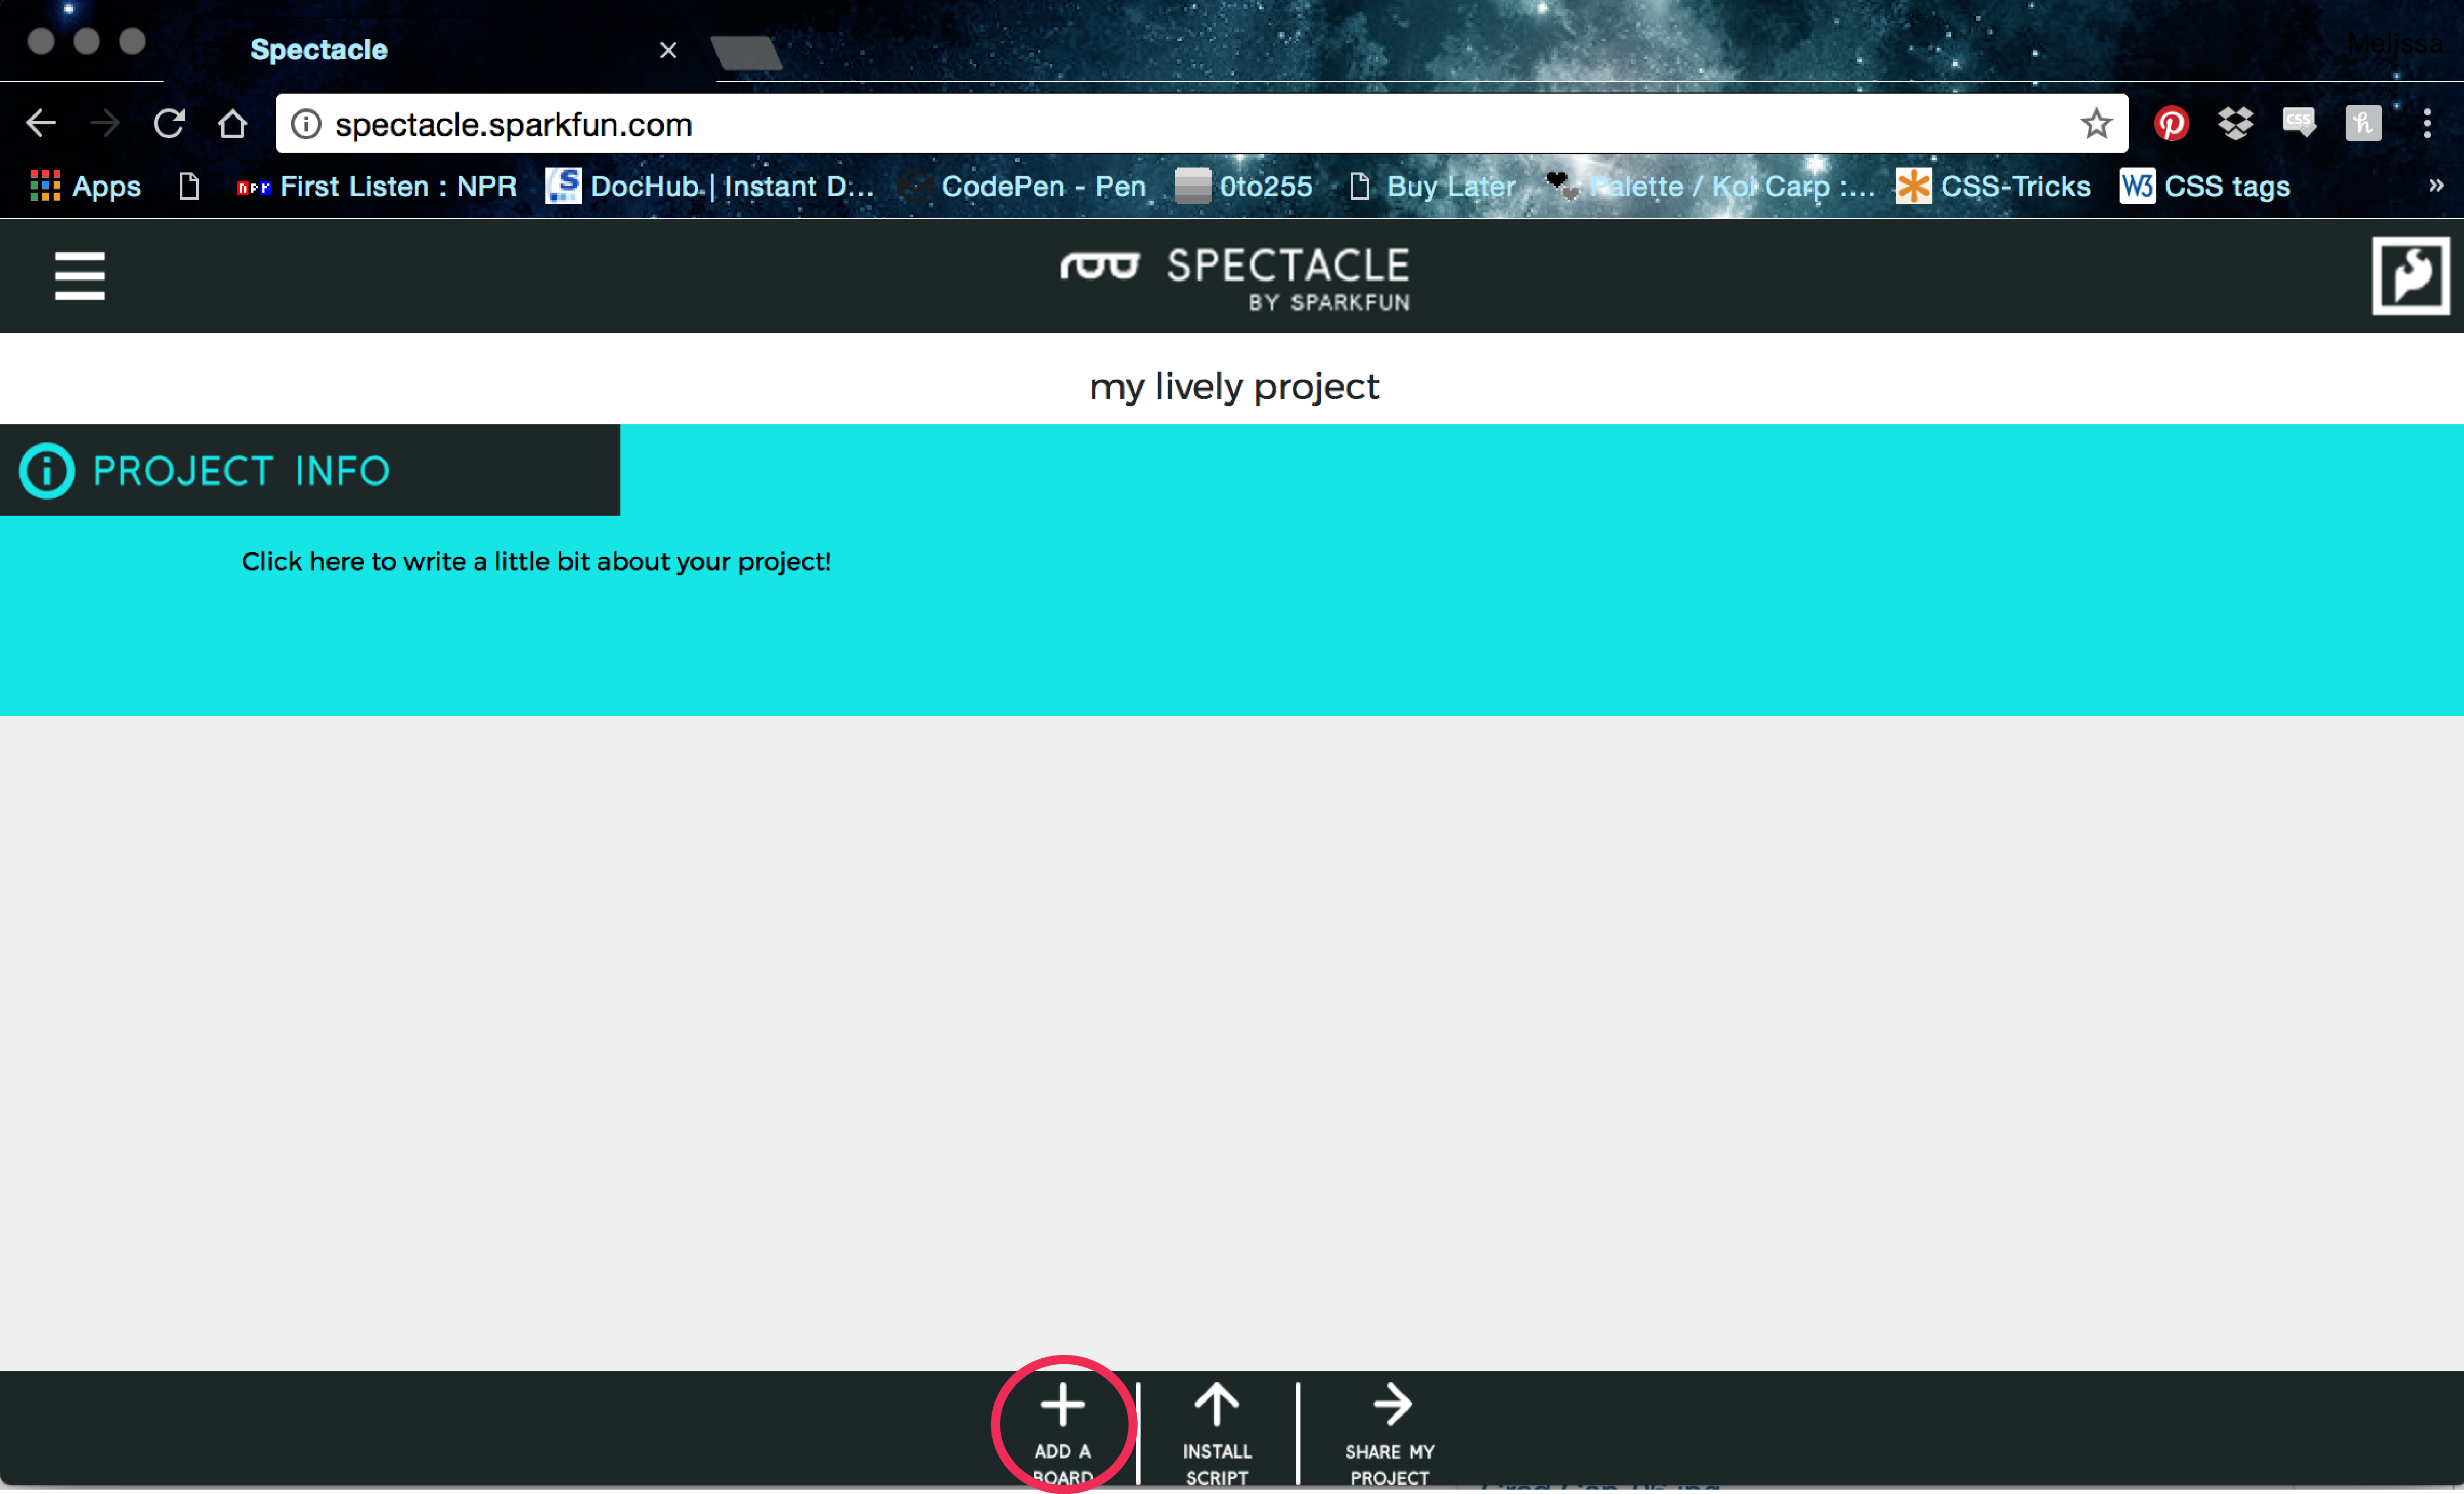
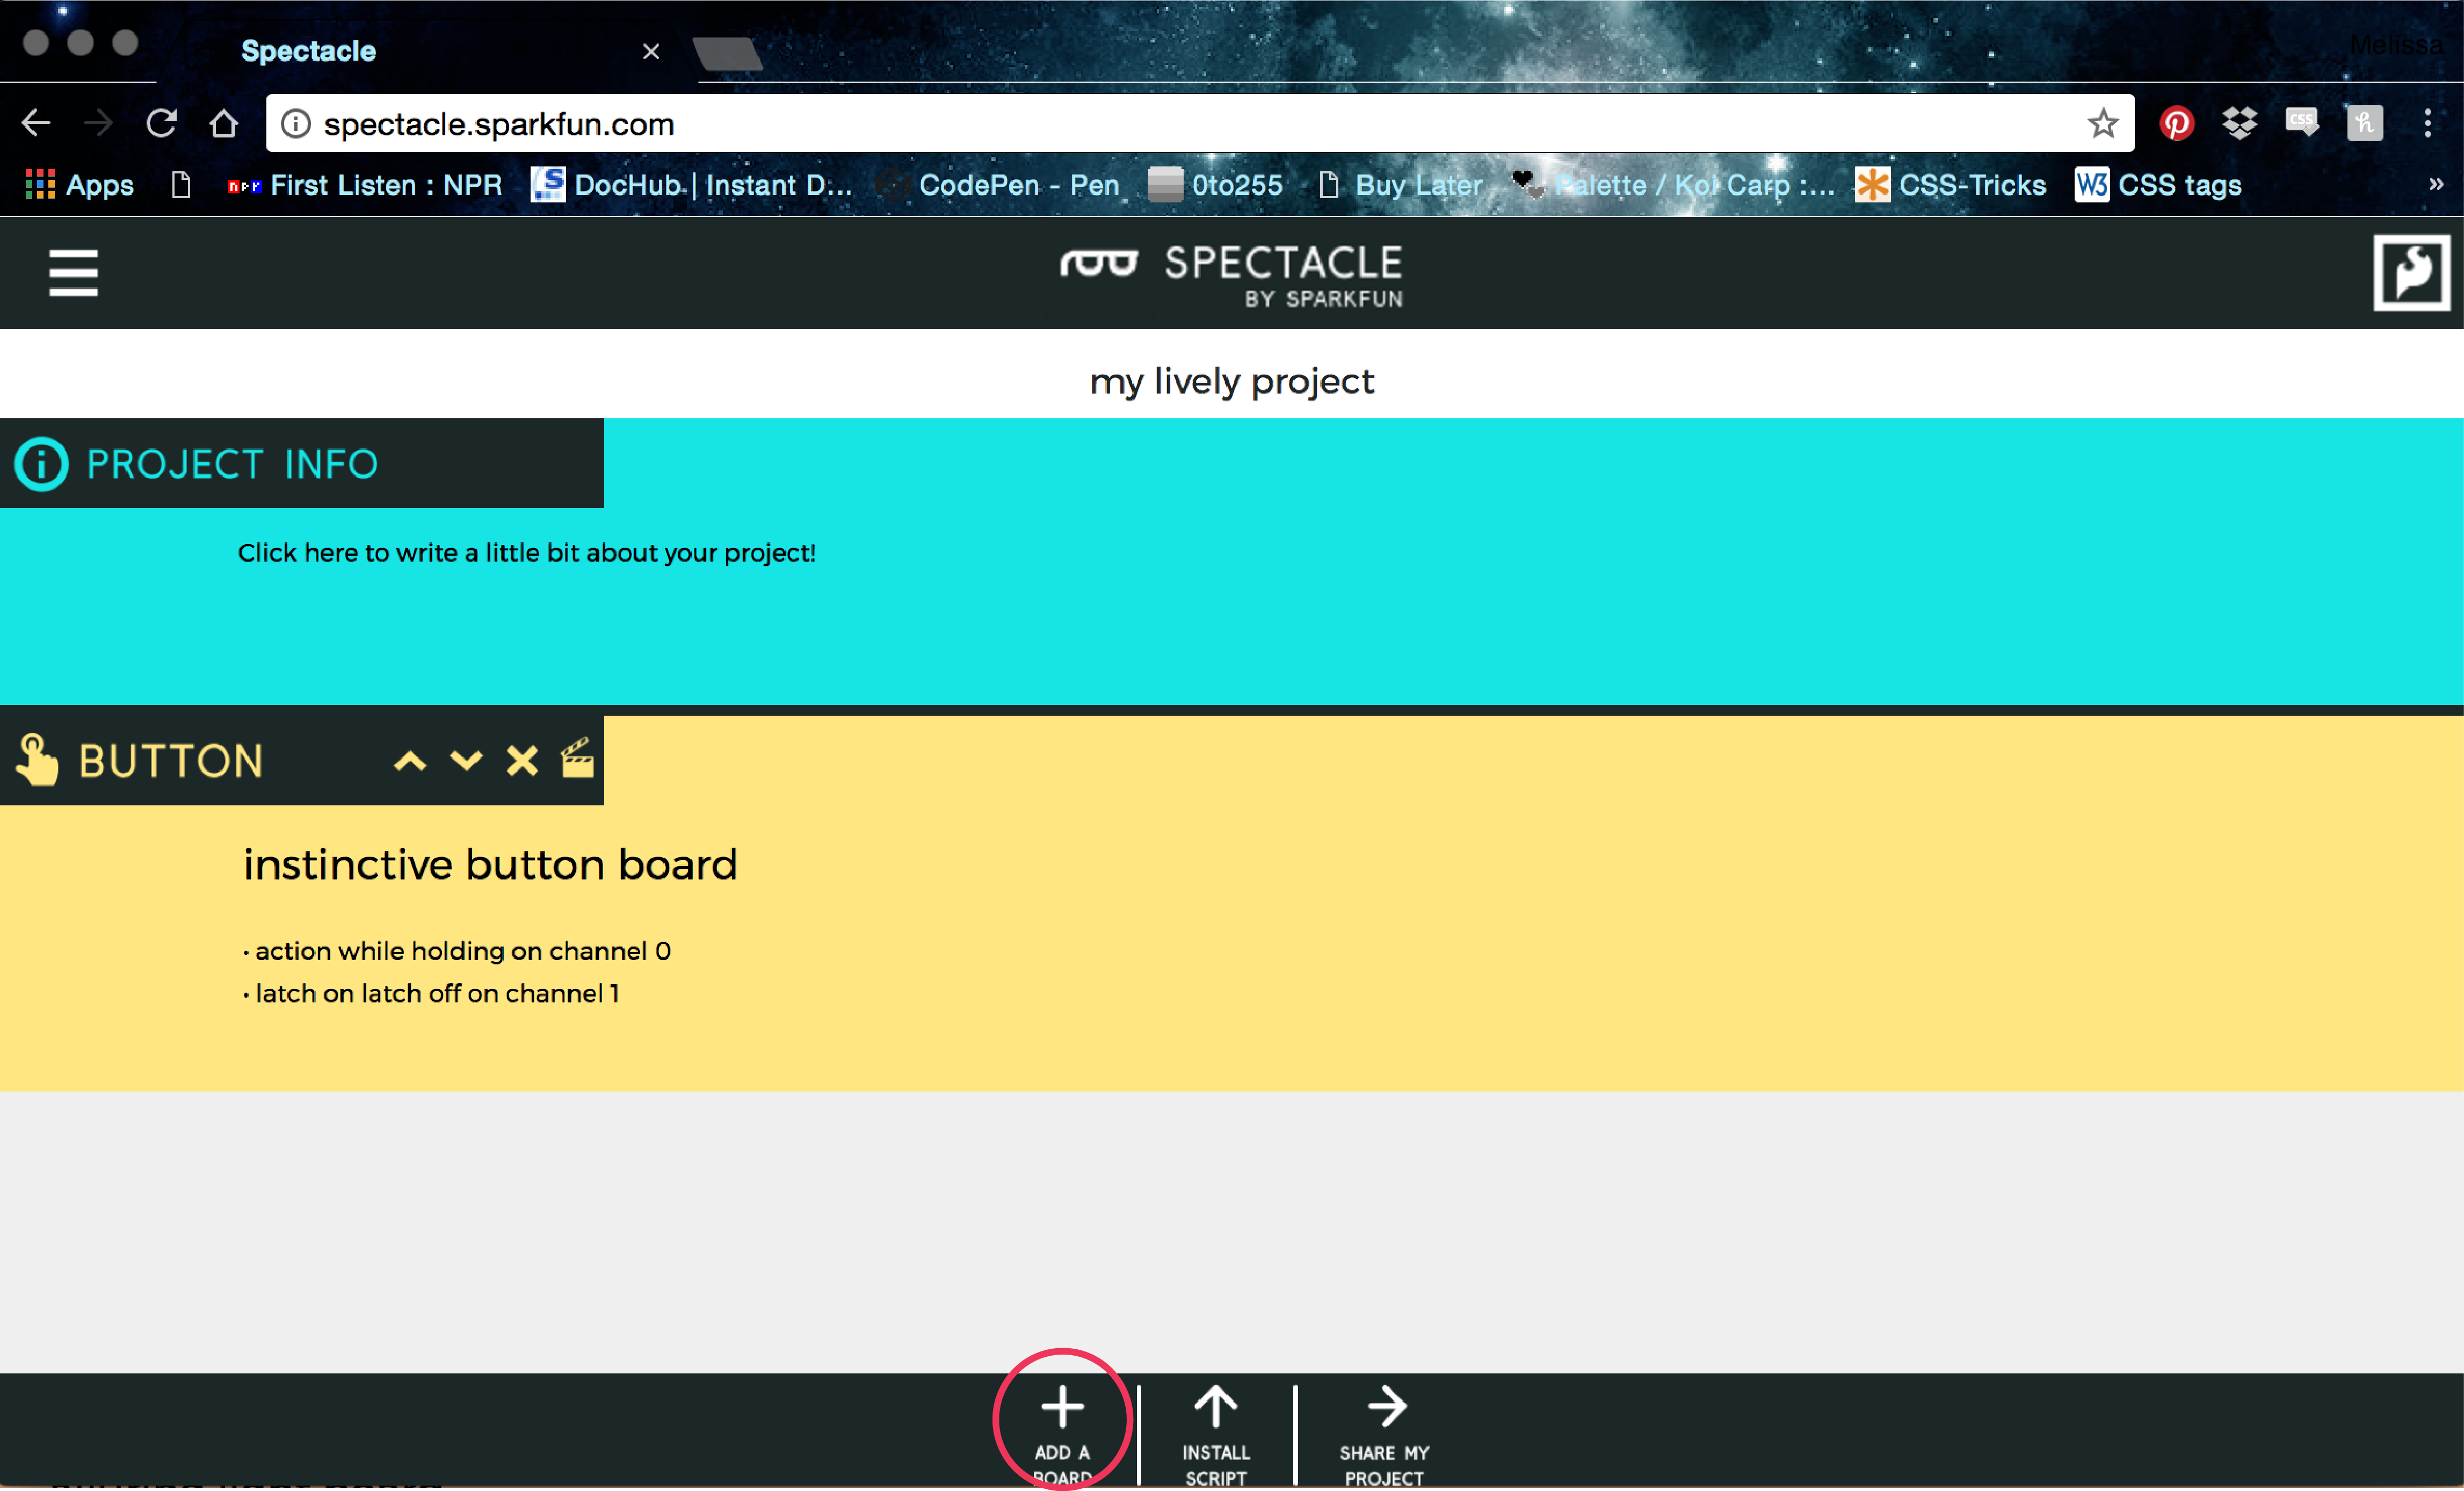
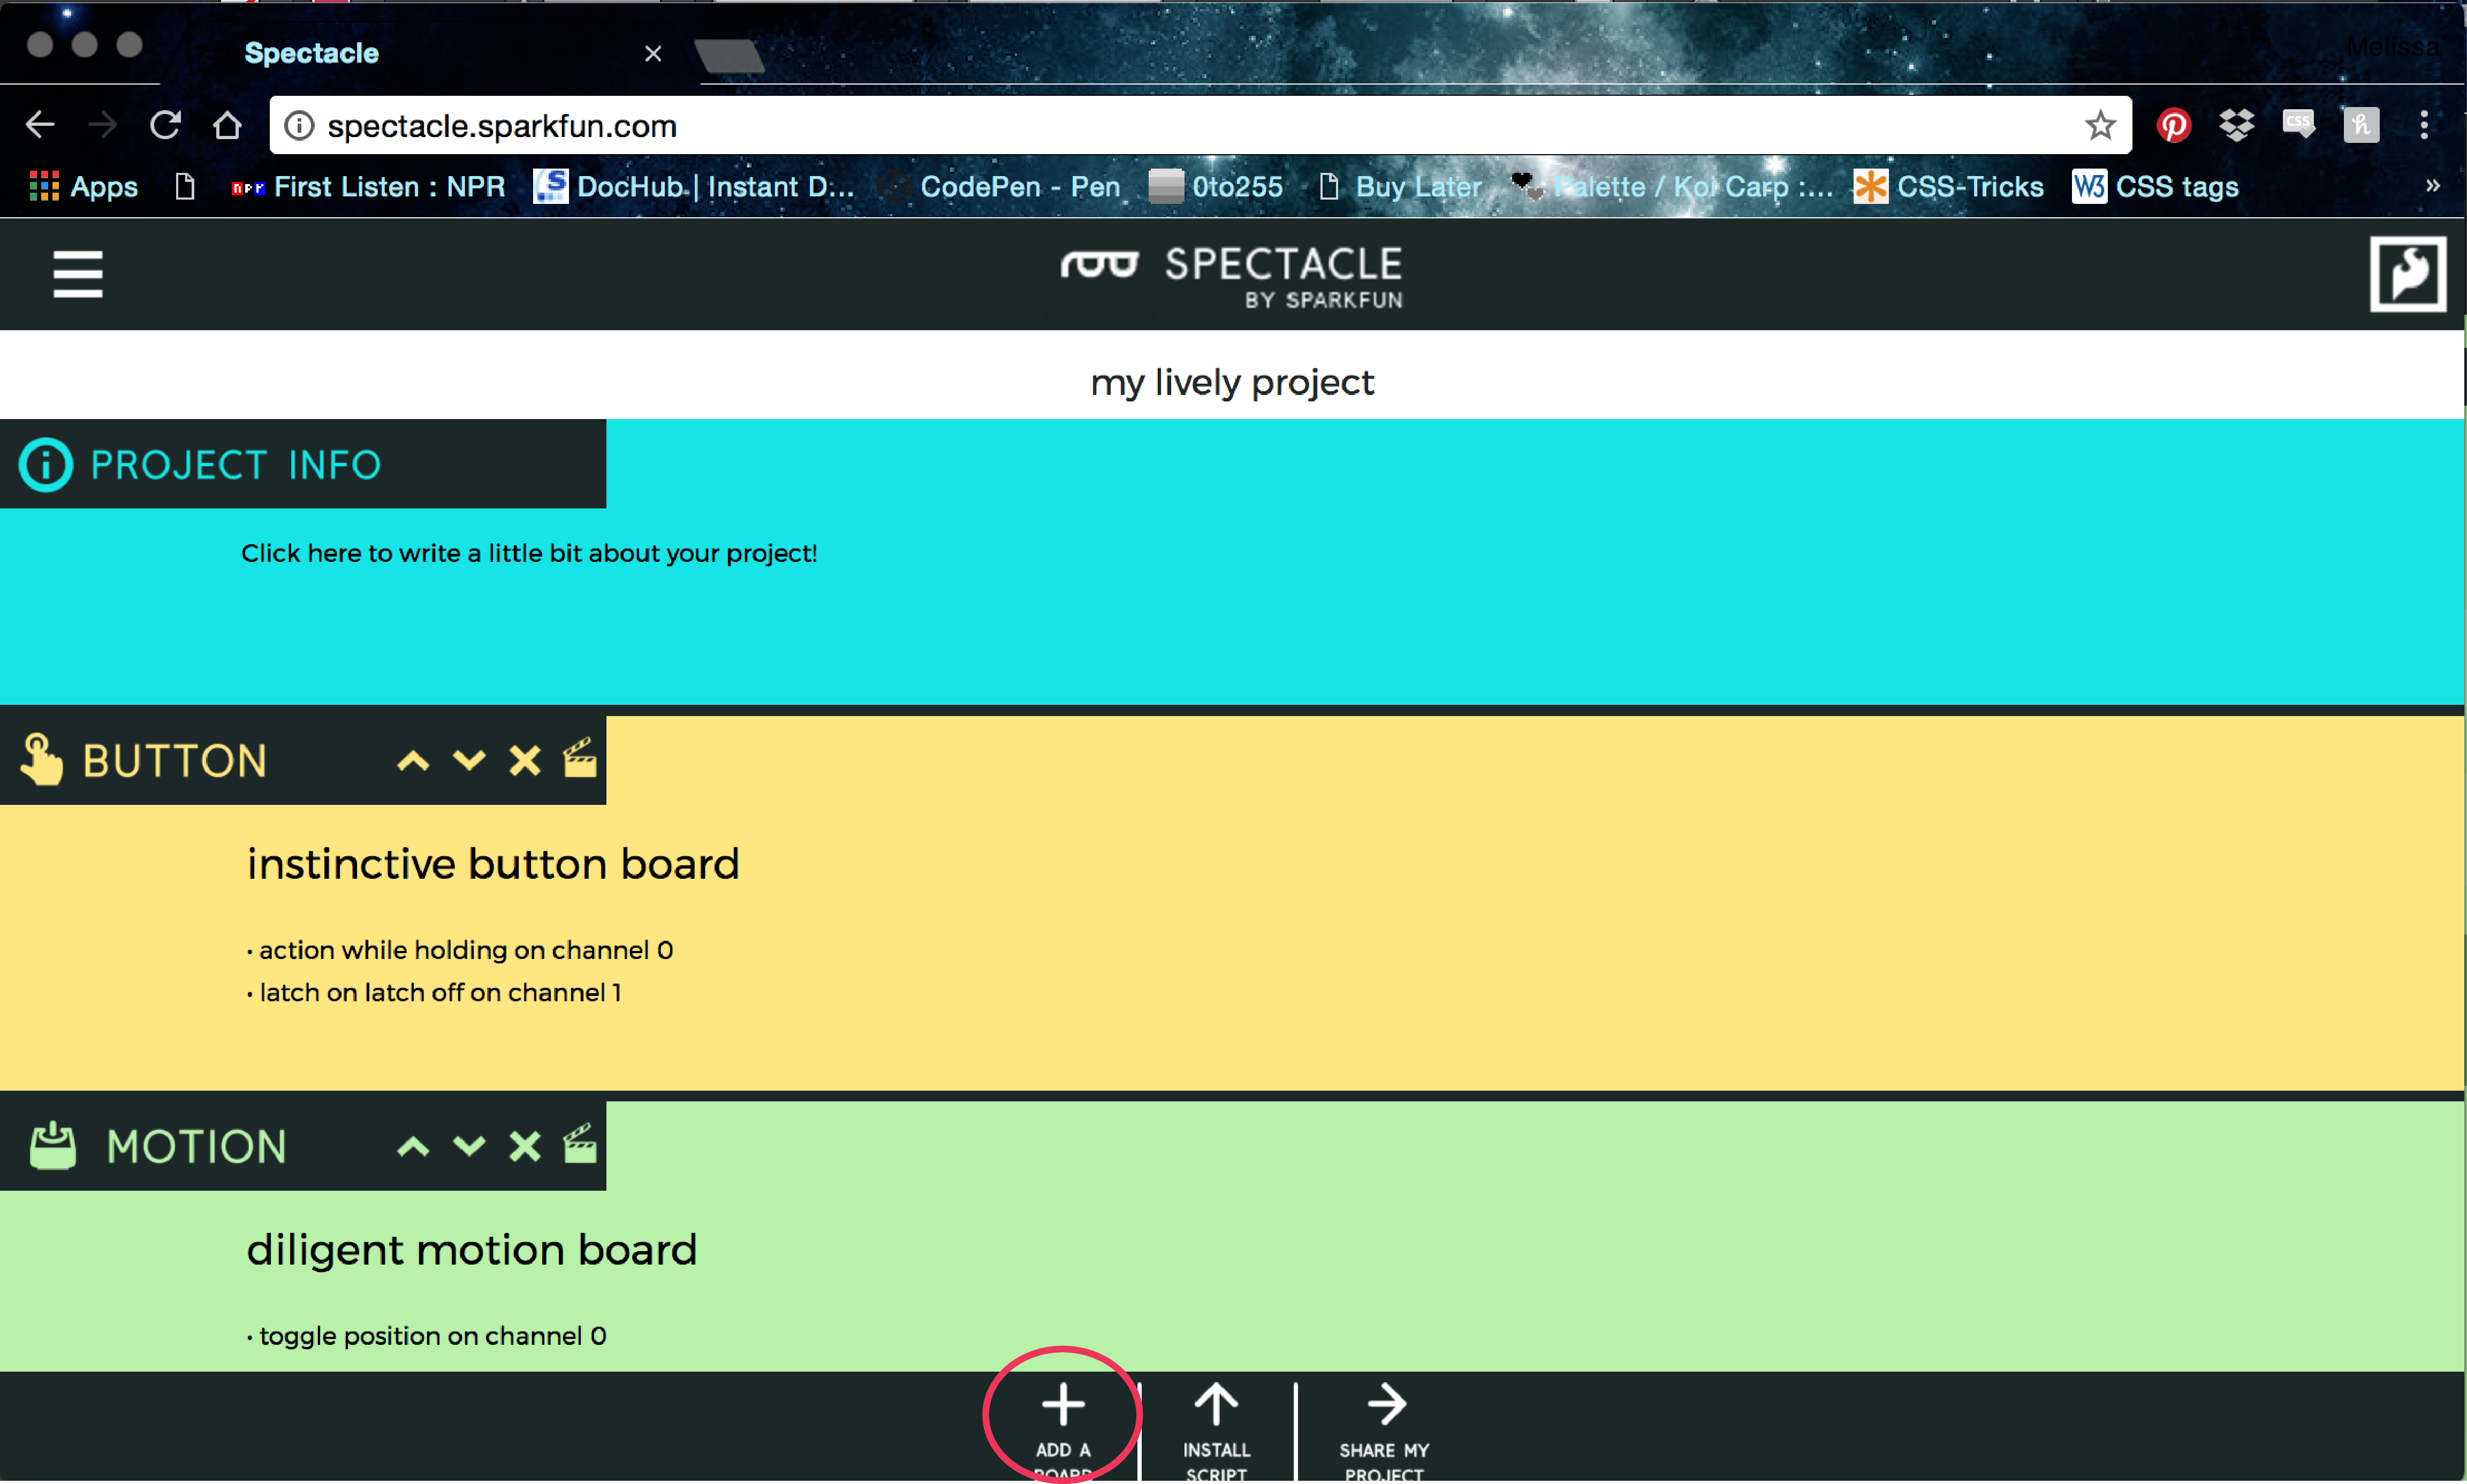
First we need to go to the Spectacle Web App on your browser --- mobile or desktop --- and press ‘ADD A BOARD.’
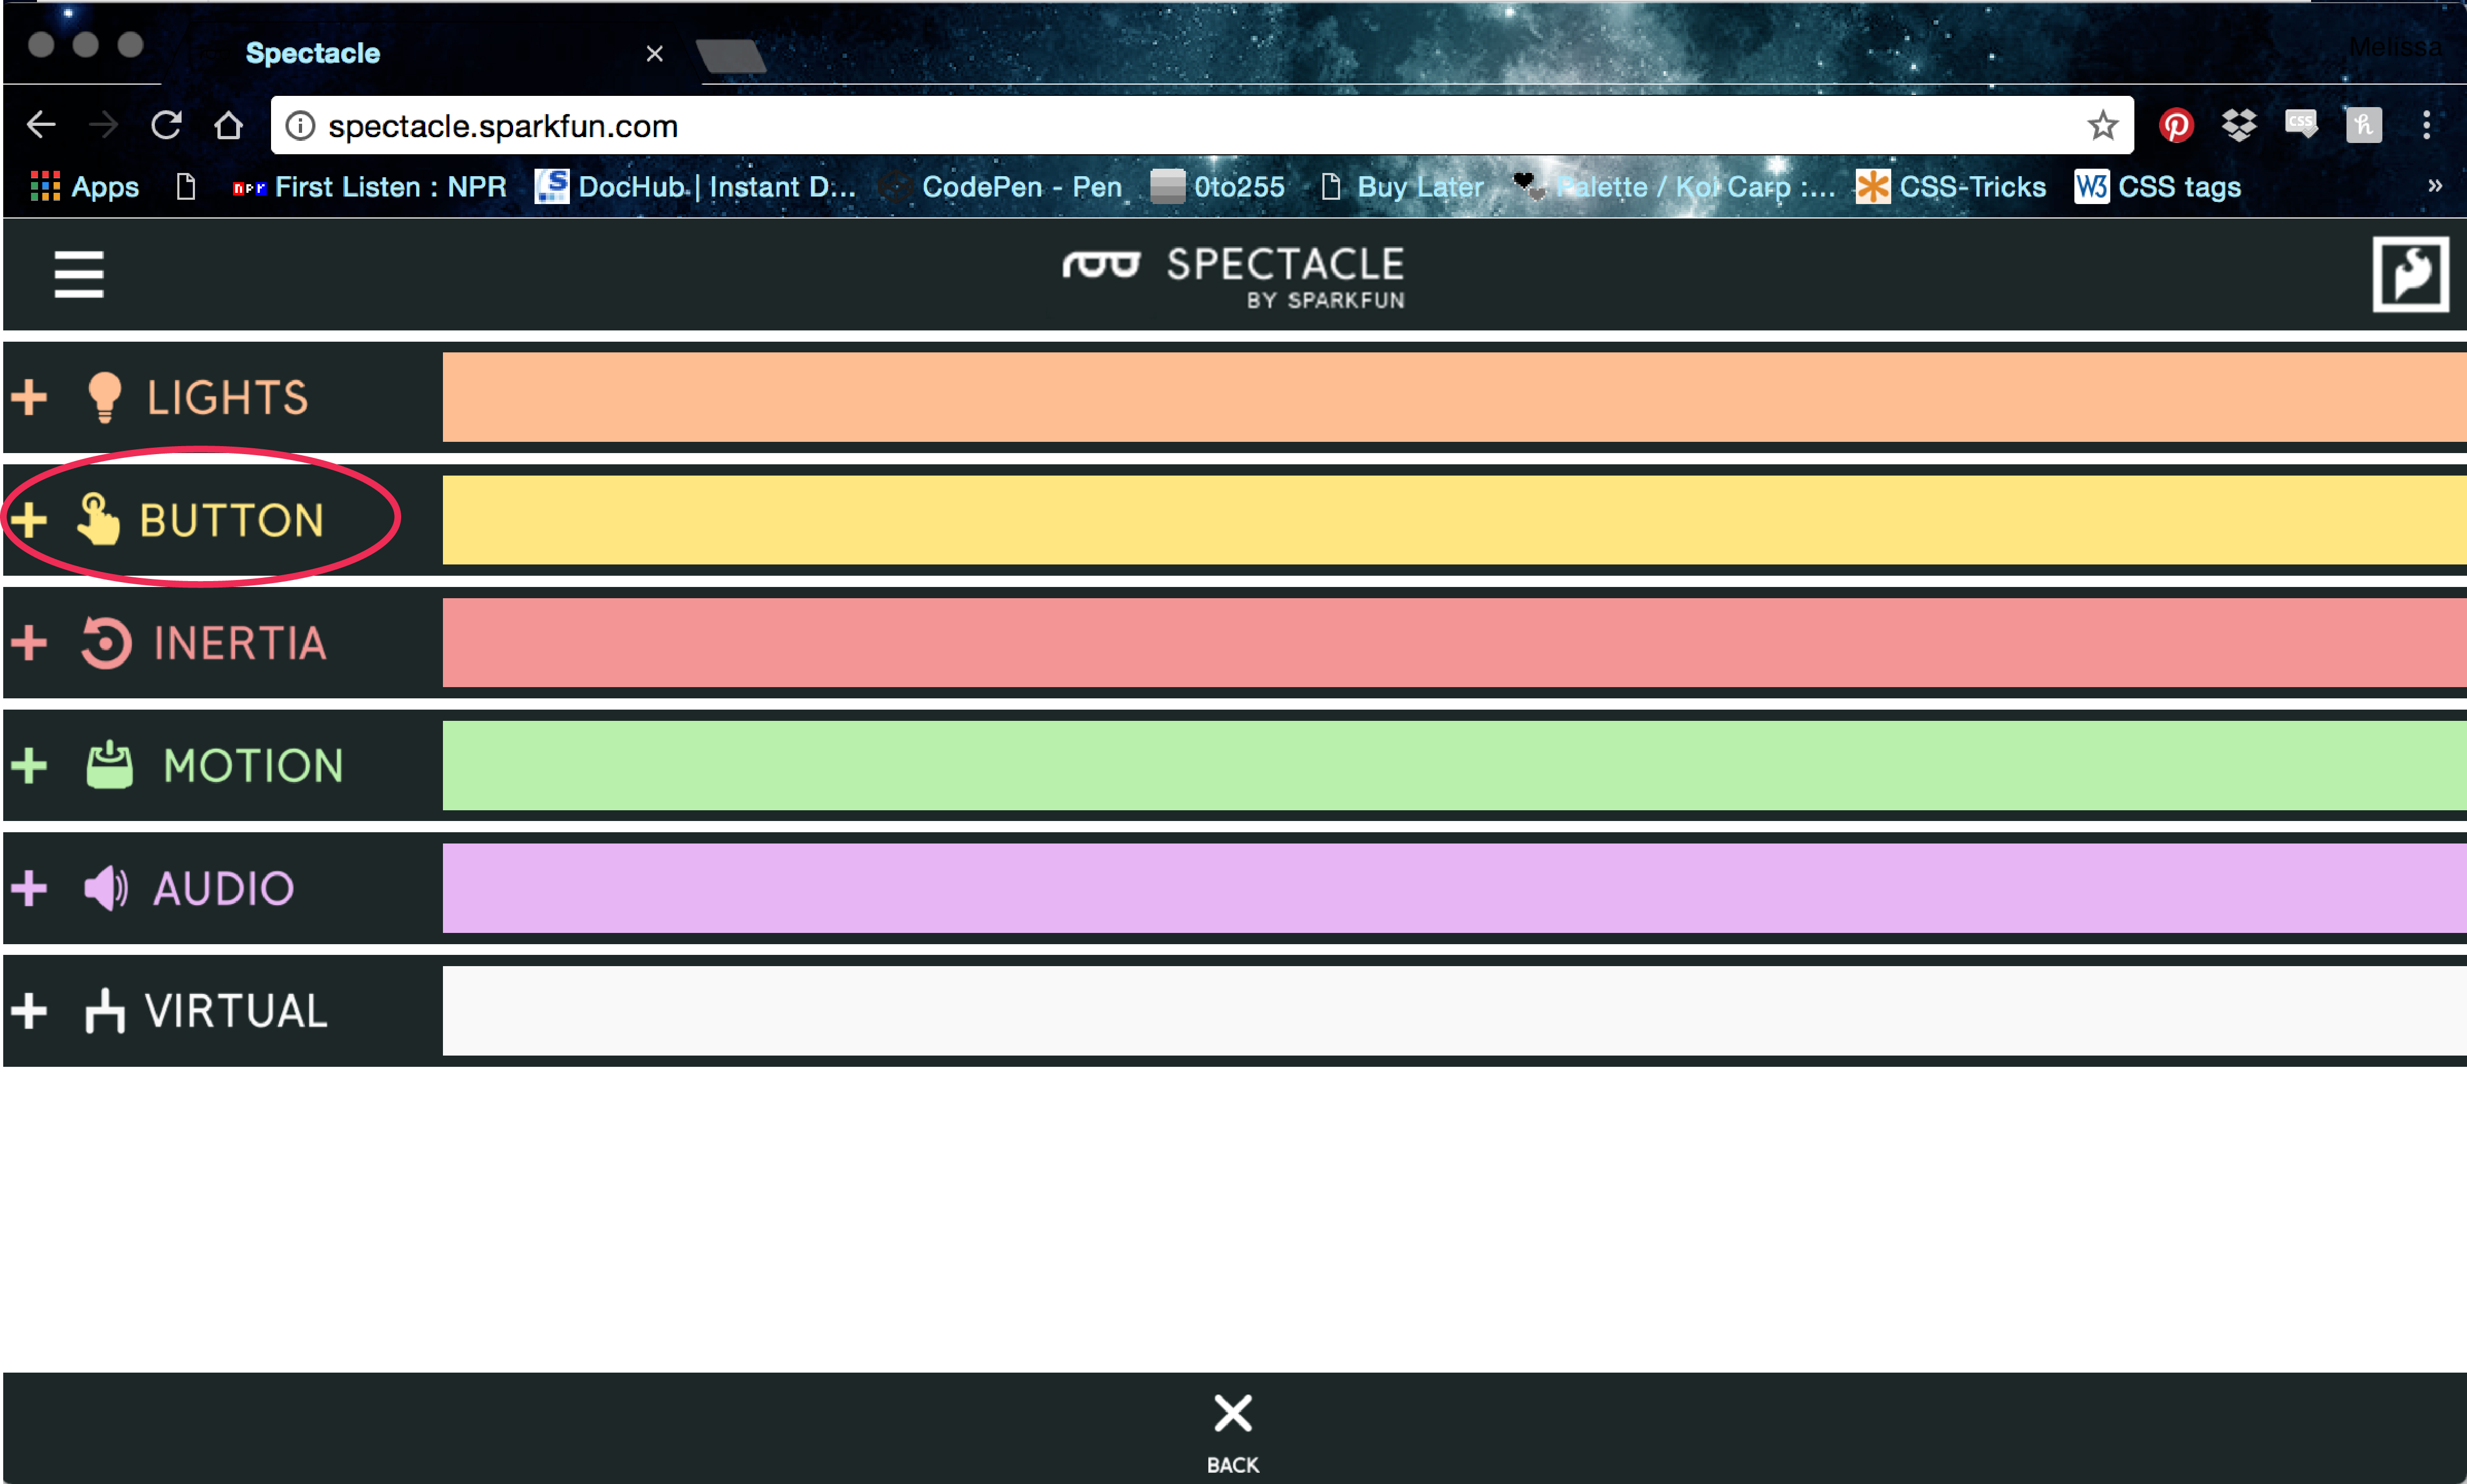
Select ‘BUTTON’.
Click the ‘ACTION’ button.

Click ‘ADD AN ACTION’.

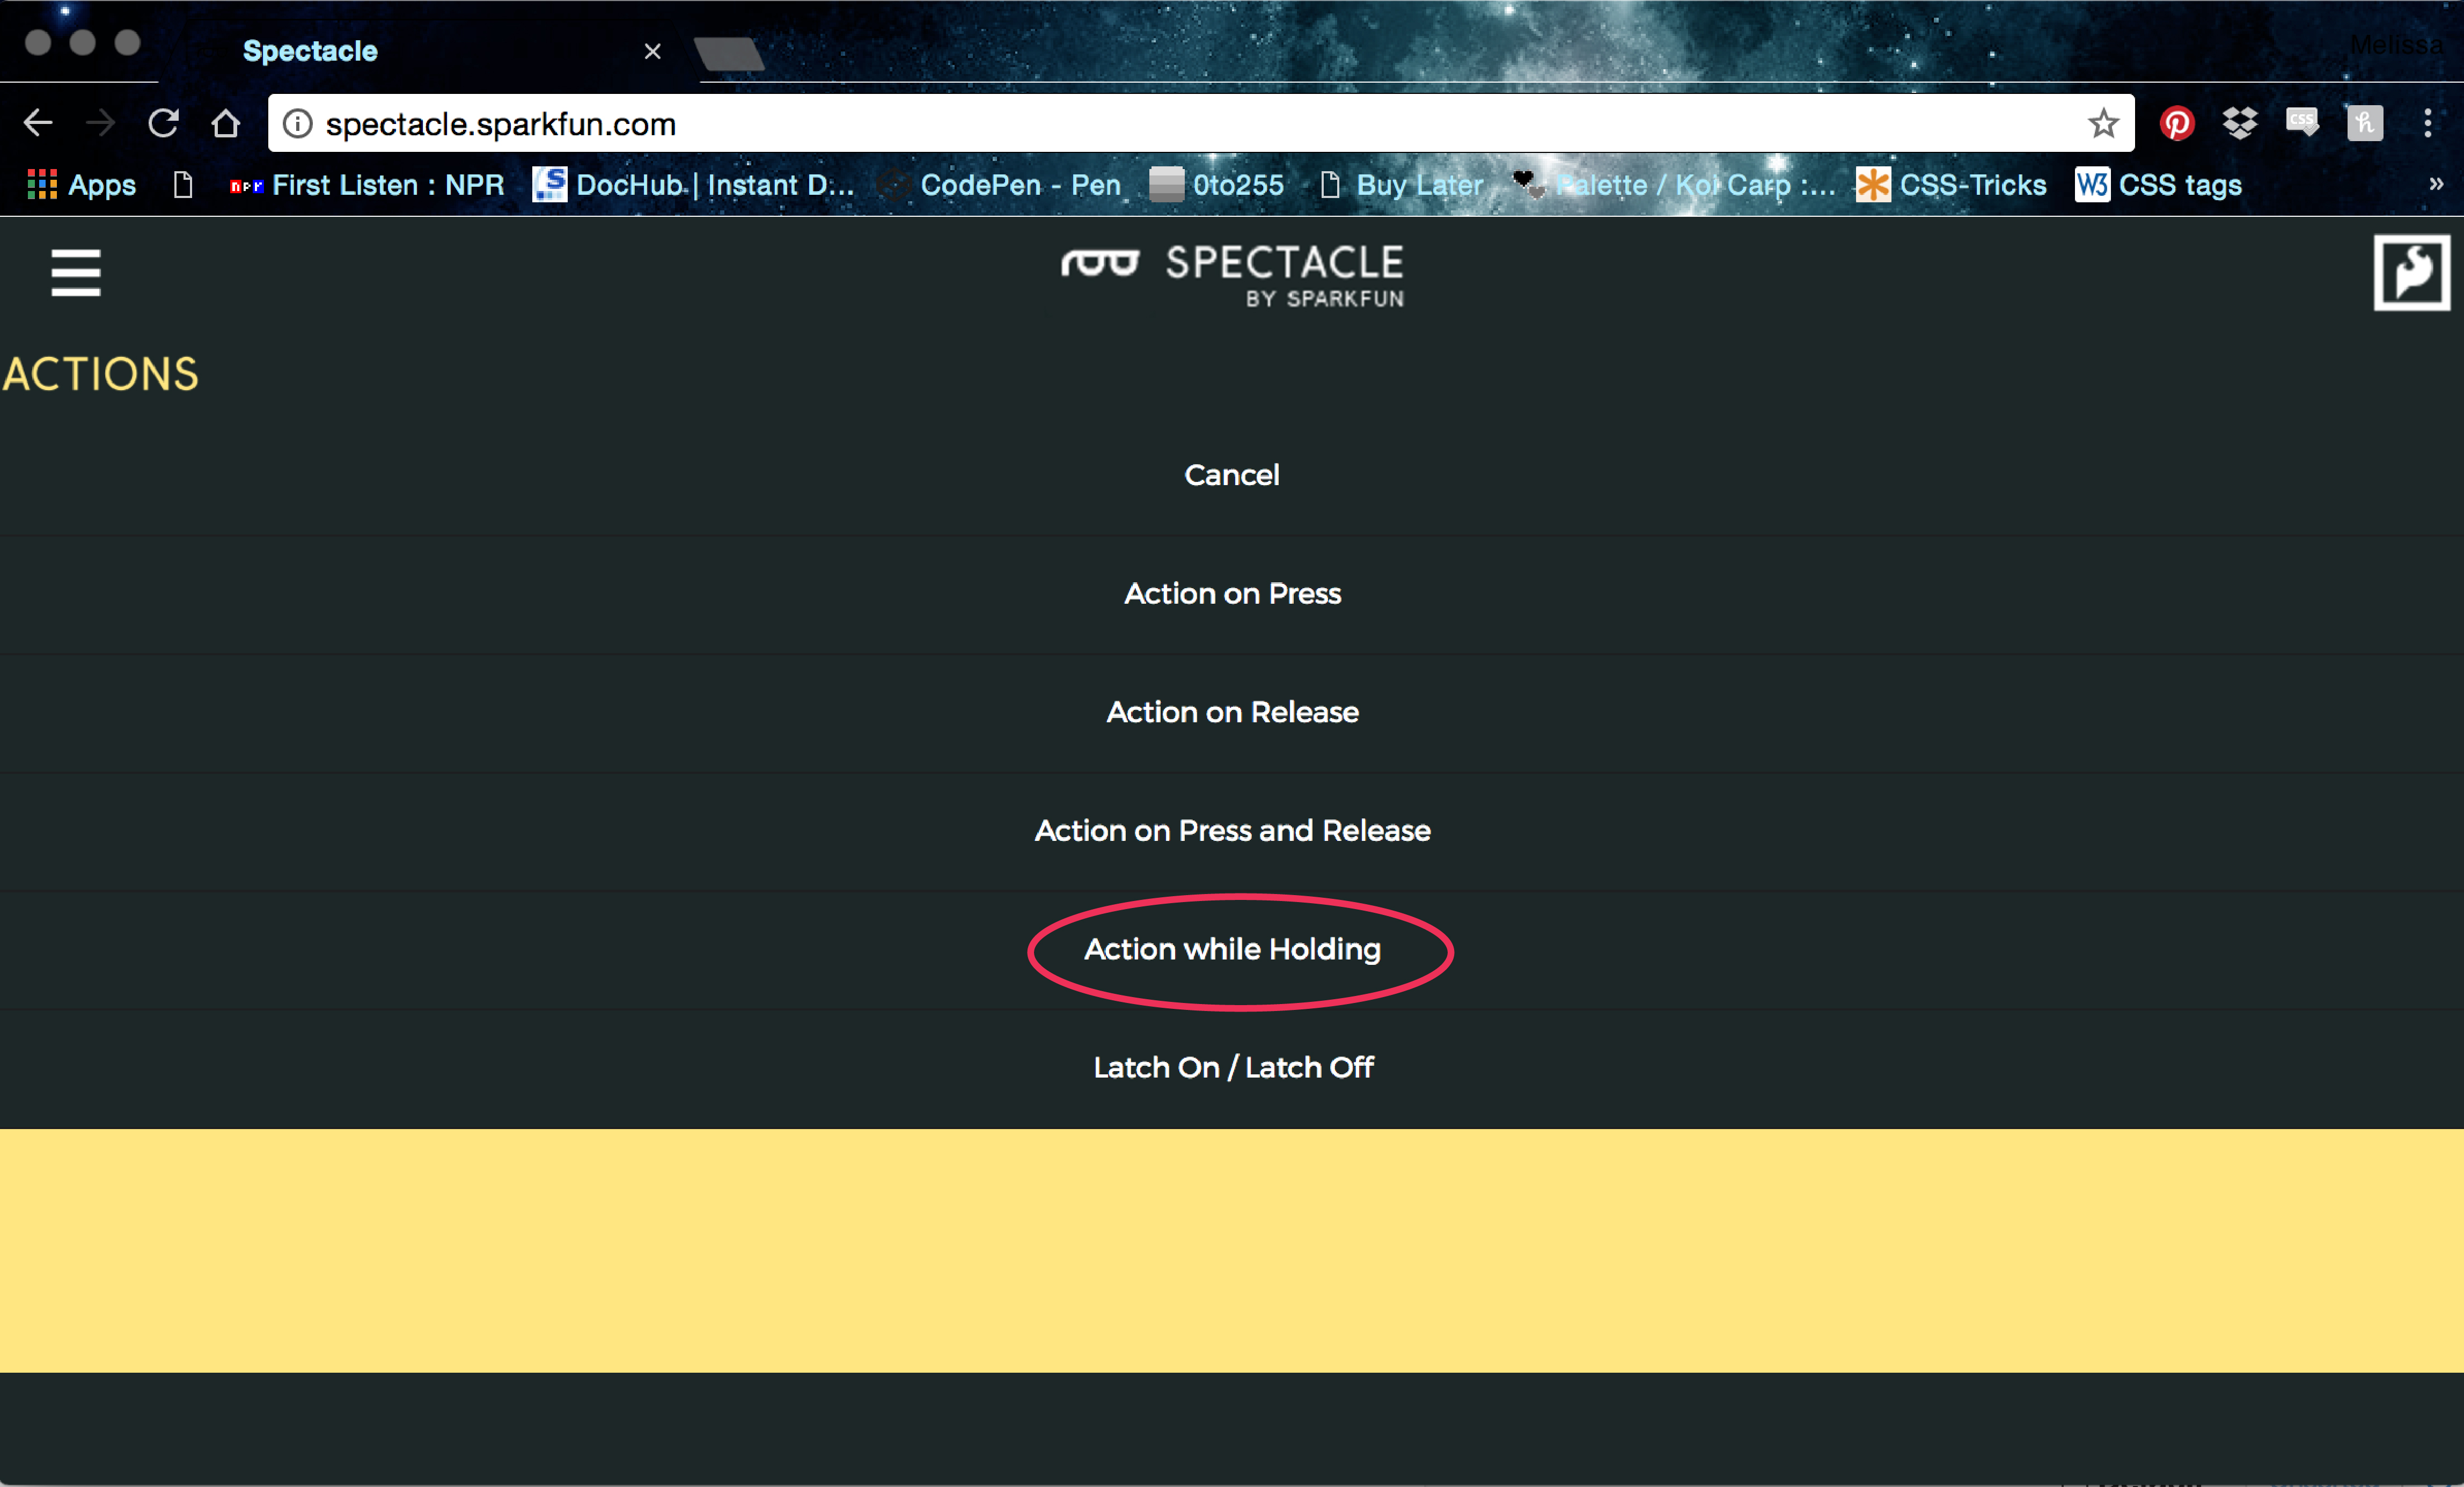
Select ‘Action while Holding,’ hit ‘ADD AN ACTION’ again, and then select ‘Latch on / Latch off.’

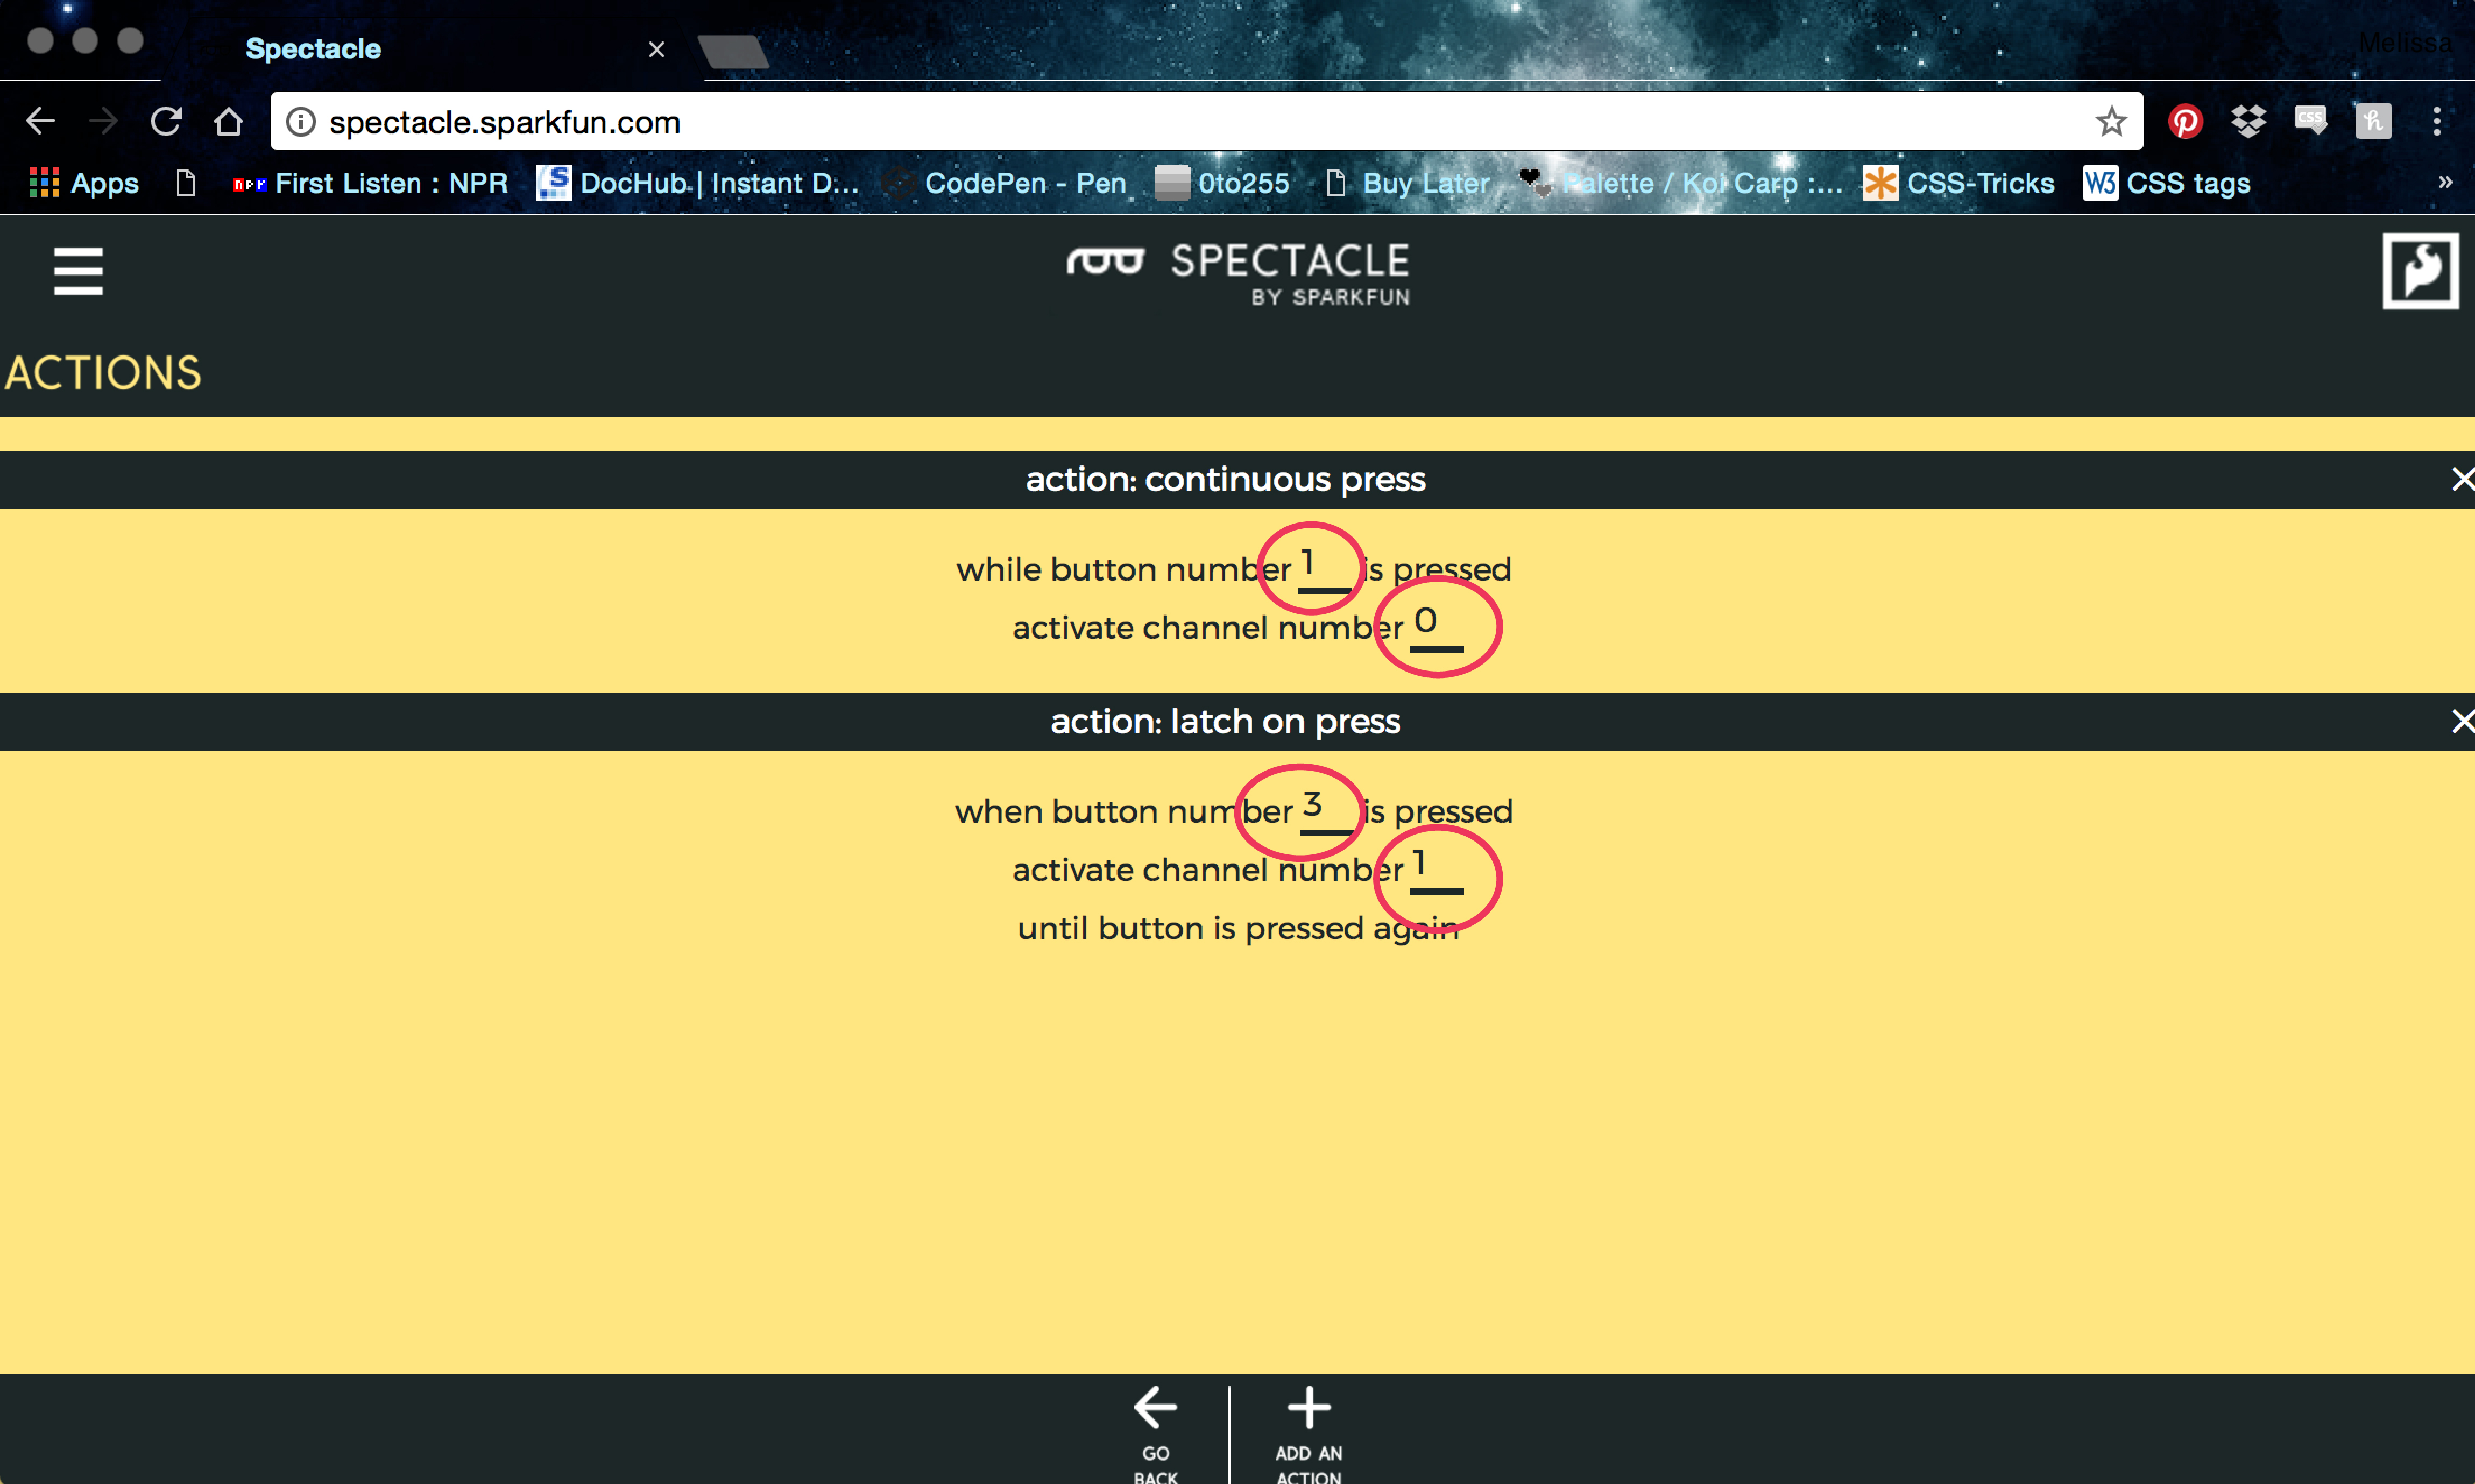
Fill in the fields accordingly and hit ‘GO BACK.’
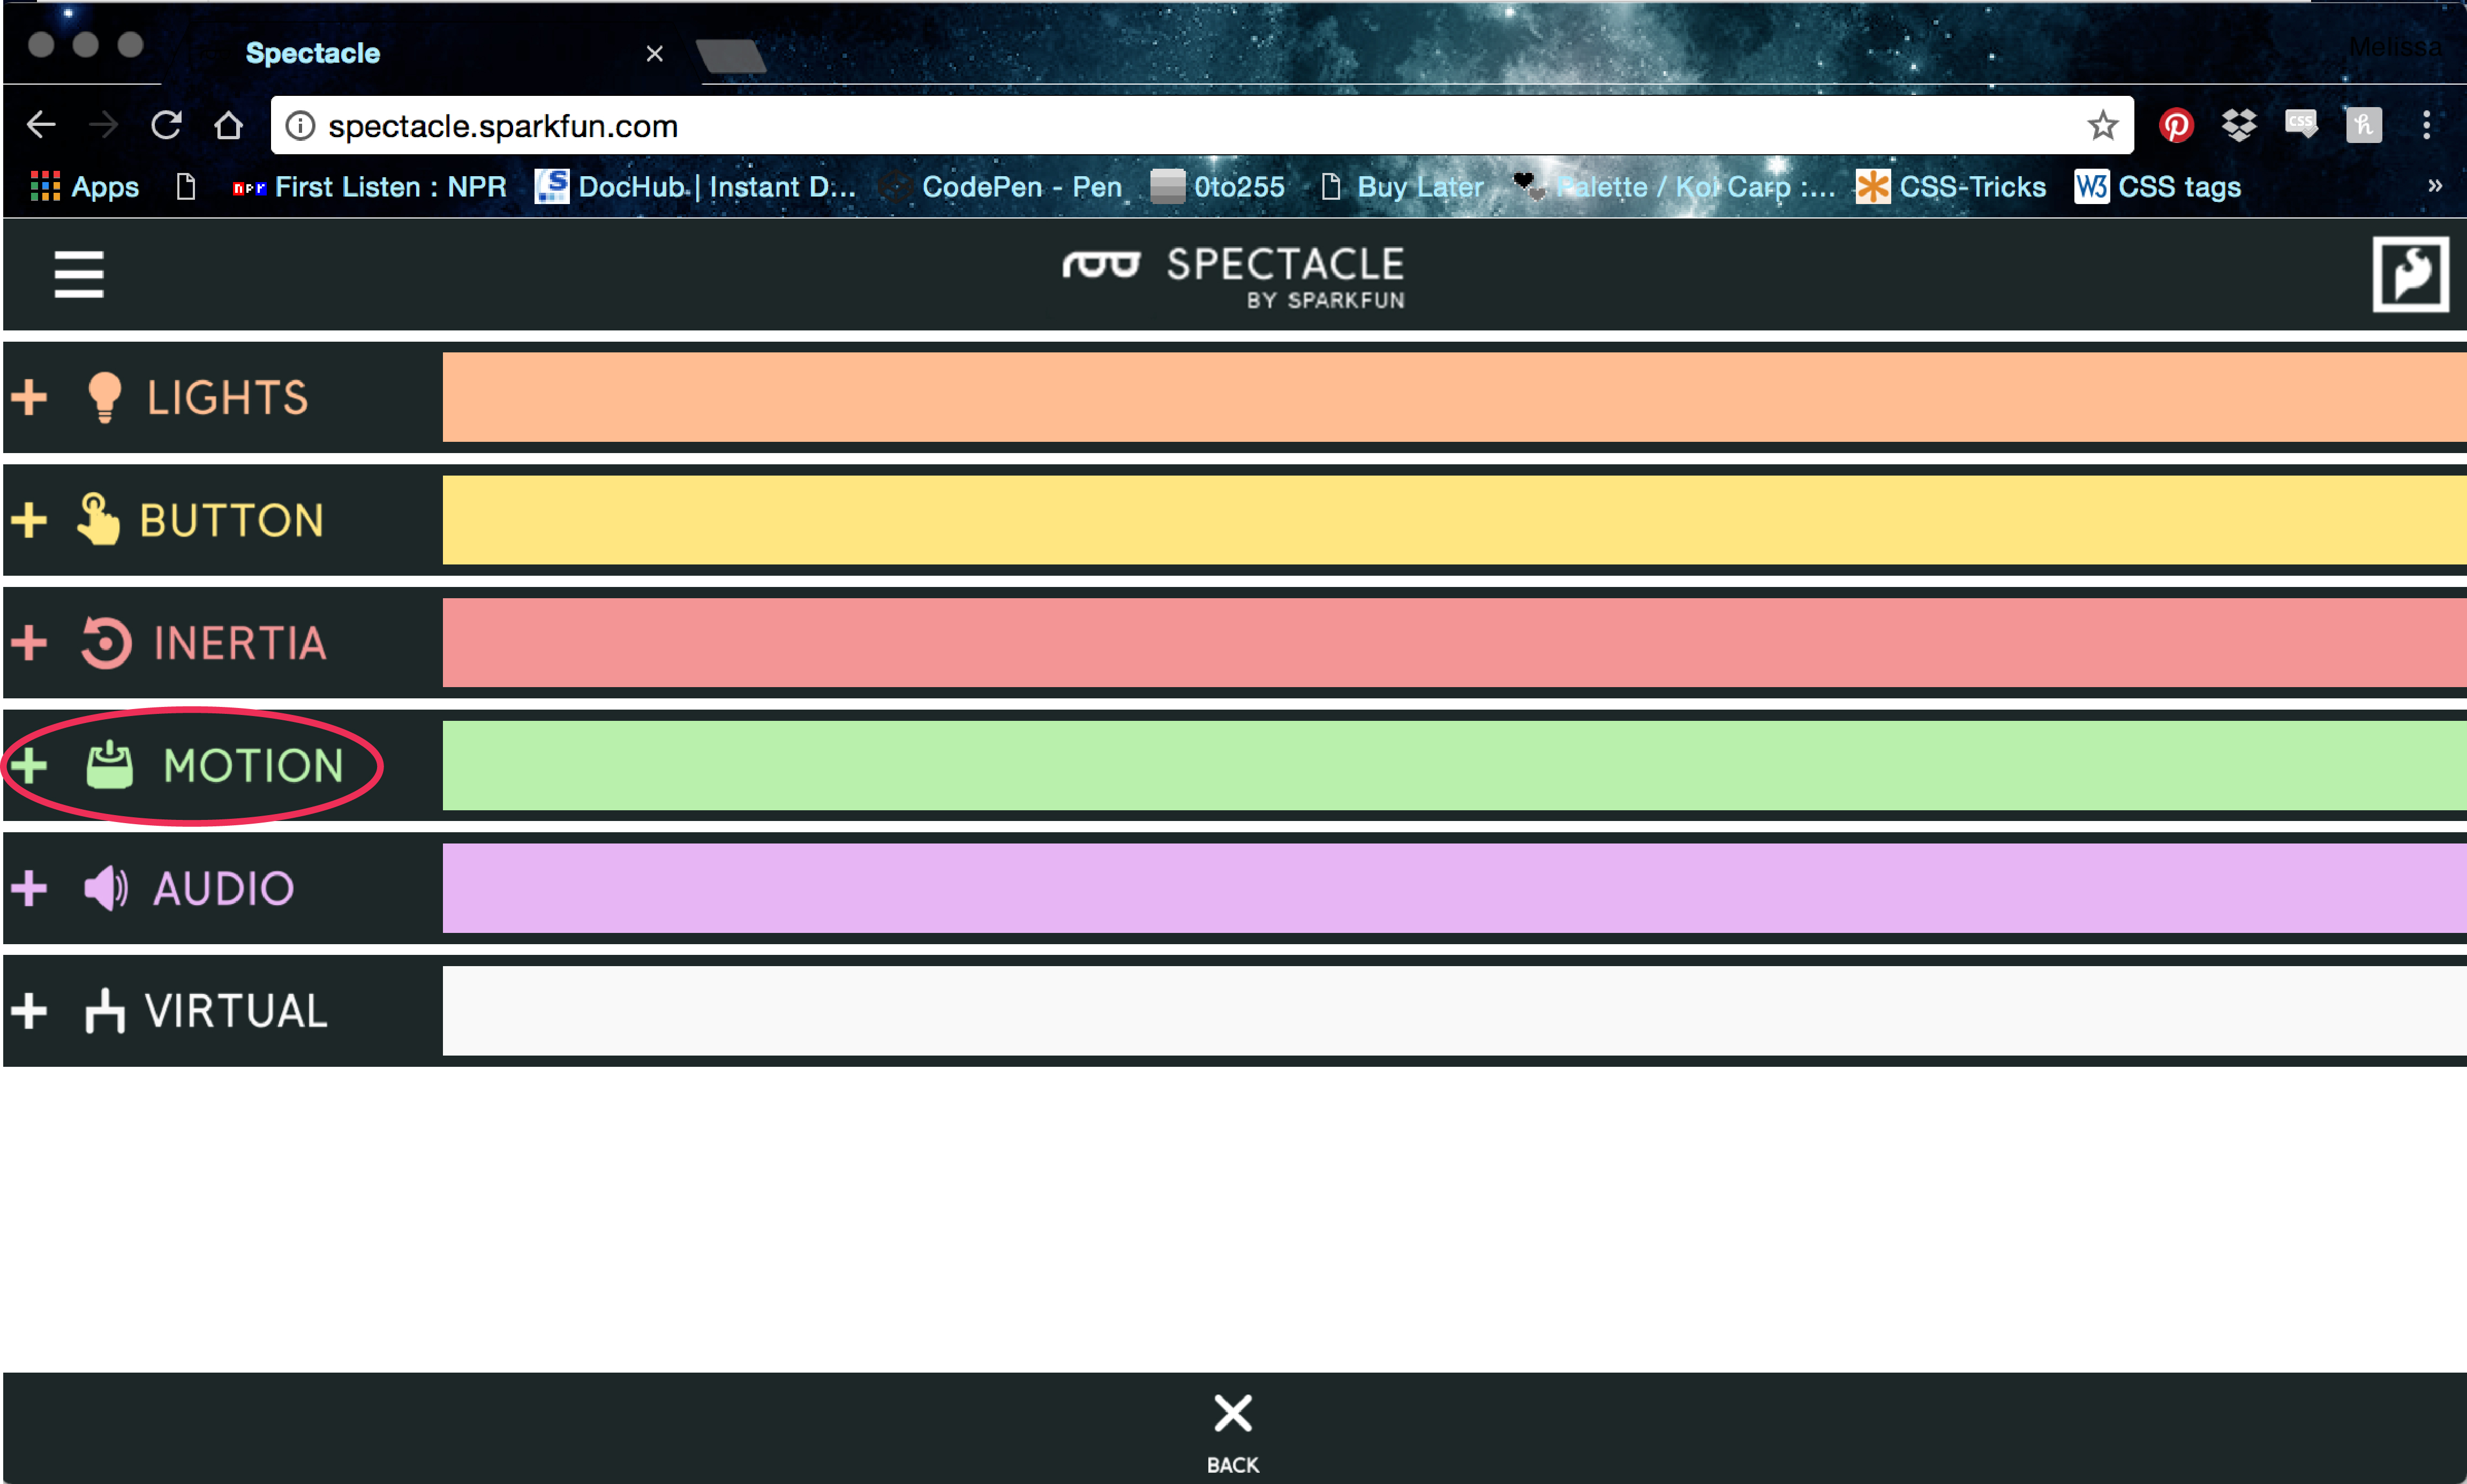
Select ‘ADD A BOARD’ again.
Select the ‘MOTION BOARD’.
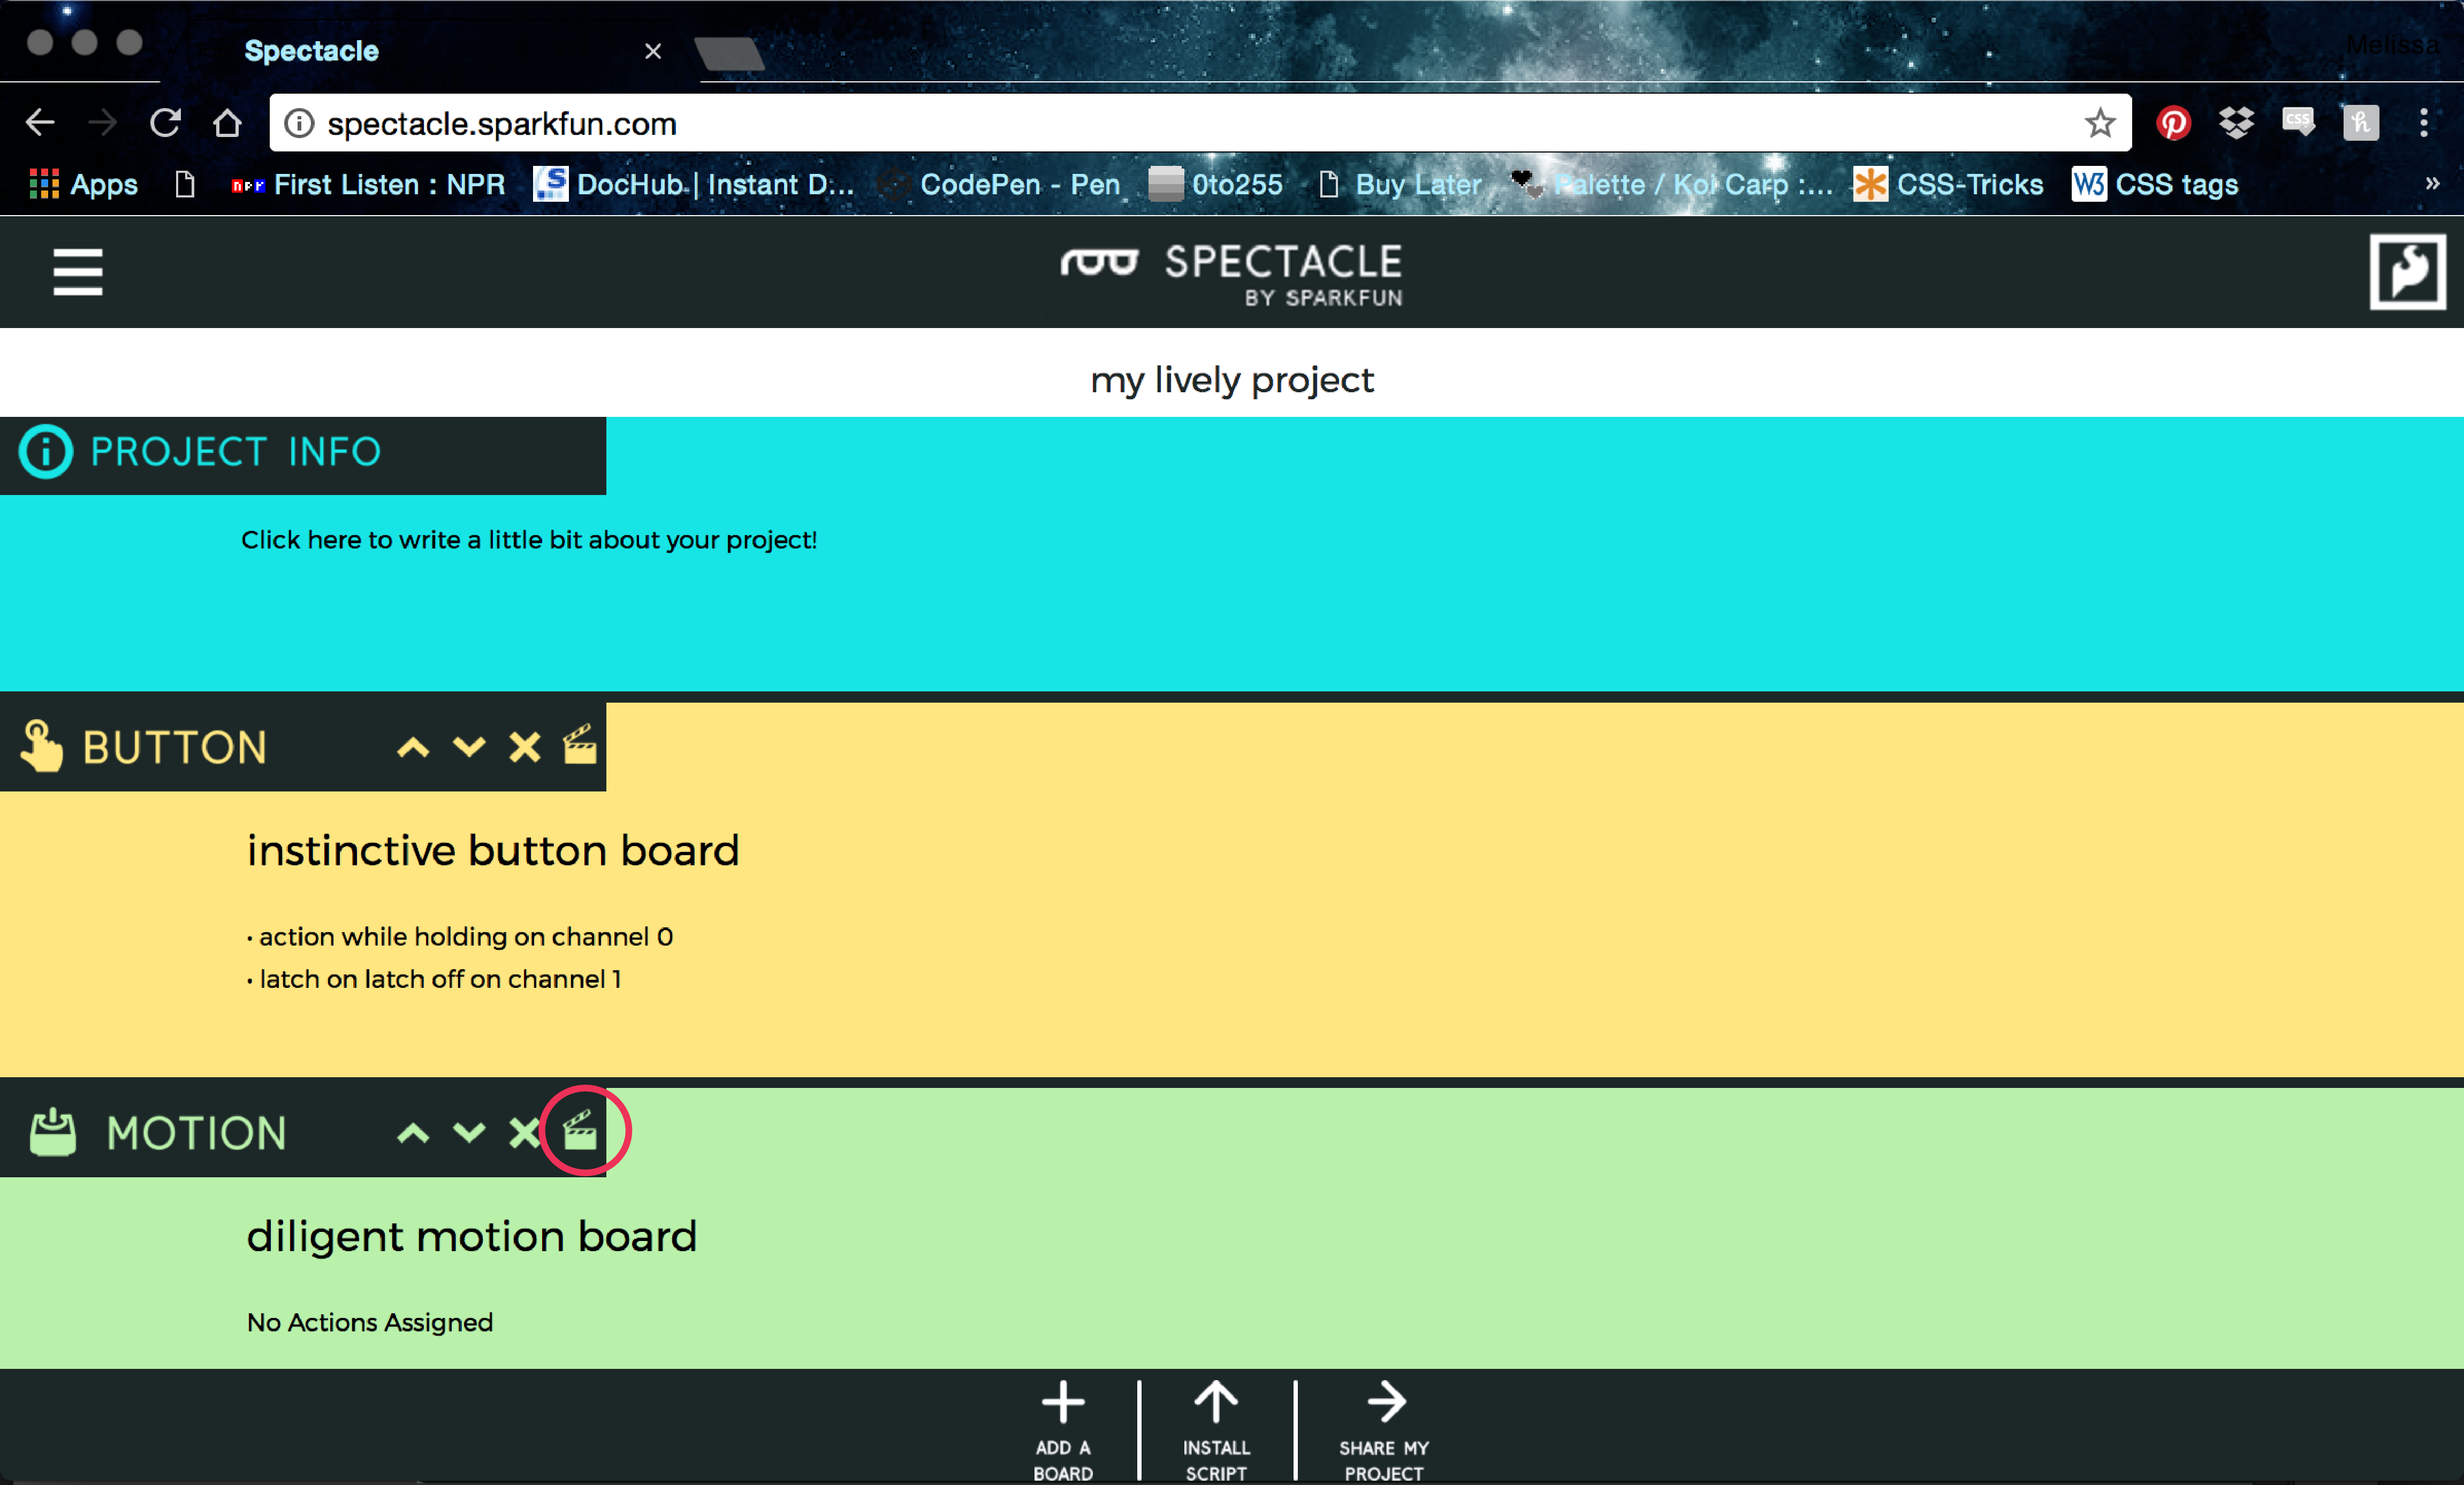
Select this ‘action’ button.
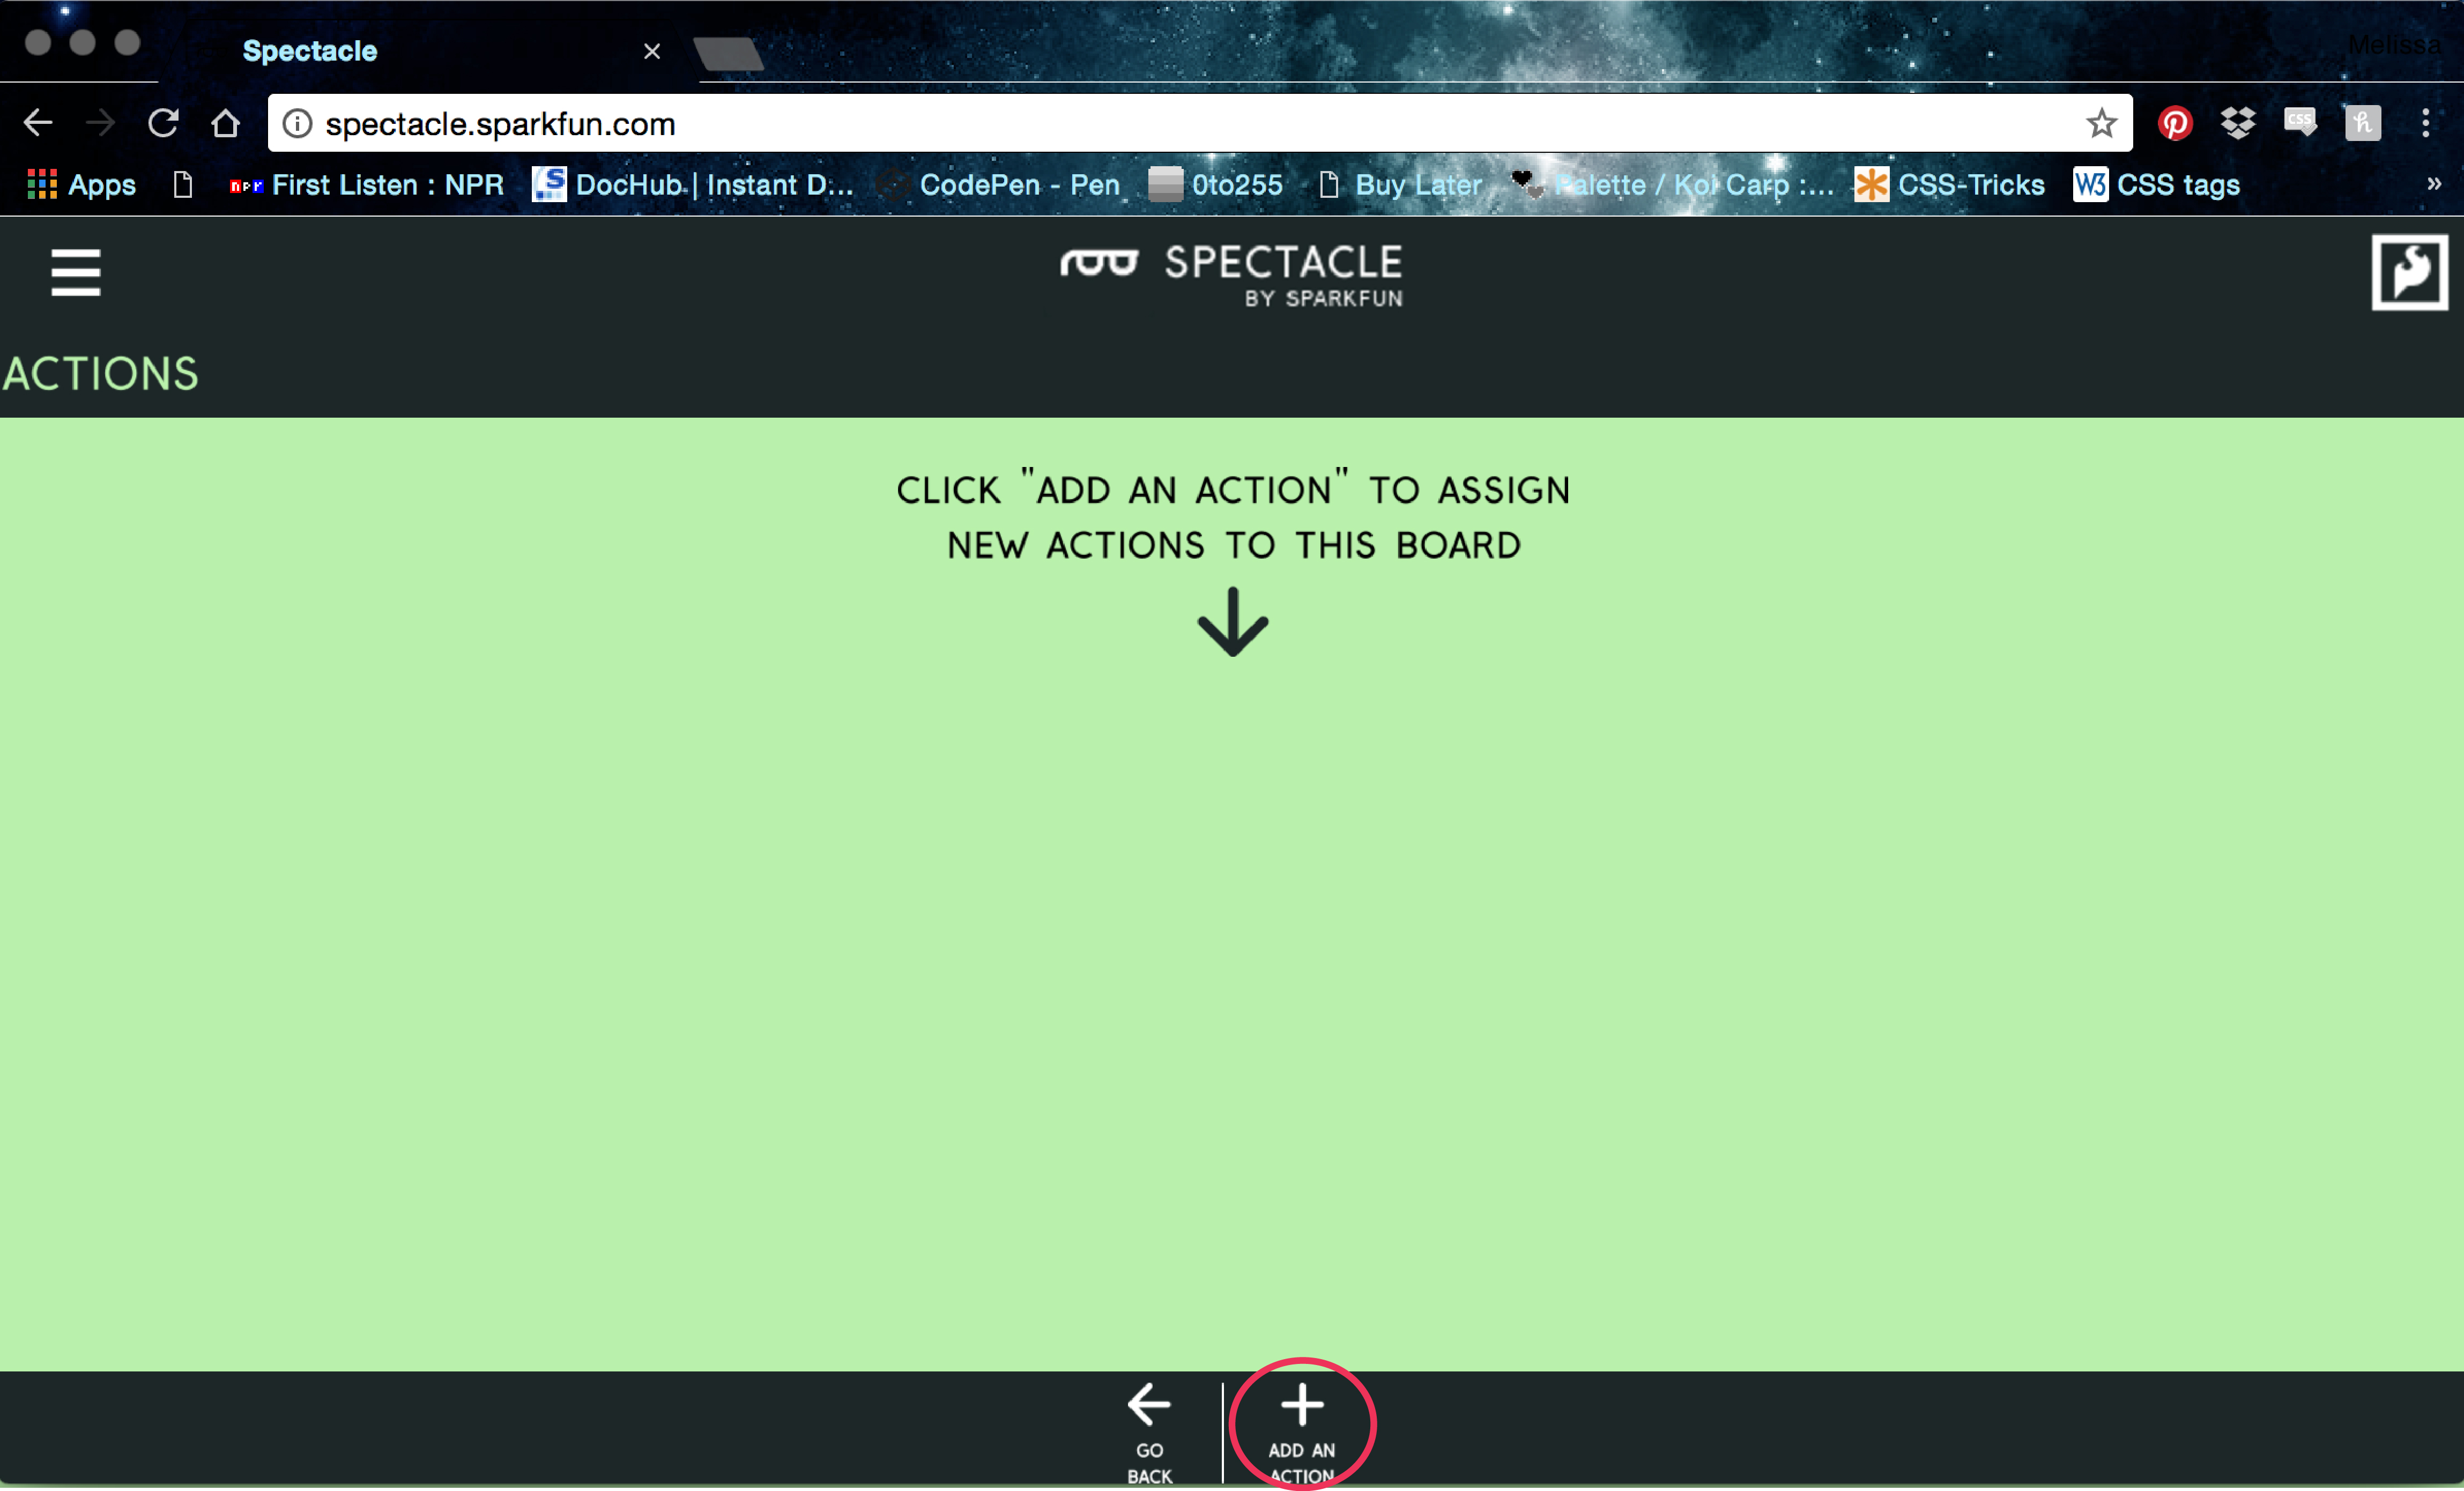
Click ‘ADD AN ACTION’.
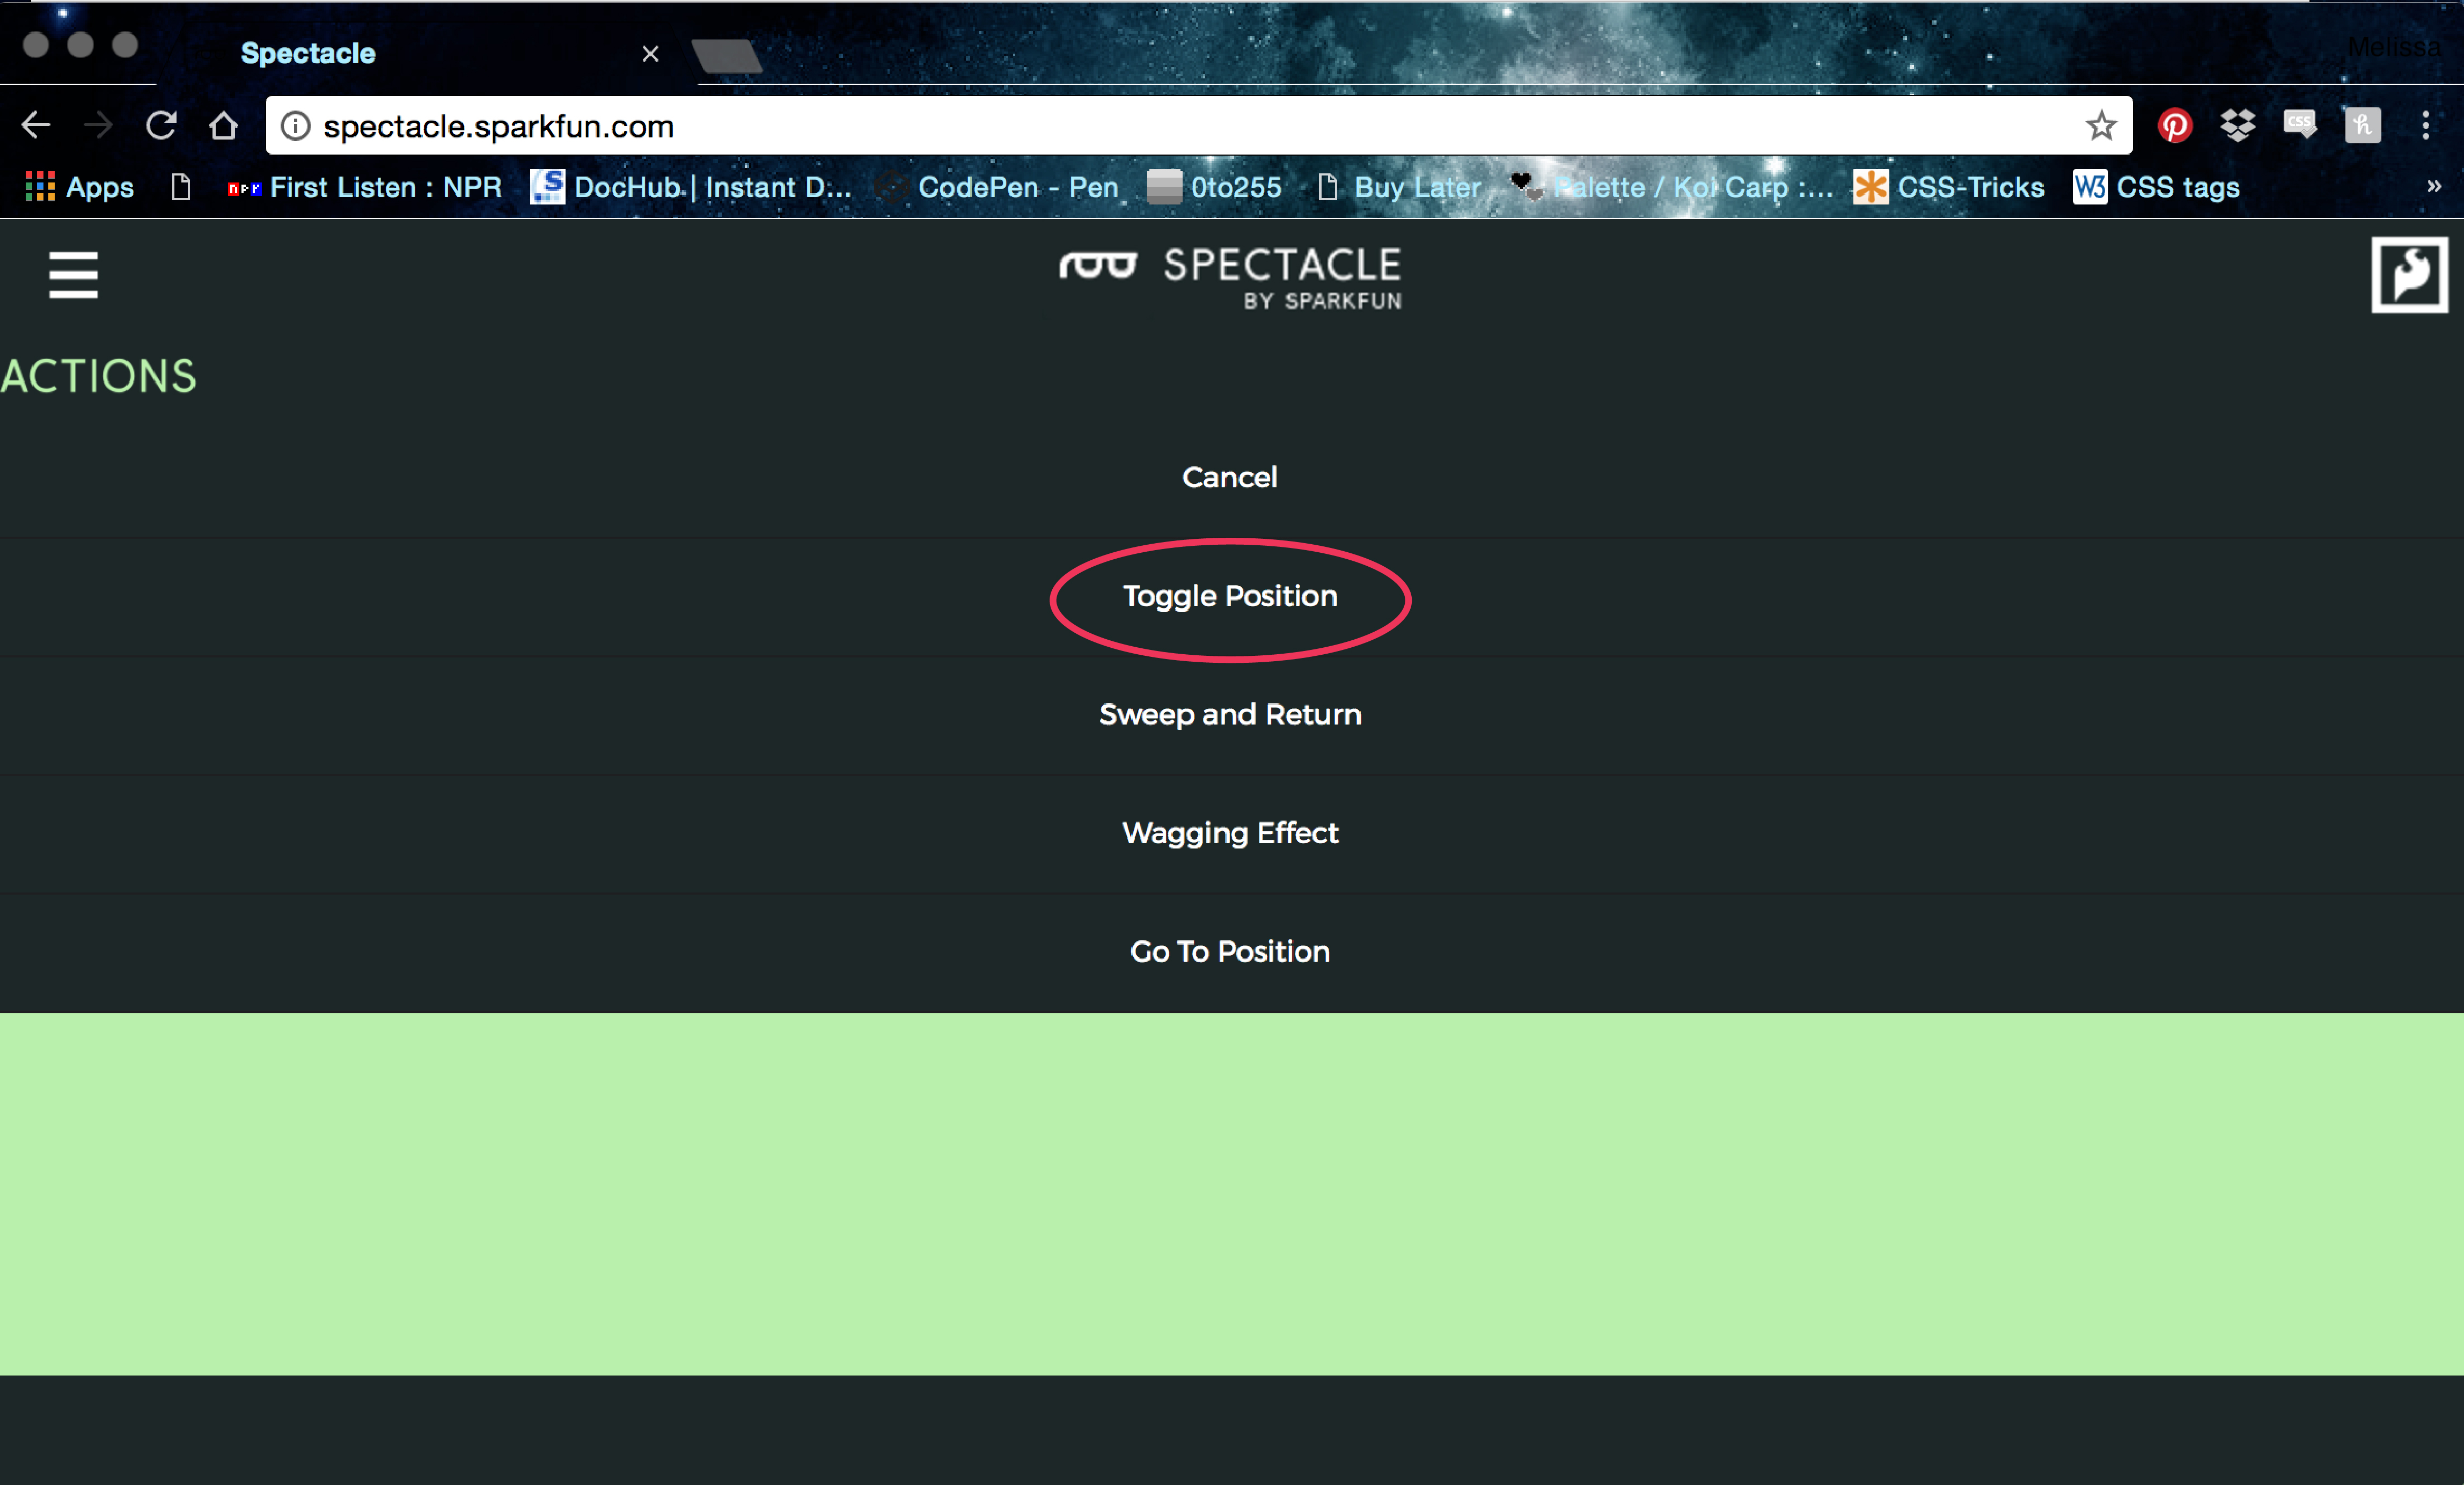
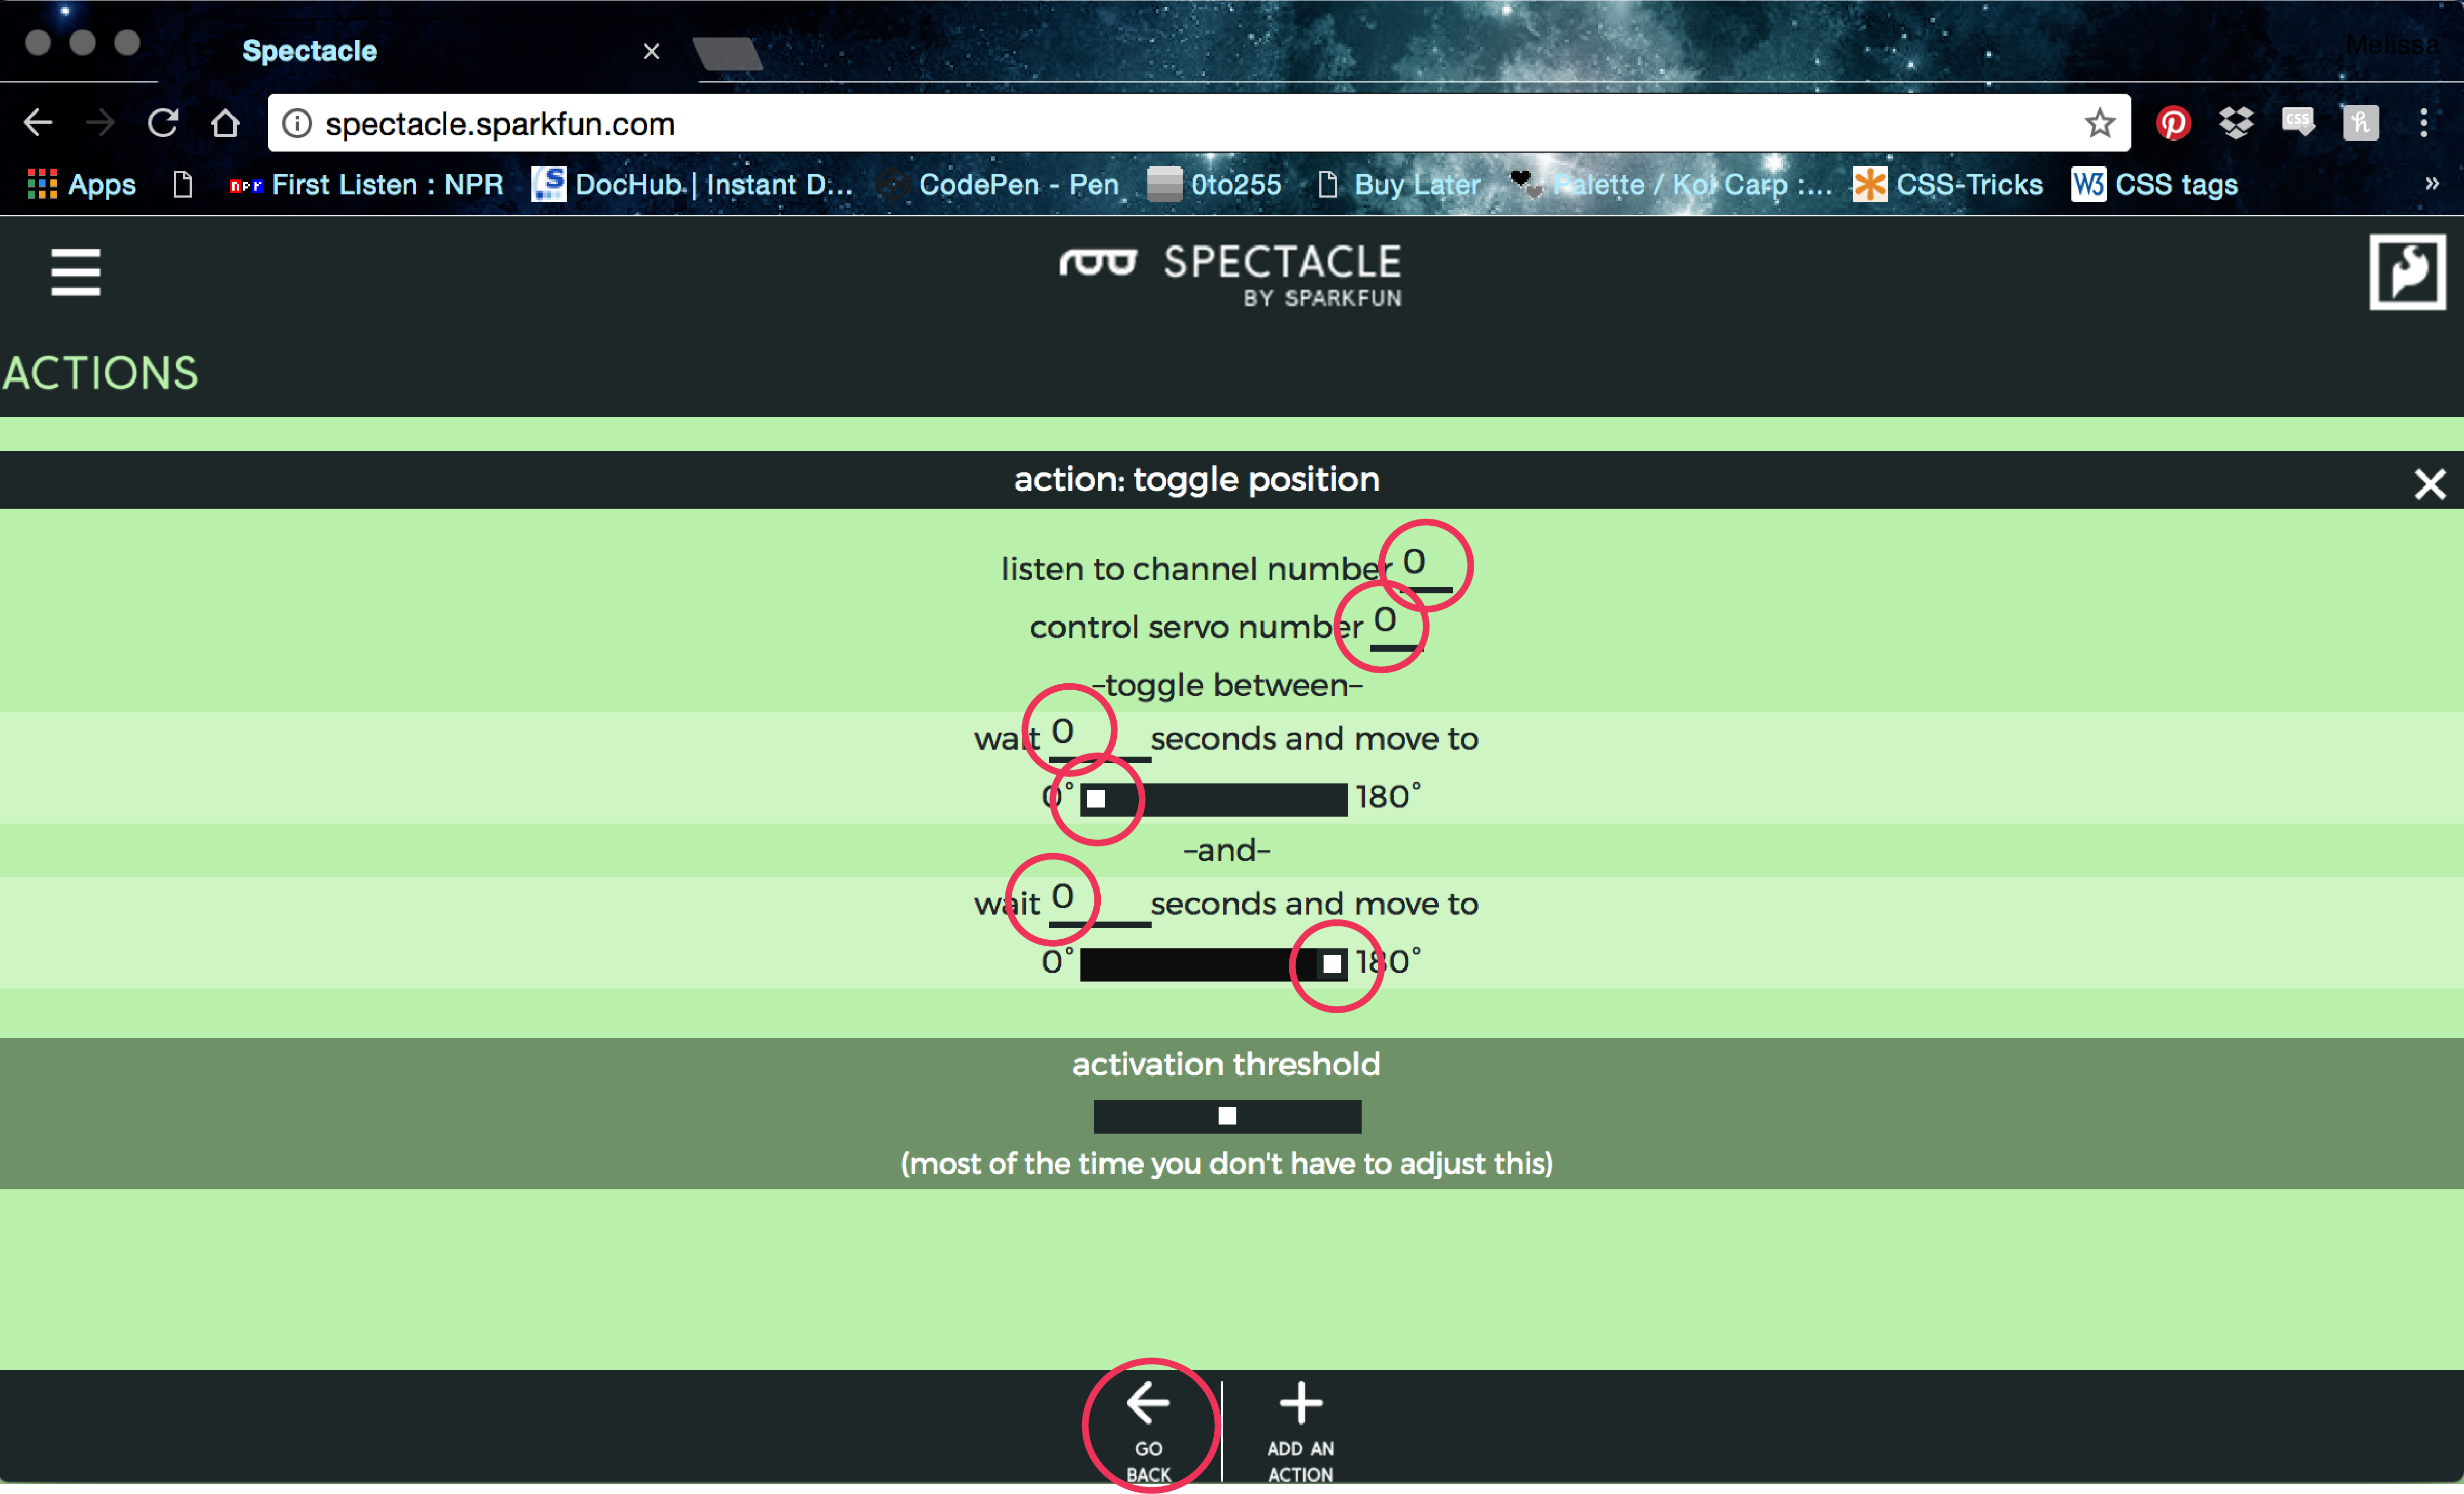
Select ‘Toggle Position’.
Fill in the fields as follows and then select ‘GO BACK’.
Select ‘ADD A BOARD’ again.
Choose the ‘LIGHTS’ board.

Hit the ‘action’ button.

Select ‘ADD AN ACTION’.

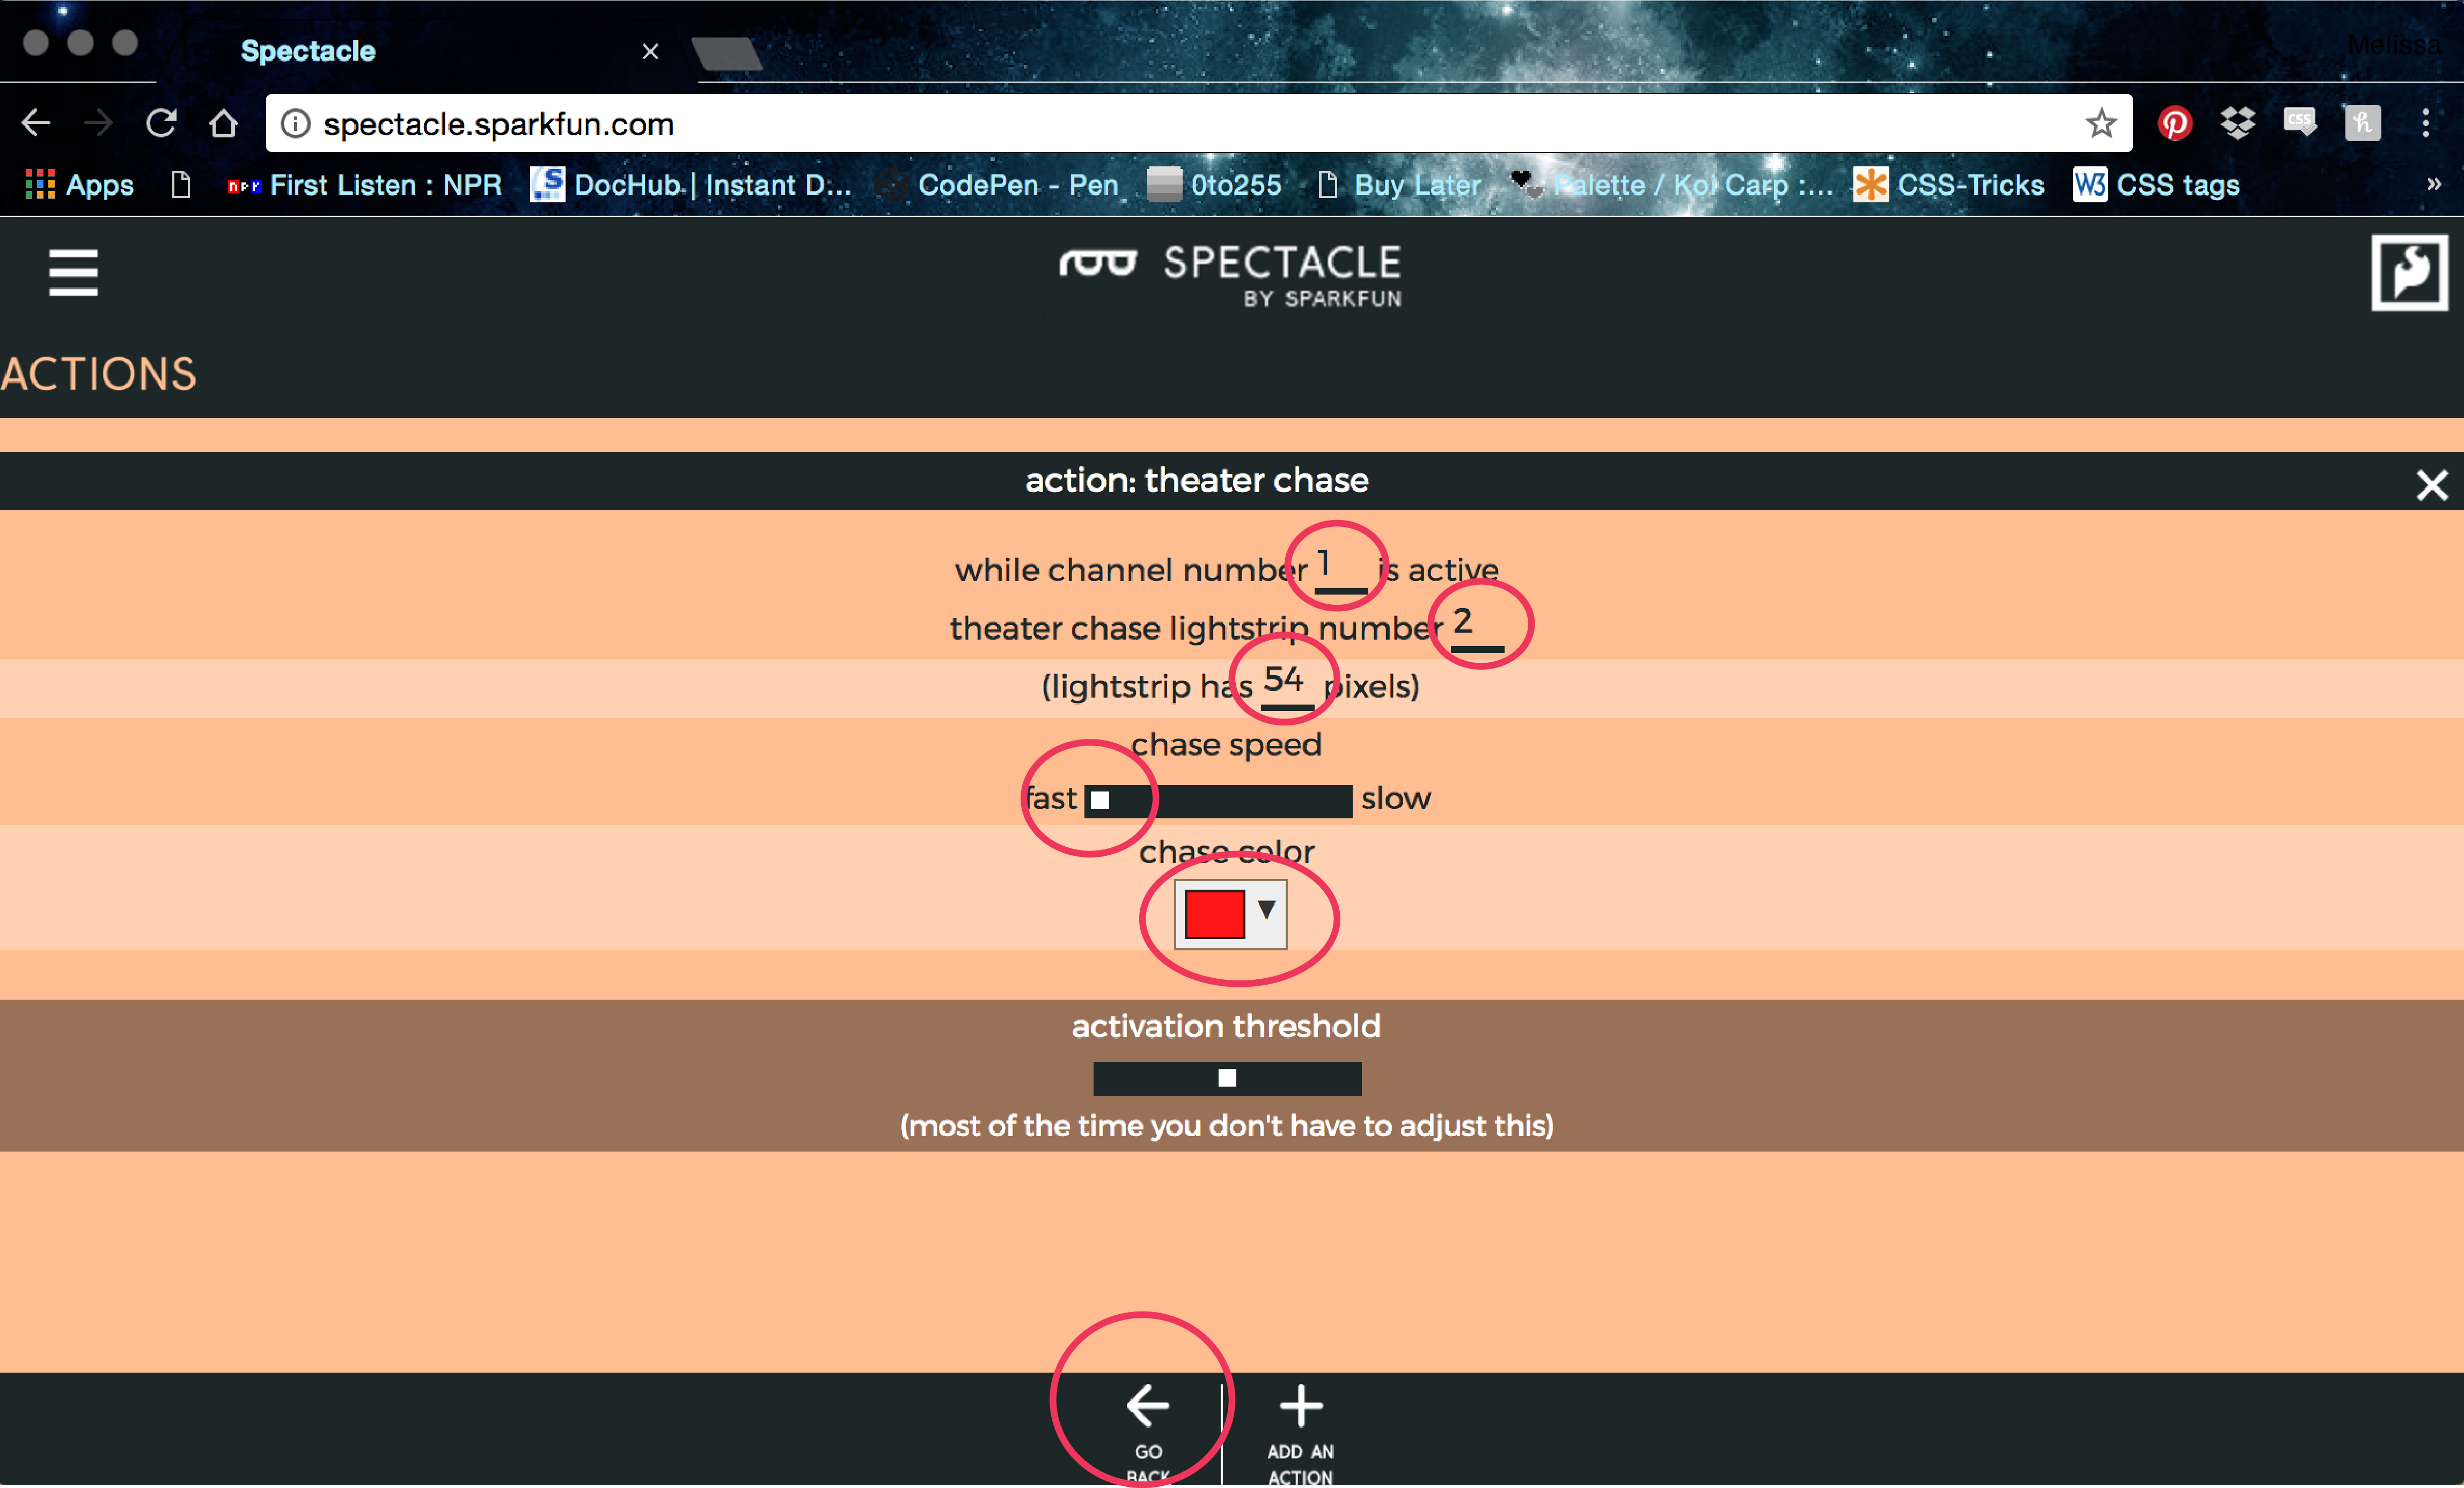
Choose the ‘Theater Chase’ option.

Fill out the fields as illustrated below. Choose your school color in the color field and count out the LEDs on your strip for the pixels field. Then hit ‘GO BACK’.
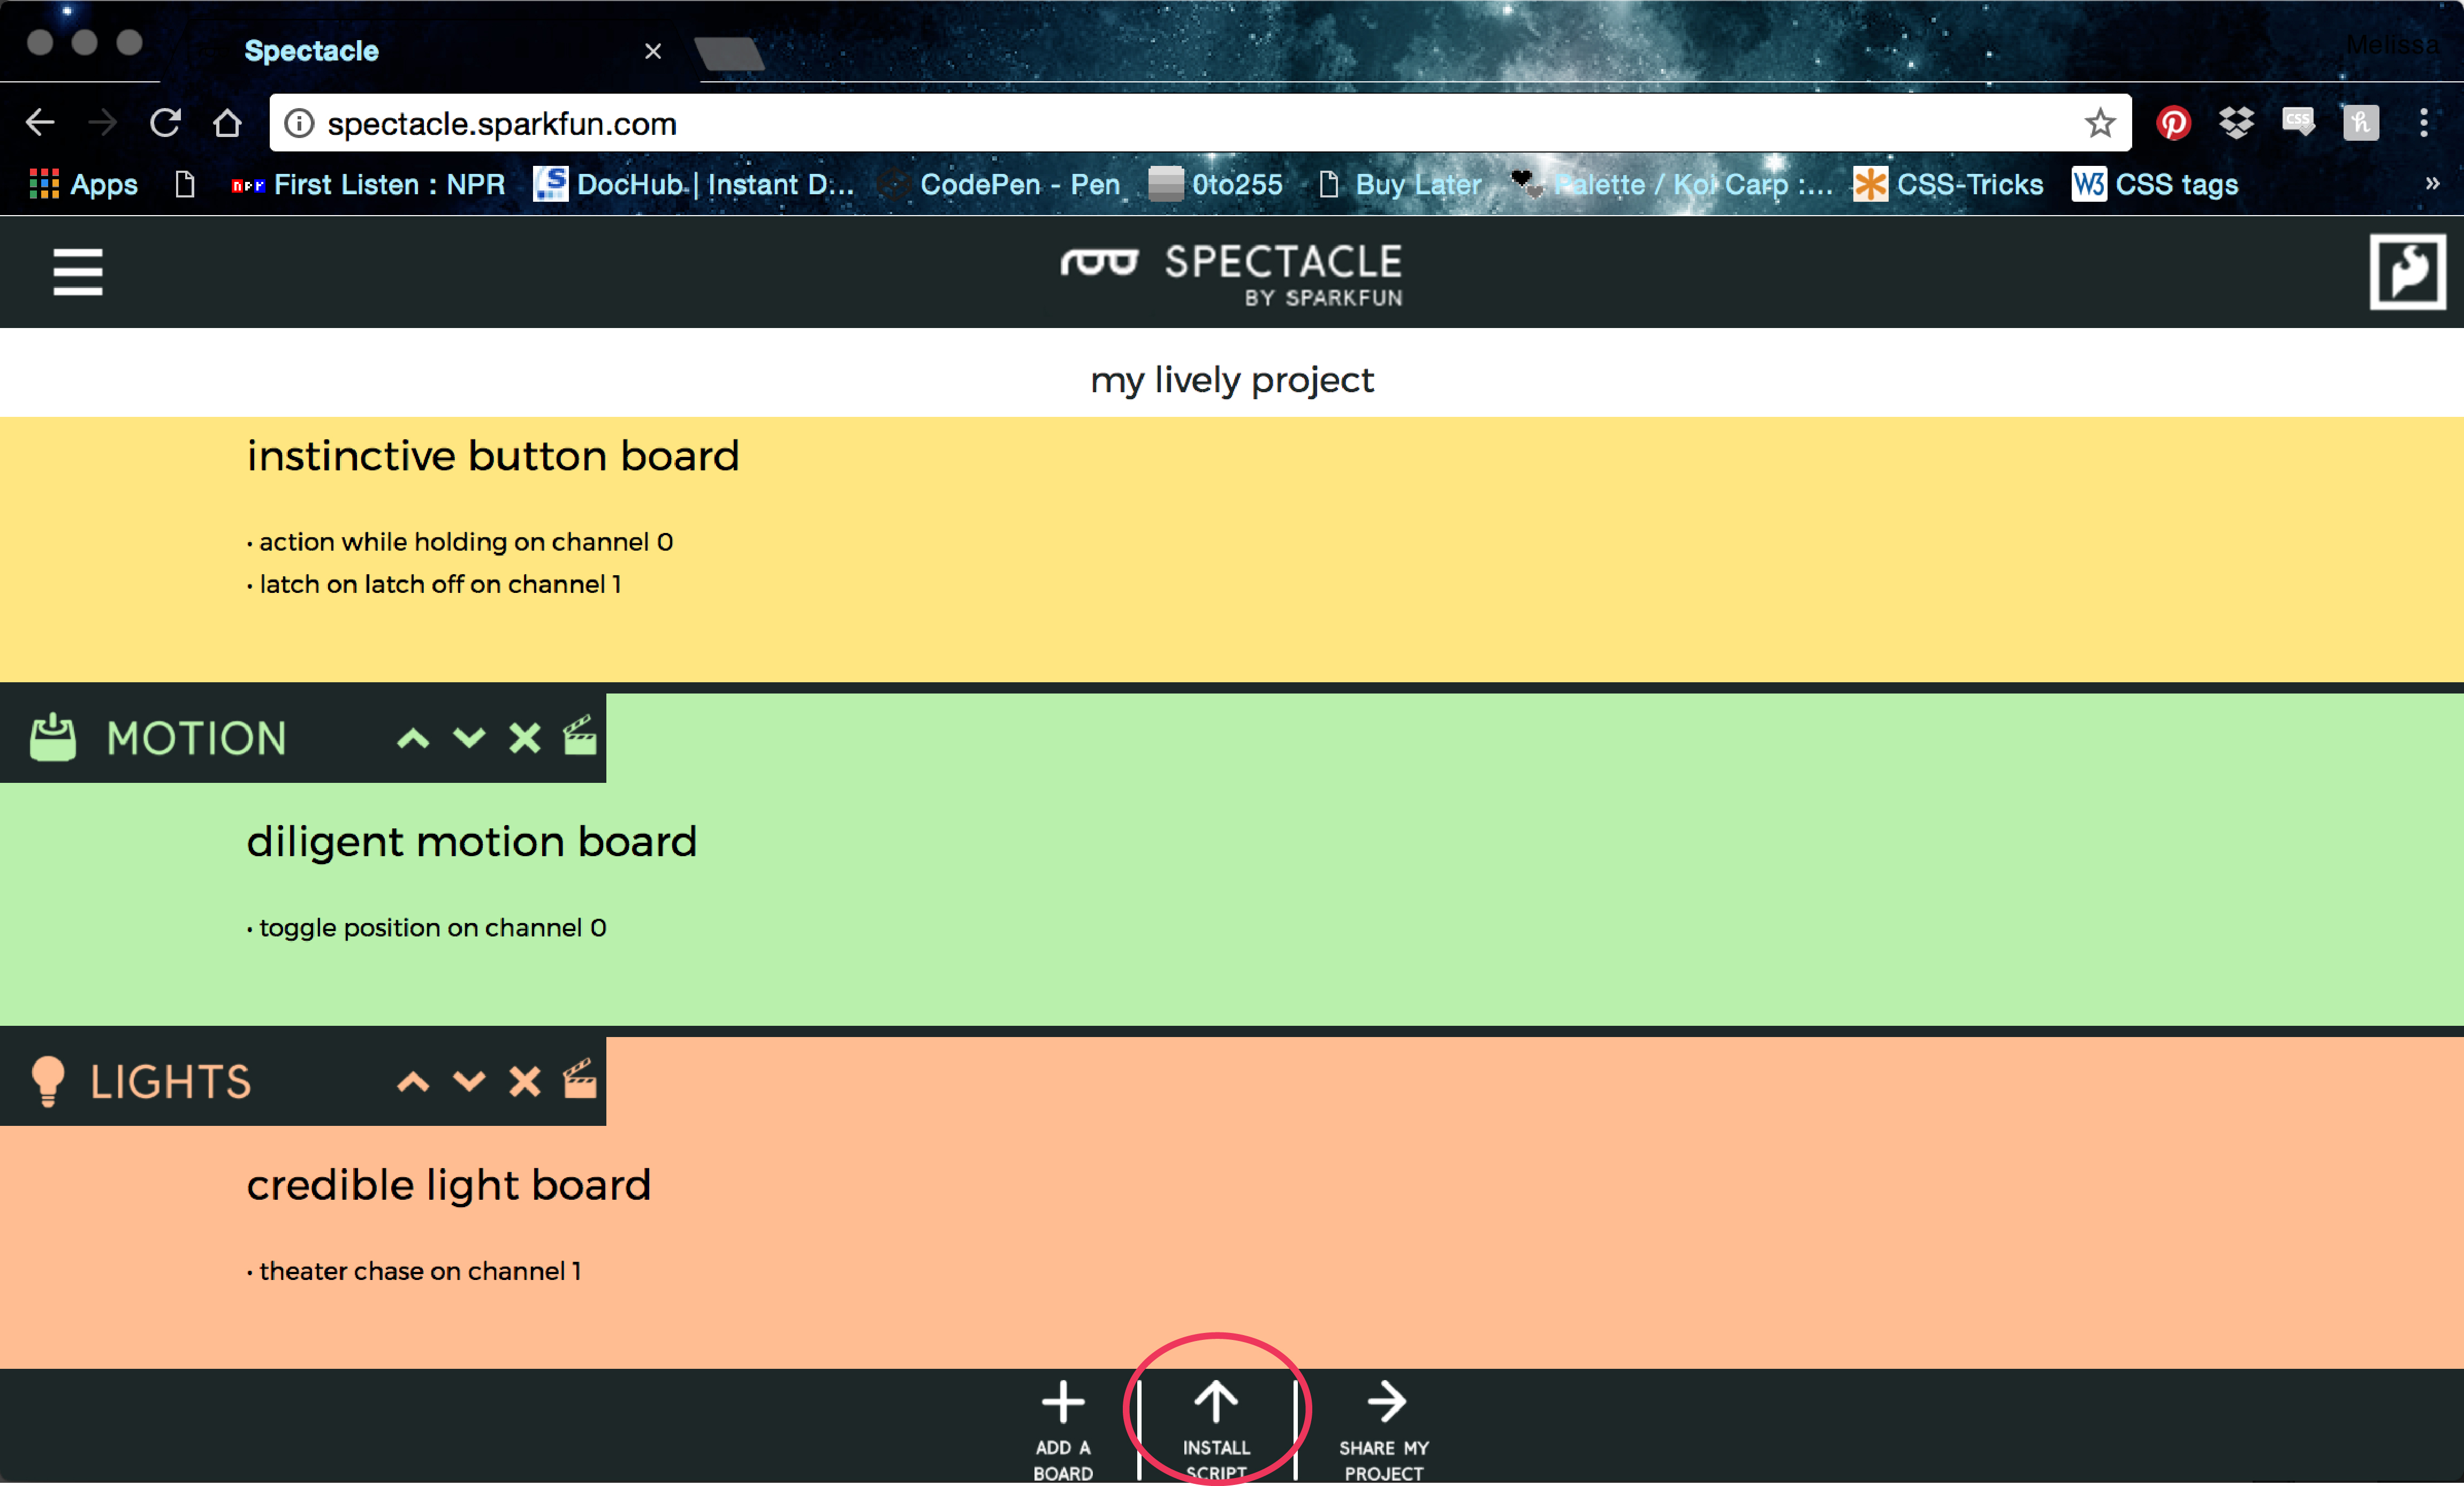
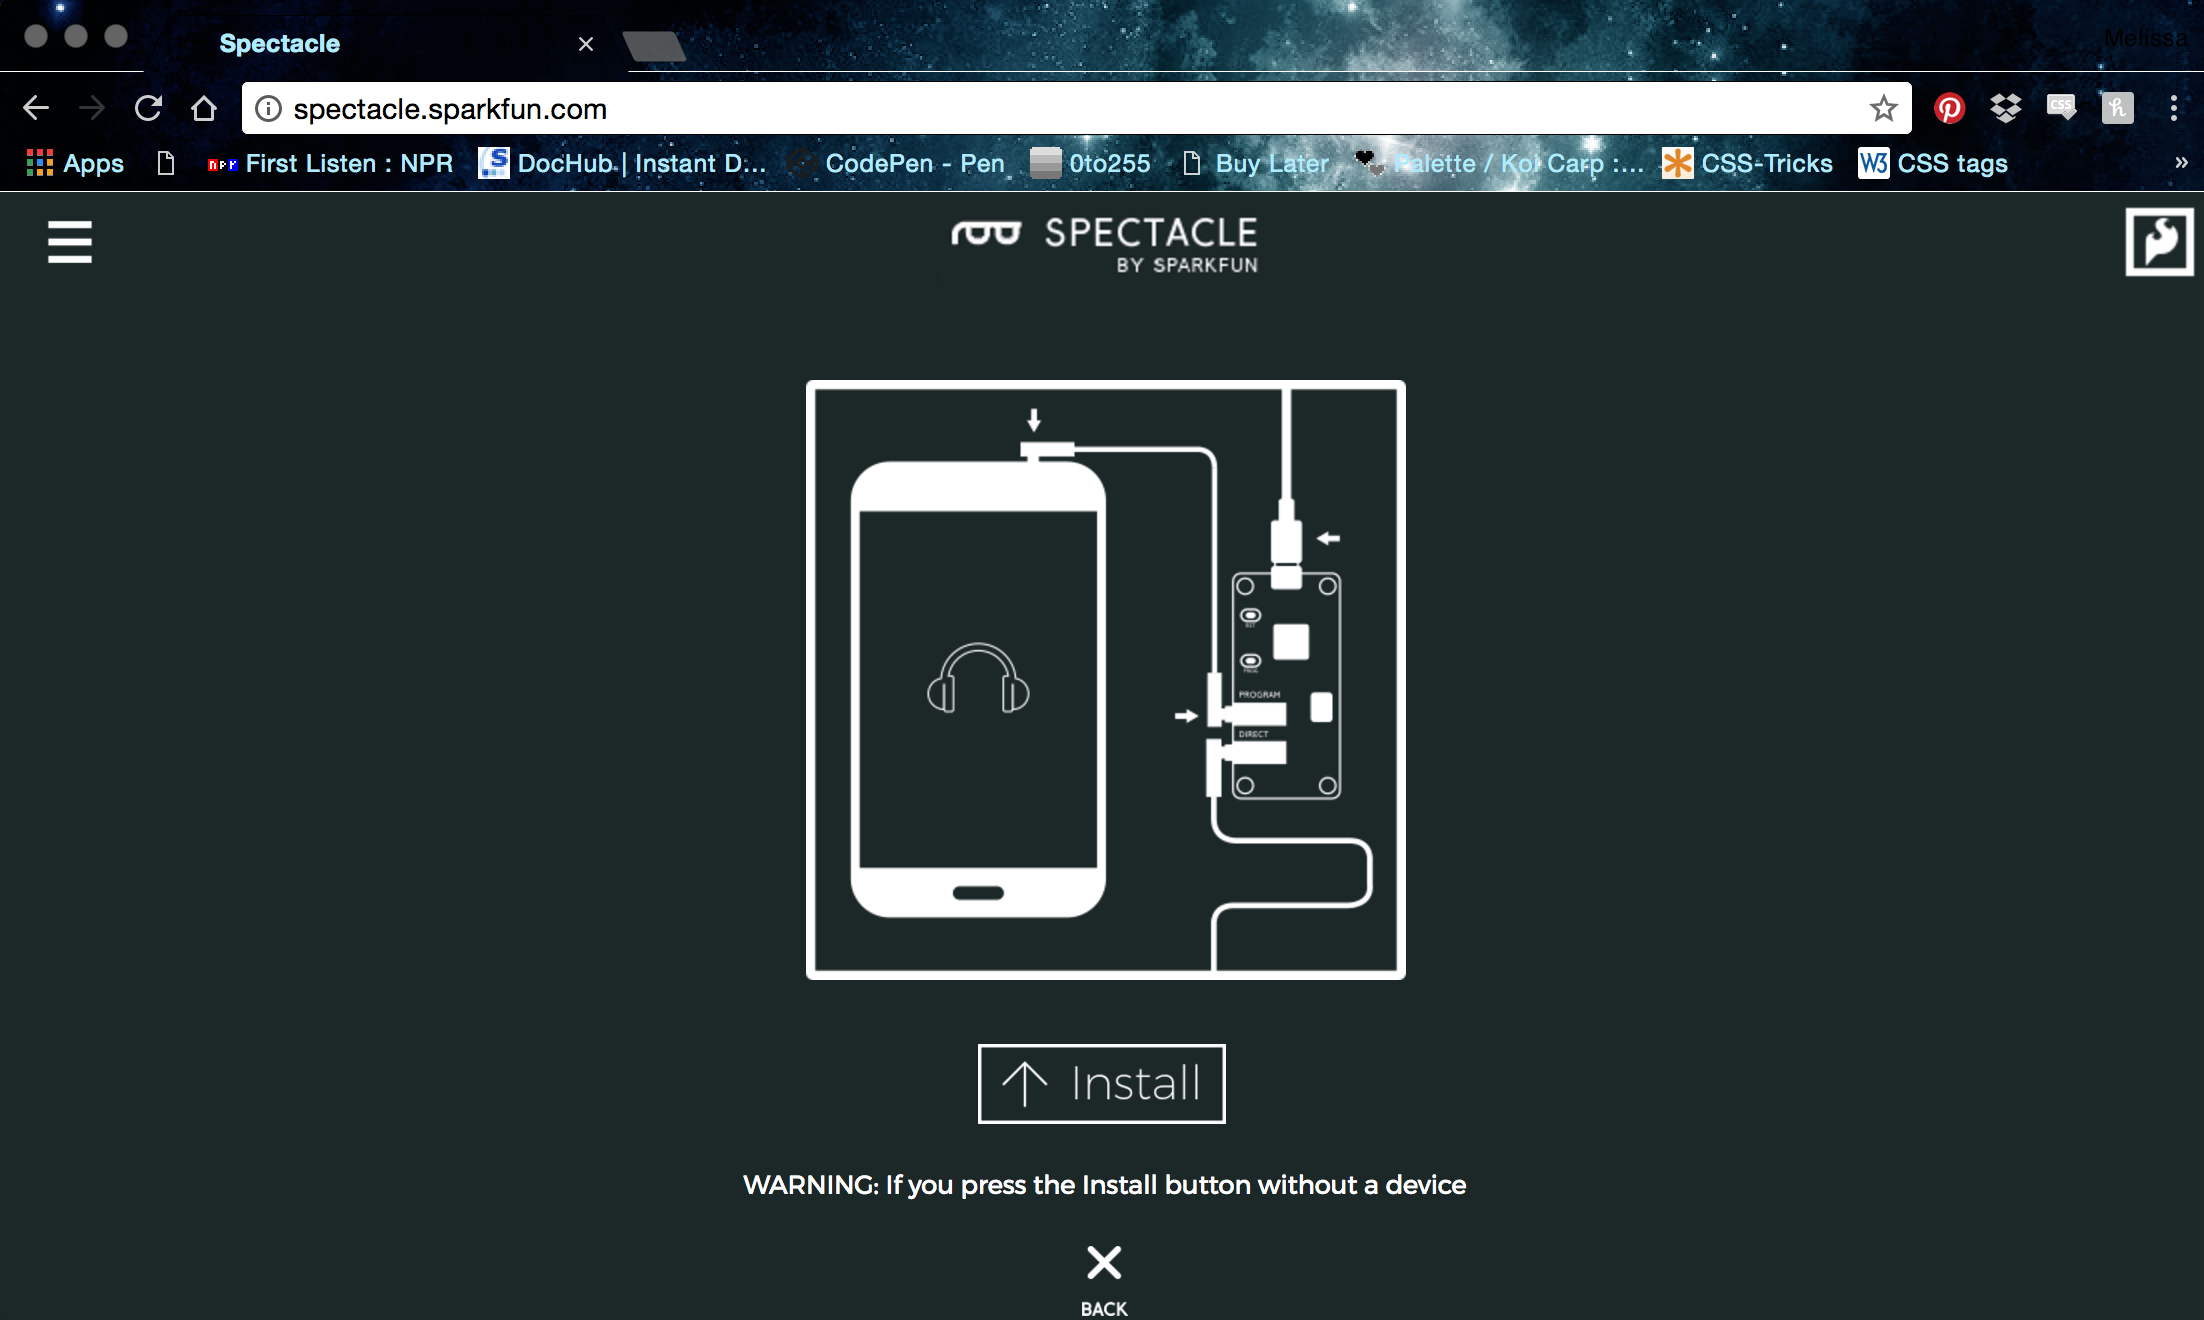
The program is complete, and you are ready to upload to your Spectacle Director Board. Select ‘INSTALL SCRIPT’.
Follow the steps to upload your program.
The last part of building this project is fabrication. In order to fit the parts, you will likely need to build an enclosure. I used laser-cut acrylic for mine, with matte black on top to imitate the look and feel of a grad cap, and translucent on the sides so that the LEDs could emit light without being seen.
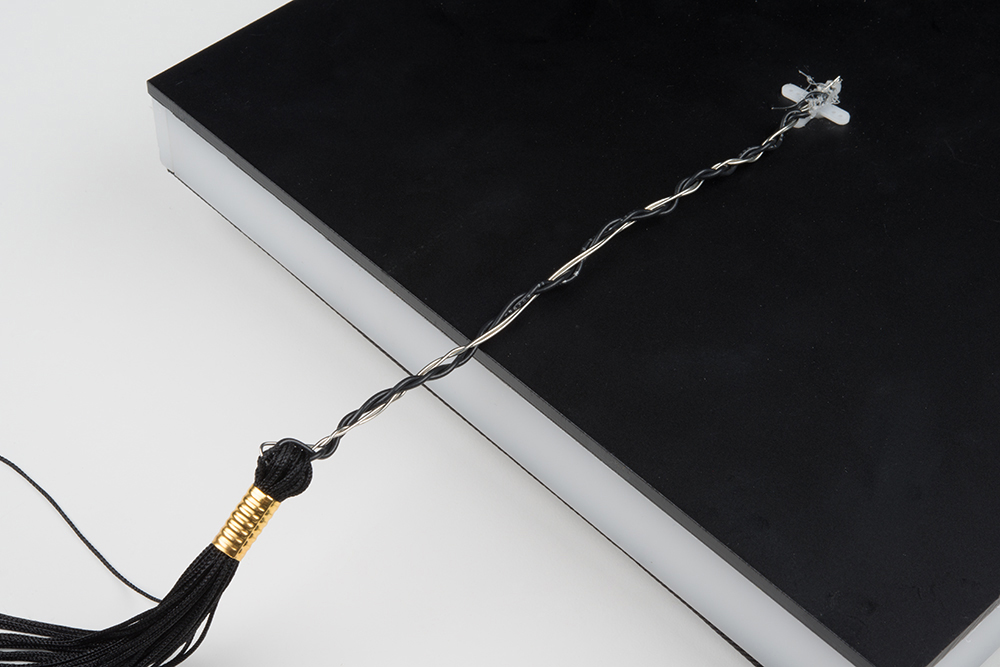
Finally, I arranged the parts inside the enclosure, threading the buttons down to my pockets so I could trigger the actions whenever I wanted without anyone being able to see.


And easy as that, I have a functioning project!
Congratulations to everyone who is graduating this spring and to their families! Share how you are making a Spectacle of yourself with the Spectacle ecosystem on Facebook, Twitter, Instagram and in the comments below!


120$ in hardware?
The Spectacle ecosystem is designed for anyone who is brand new to electronics and programming. The modular system might not be the best option for a more experienced maker since it is more expensive. Luckily, because there is no soldering involved, each part can be easily recycled and used in another project. It's a great way for someone who has no experience to get a project working super fast and continue to tinker.
nice one