Wearable Tech at Dragon Con, Part 1
I attended my first Dragon Con; here is some of the wearable tech I saw there.

Over Labor Day weekend, more than 80,000 people descended upon downtown Atlanta for Dragon Con, one of the biggest pop culture conventions in the United States. The event takes place in five host hotels and is a 24/7 blur of activity, with 36 fan tracks focusing on a wide array of topics from alternate history to young adult literature. It is known as the place to observe and share amazing costuming and cosplay.
I've been hearing about Dragon Con for years, and decided this year it was time to attend! I started making all the travel arrangements and rounded up fellow 'funions Nick and Mike (both previous Dragon Con attendees) to join me on a cosplay adventure vacation!
Before I dive into what I did at Dragon Con, let's talk about what I wore! I am known around the office as the resident wearable tech and costume geek, so of course I brought some of my own projects along with me. Sadly only two out of my five costume changes incorporated electronics; maybe next time everything I wear will include some hardware goodies.
Color-Sampling Fairy
You may recognize my color sampling fairy costume from Maker Faire Bay Area earlier this spring. I wore this around the event on Saturday leading up to a wearable tech meetup I hosted that evening.
Sampling colors while waiting in line at a bar at Dragon Con pic.twitter.com/W5EnT17ieh
— Angela Sheehan @ Dragon Con (@the_gella) September 1, 2018
My original set of EVA foam LED wings broke after receiving too many hugs from kids at Maker Faire, so I rebuilt them with a thin layer of Delrin for extra support. A color sensor in the star at the top of the wand takes a sample at the press of a button and translates to RGB values, then sets the LEDs to that color and broadcasts it to my wings and headdress using RFM69 transceivers.
In the video you can see the USB cables (that had moved out of place a bit) connecting the headdress and wings to some 10000mAh USB powerbanks I kept in a custom-designed thigh holster. This allows me easy access to the batteries if I need to remove them for safety reasons, or just to turn on/off without needing an assistant. Getting into this costume was an elaborate process of running the cables through my wig and layers of fabric, but saved me the trouble of having to switch out batteries in each piece each time I put the costume on.
This is one of my favorite builds to bring out in a crowd because I can hand over my wand and let others control my whole outfit. It was also my first project using 3D printing, and I taught myself Fusion 360 to model the custom wand handle and baseplate to hold the controller and the wing panels.
Espeon Infinity Glasses
I also debuted a brand new build at the event. Since my fairy costume was an original character, I wanted something that people would recognize out on the costume floor Saturday night. I decided to augment some third eye sunglasses with an infinity mirror to evoke the psychic powers of one of my favorite Pokémon, Espeon. Below is a video of testing out the costume and prototype before finalizing the code and finishing details.
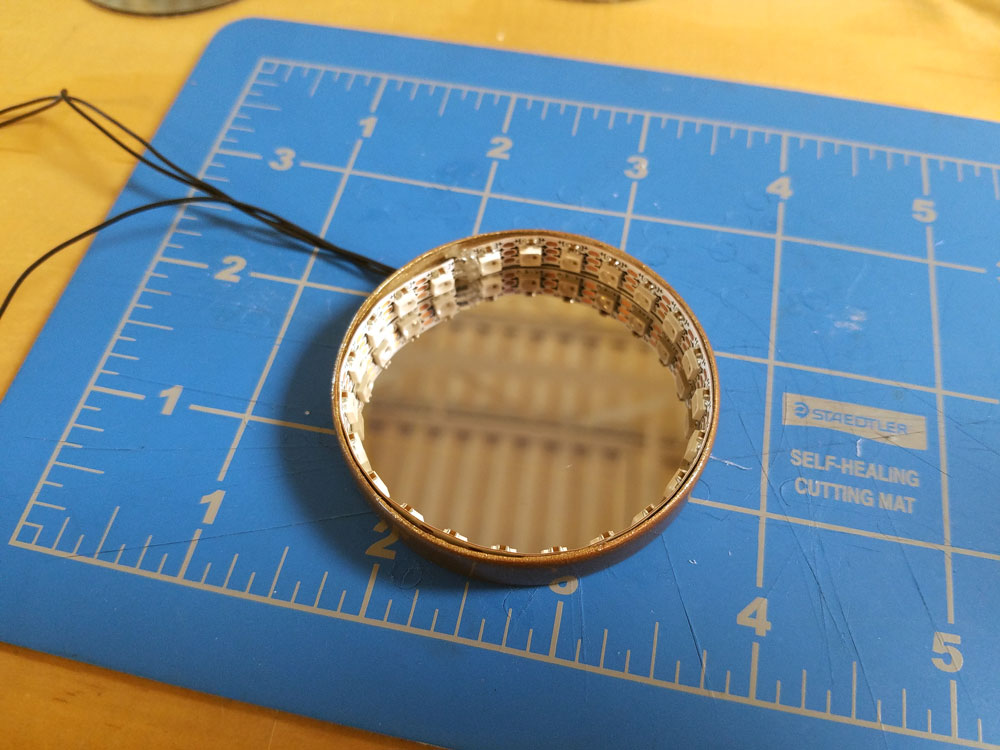
Behind the top lens is an addressable LED strip sandwiched between a one-way mirror and standard mirror housed in a 3D-printed ring. At the center is a rhinestone for extra sparkle (and to mimic Espeon's signature red gem). The LED animation is triggered by capacitive touch; I used a small piece of copper tape at the side of the frames as a contact point. I also included a switch to toggle between 'always on' and 'touch' mode.
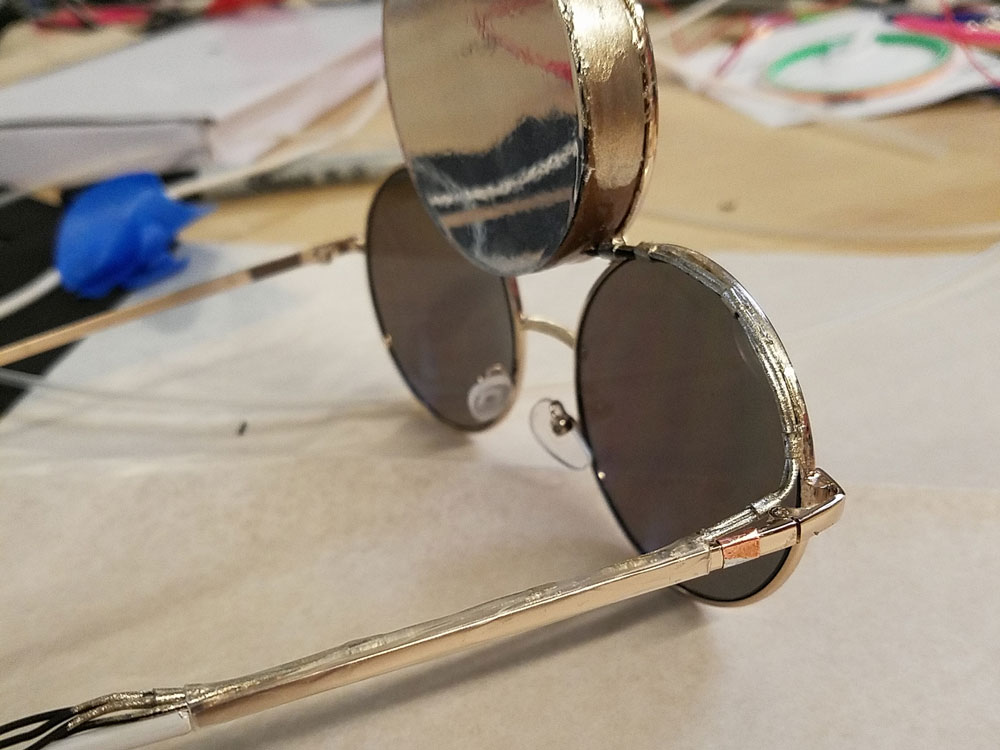
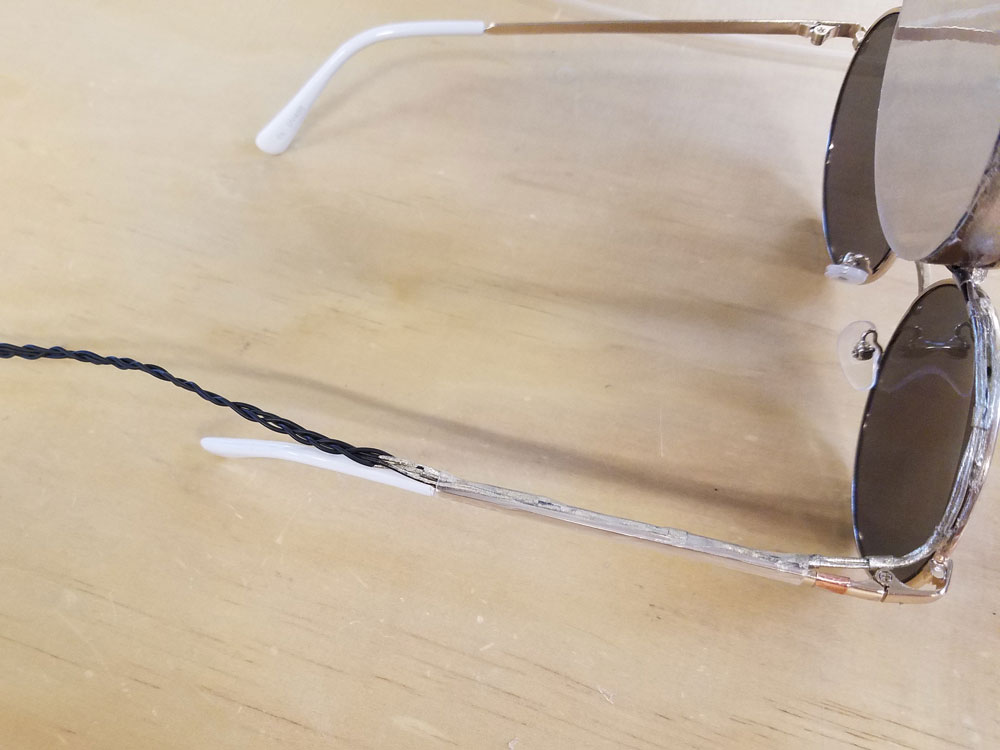
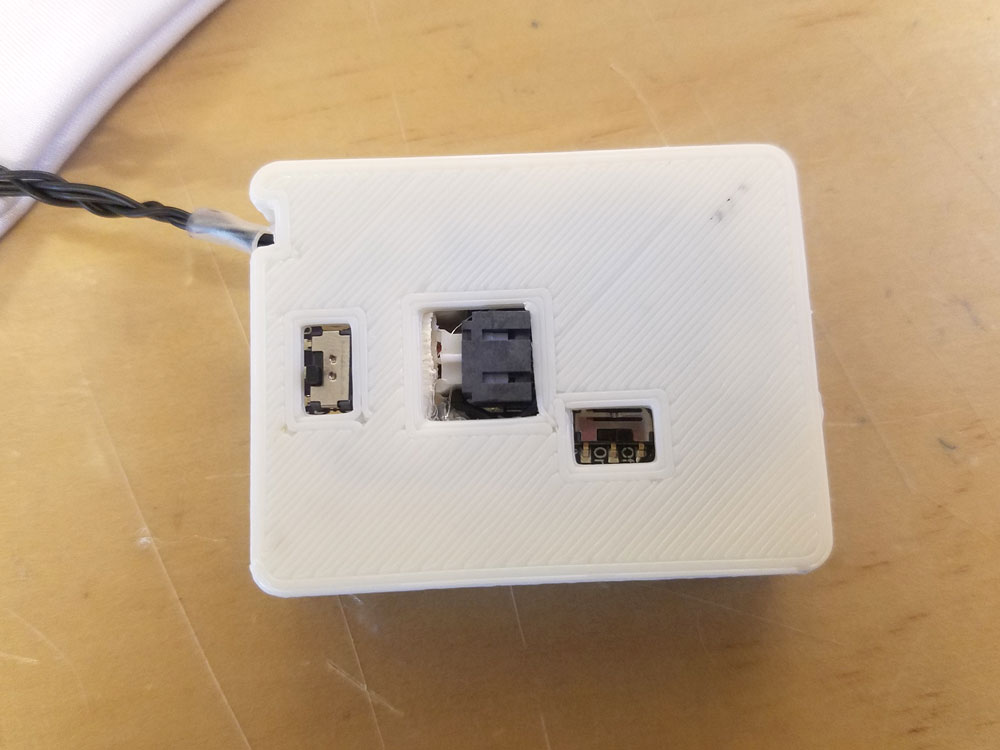
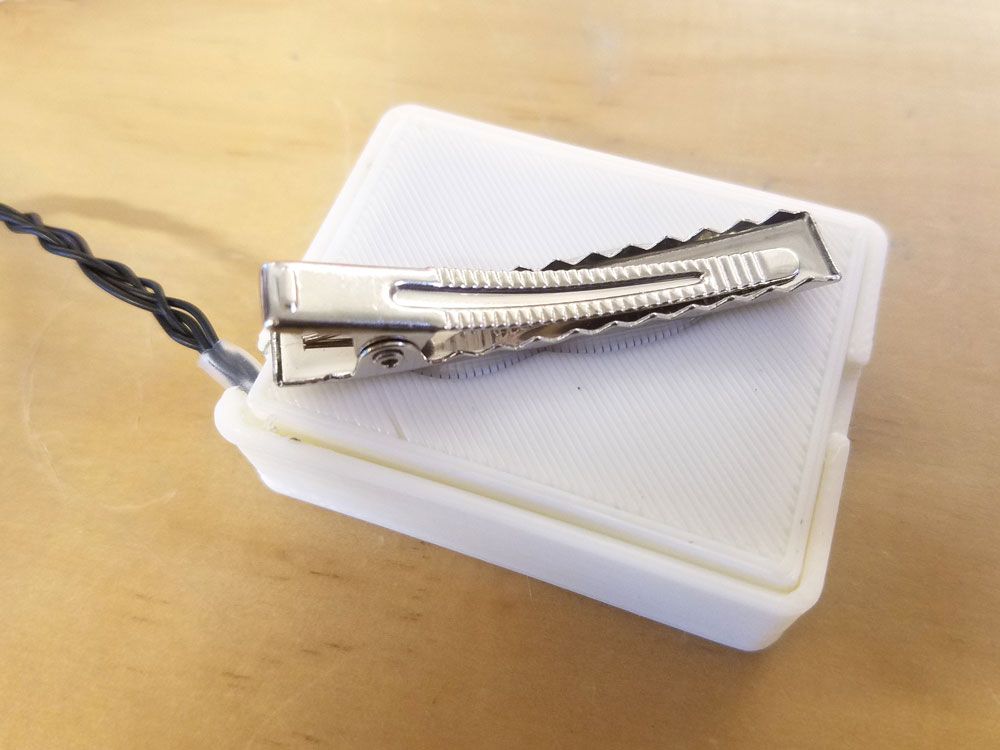
After assembly and testing, I used gold nail polish to disguise the wires and heatshrink to hold the cabling to the frames. The Arduino and battery reside in a custom-designed, 3D-printed enclosure that I can clip underneath my wig to minimize bulk on the glasses themselves.
I was really happy with my integration of the electronics on this one - the small space on the glasses was a fun challenge to hide electronics in. And yes, this is the fourth project this year I've done with infinity mirrors - I can't seem to get enough of them!
Altered Carbon Hello Unicorn Backpack
In addition to some wearable tech costumes, I brought along a build I did as an example for my costume hacking presentation at Denver Comic Con.
From the first time I watched the series I knew I wanted to build this prop. It works great to haul all my other demos around in! The backpack is custom painted with the design from the show. When the backpack is opened, WS2812 addressable LEDs along the interior light up, controlled by reed switch attached to a 5V Pro Micro
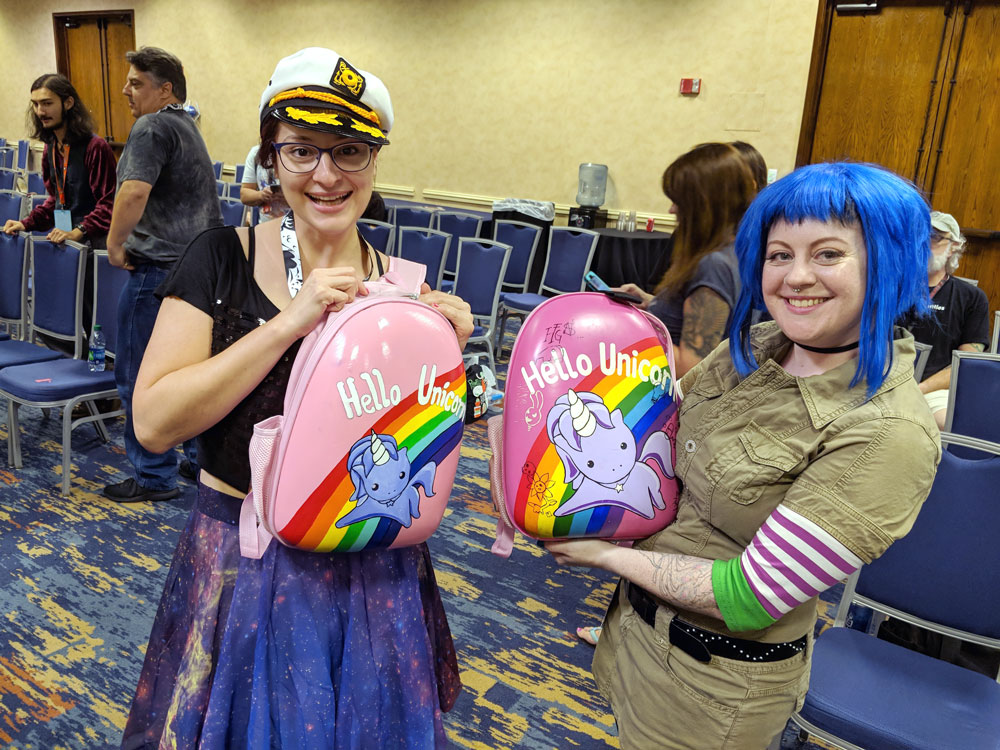
While there weren't too many Takeshi Kovacs cosplayers or Unicorn backpacks at Denver Comic Con, there were a ton at Dragon Con! Here's a picture we snapped of a participant in my workshop who brought hers along to share.
Workshops and panels and meetups, oh my!
I had the opportunity this year to participate in my first Dragon Con as an attending professional through two of the fan tracks - Costuming and Robotics & Maker. I was pleasantly surprised by how many electronics-focused sessions there were at the event. Here's a brief recap of the ones I participated in.
Costume Hacking: Intro to Sewable Electronics for Accessories & Apparel workshop
I taught two sessions of this workshop in the Robotics and Maker Track, where I gave an overview of ways to incorporate electronics into your costumes, from plug-and-play solutions like EL wire and fairy lights, to Arduino-controlled projects. Everyone in the workshop learned how to use LilyPad sewable electronics to make a version of our Glowing Pin project - with a special Dragon Con edition design created by our friend Misty.
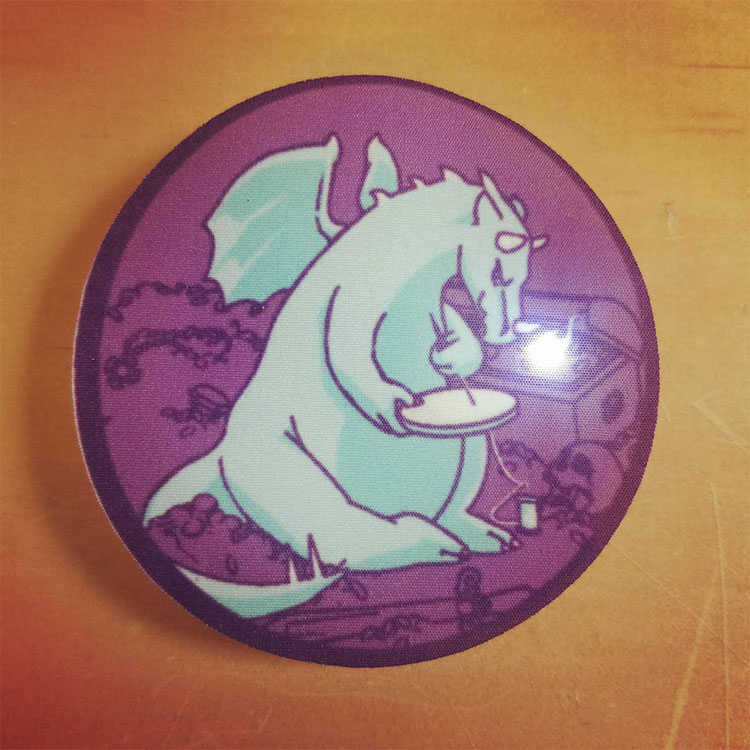
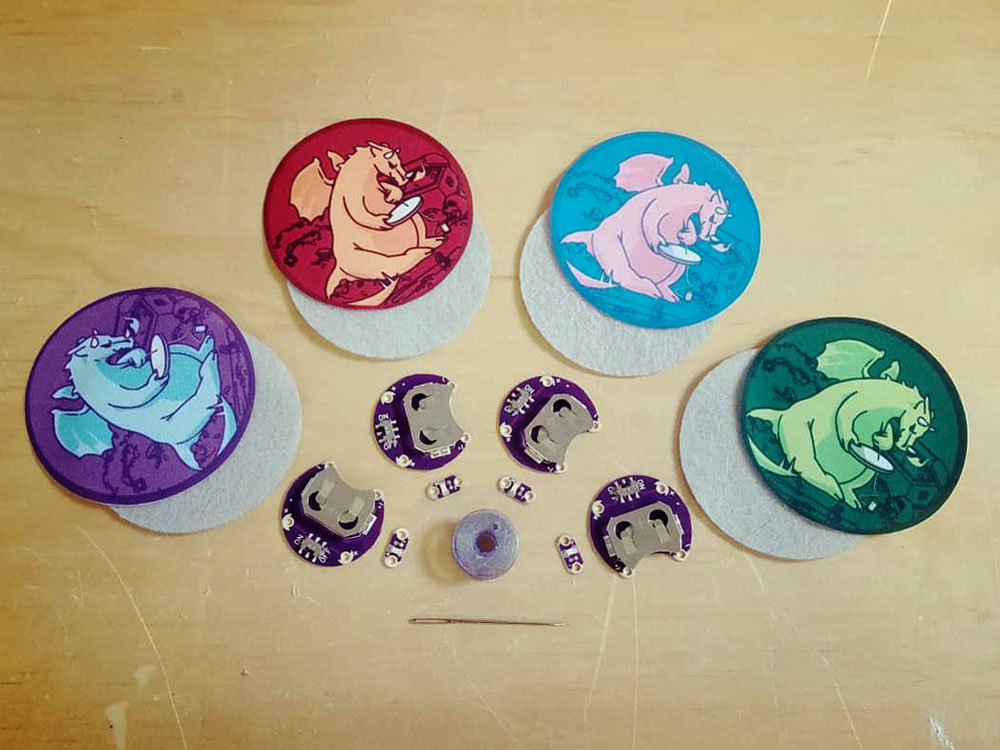
We made over 300 glowing dragon pins on Sunday and inspired some costumers to start tinkering with sewable electronics. A few participants had even attended SparkFun workshops back in 2014 and came back for more!
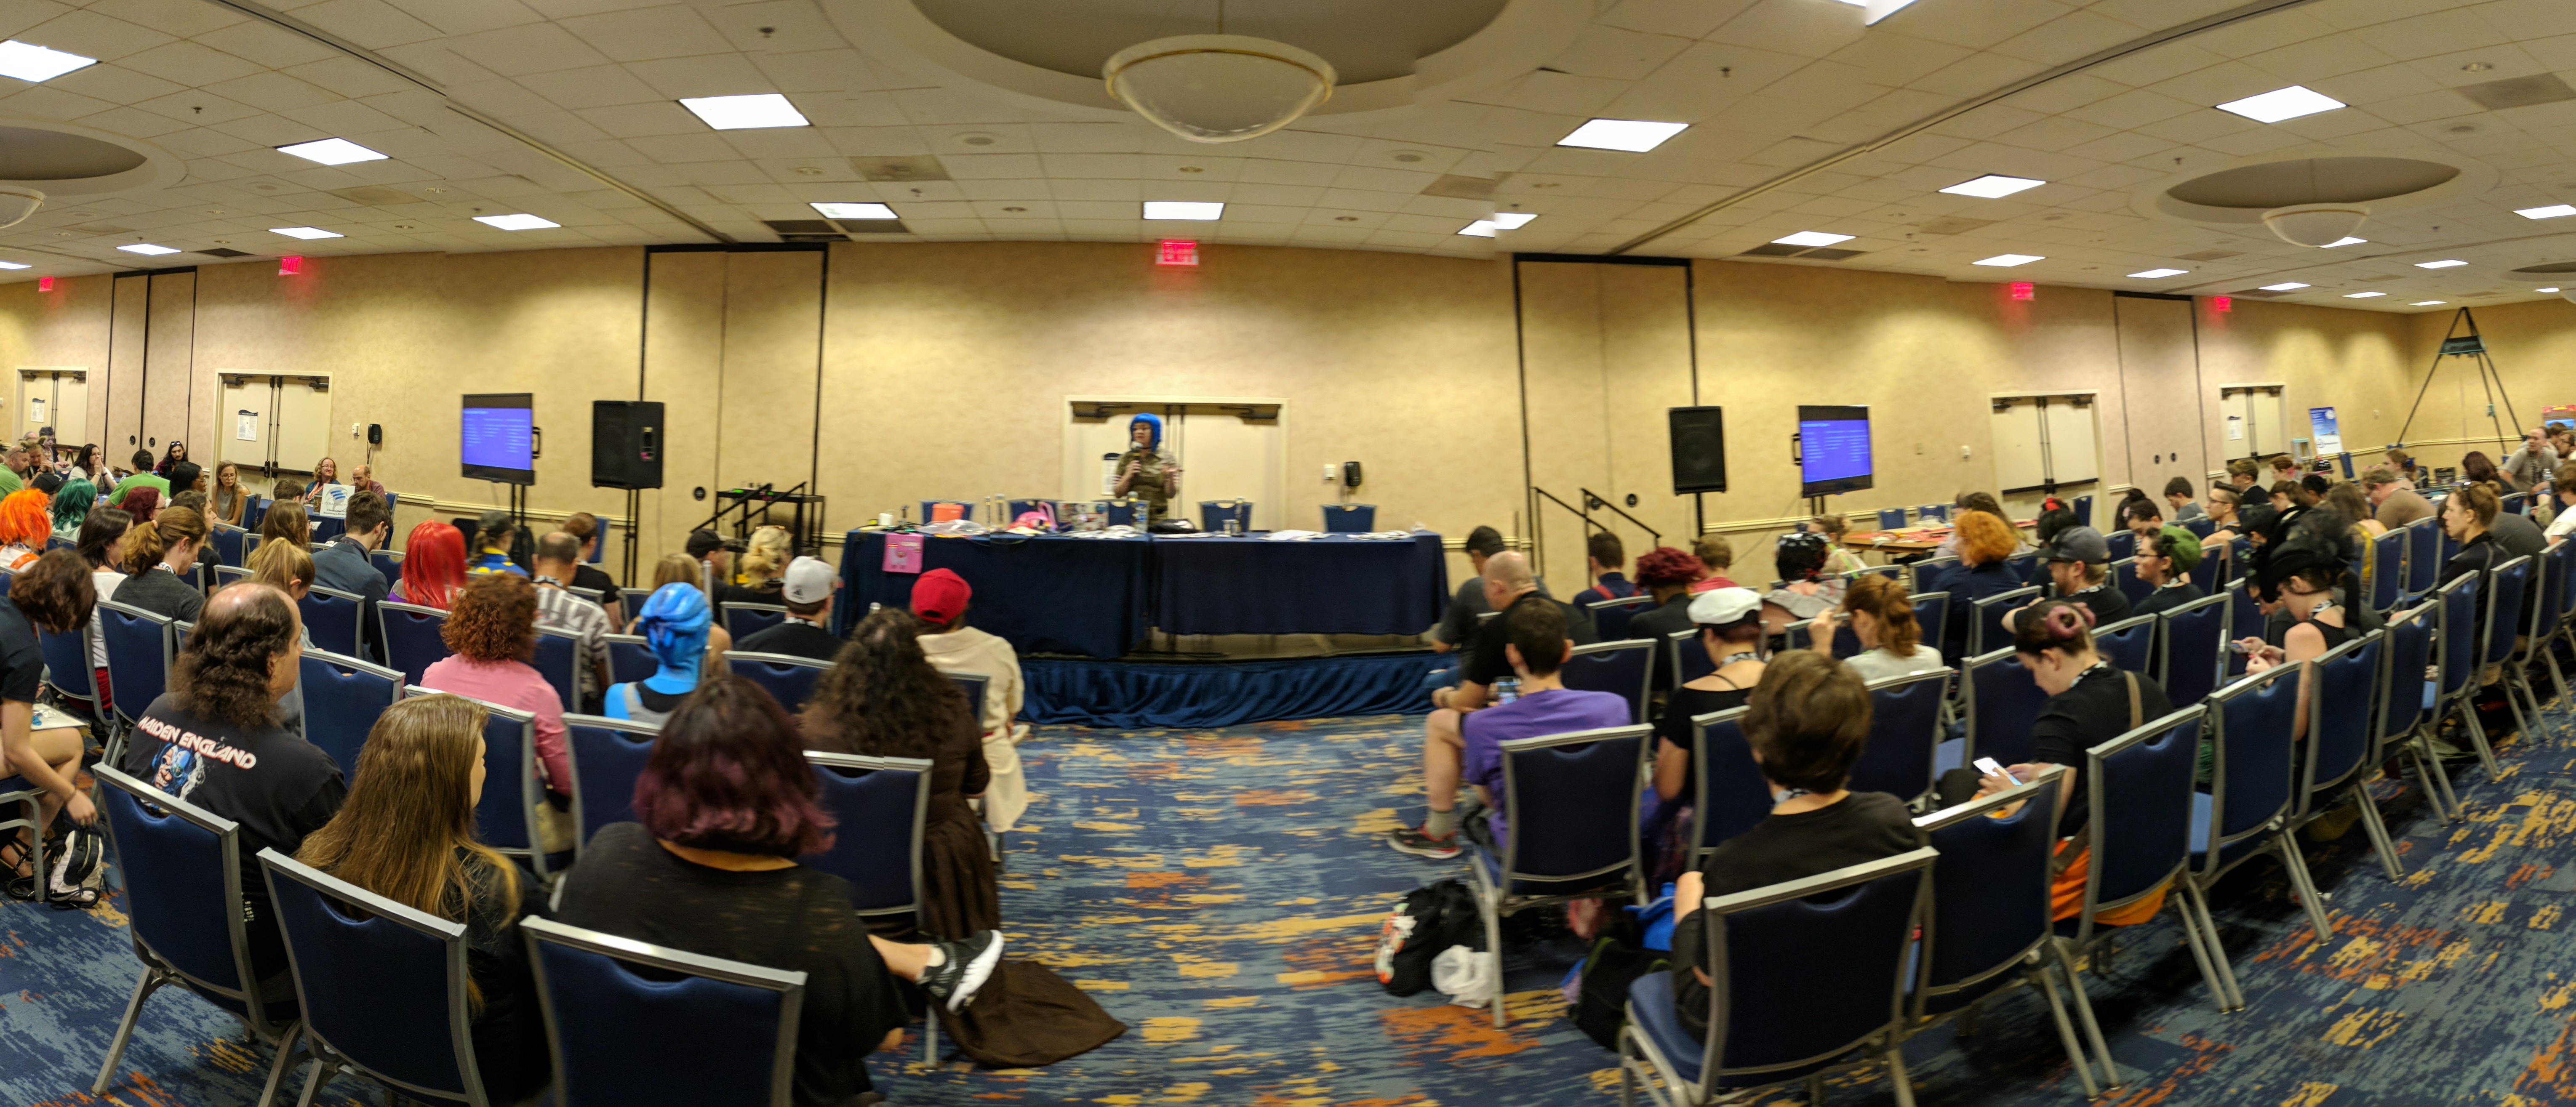
Electronics for Costumers and Cosplay panel
I was invited to moderate a panel of experts in electronics, costumes and making for the Costuming Track on Friday evening. Joining me were Sahrye Cohen and Hal Rodriguez of Amped Atelier, fashion tech designers and authors of "Make It, Wear It: Wearable Electronics for Makers, Crafters, and Cosplayers", and Alexis Noriega, master wing crafter at The Crooked Feather.
We discussed our own personal journeys into electronics and costuming, our favorite materials and tools and some dos and don'ts, and had a great audience Q&A to wrap up the session.
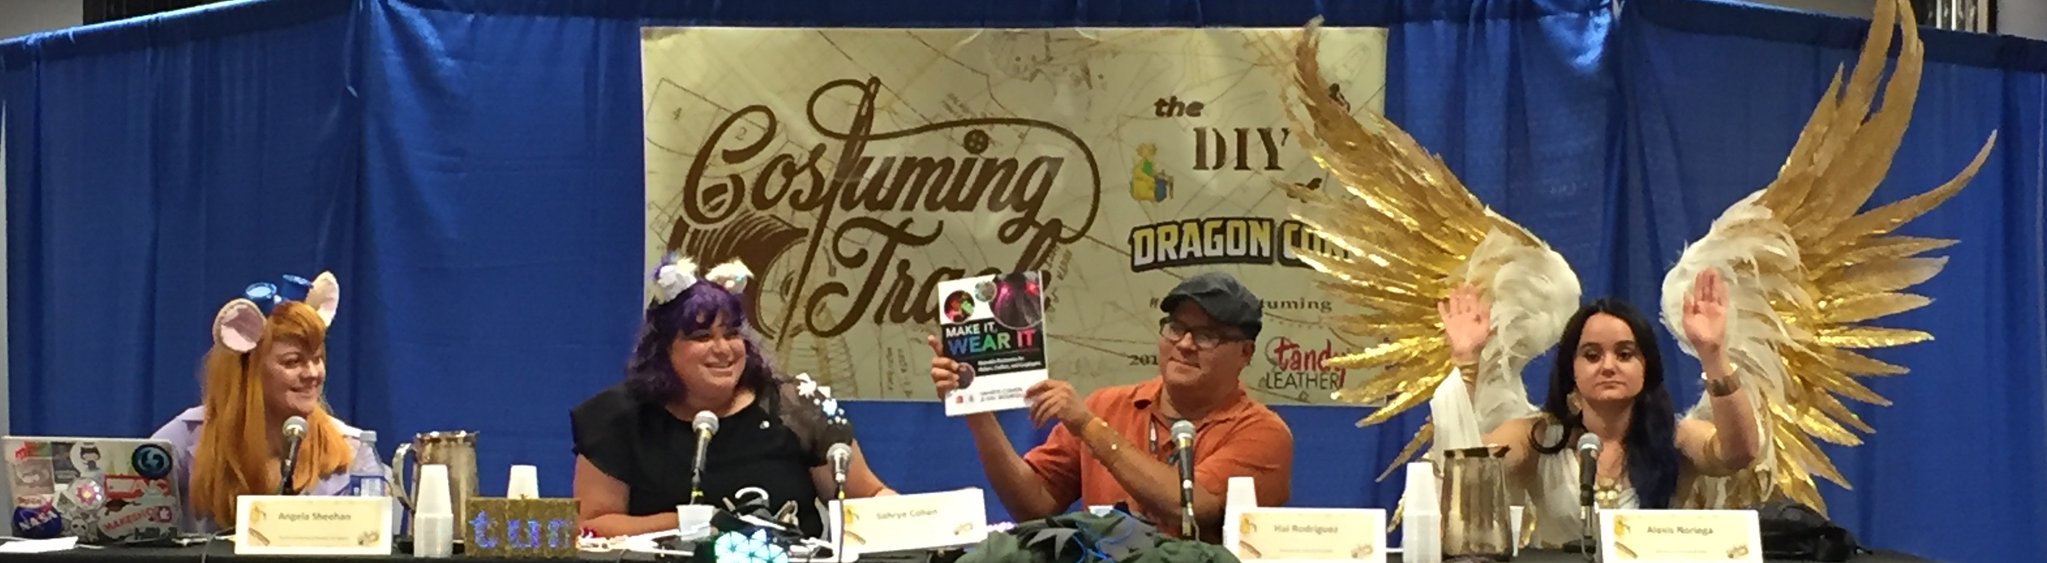
From Left to Right: Angela, Sahrye, Hal and Alexis. Photo courtesy of Amped Atelier
My friends from Amped Atelier also taught some workshops and lead some sessions. Sadly I had scheduling conflicts and wasn't able to attend, but they sent some recaps and photos of their sessions to share.
Microcontrollers panel
Panelists: Sahrye Cohen and Hal Rodriguez of Amped Atelier and Jeff Leininger of Robot Costumes USA
On Saturday evening, the microcontrollers session brought different perspectives to the topic of cosplay customization with panelists experienced in the design and professional fabrication process, as well as expertise in DIY and hobbyist tools. Attendees learned about sewn circuit microcontrollers, sensors and connectivity and the importance of power management for making costumes that light up and move. This was a great followup for attendees who came to the electronics panel who wanted to learn more about adding interactivity to their costumes.
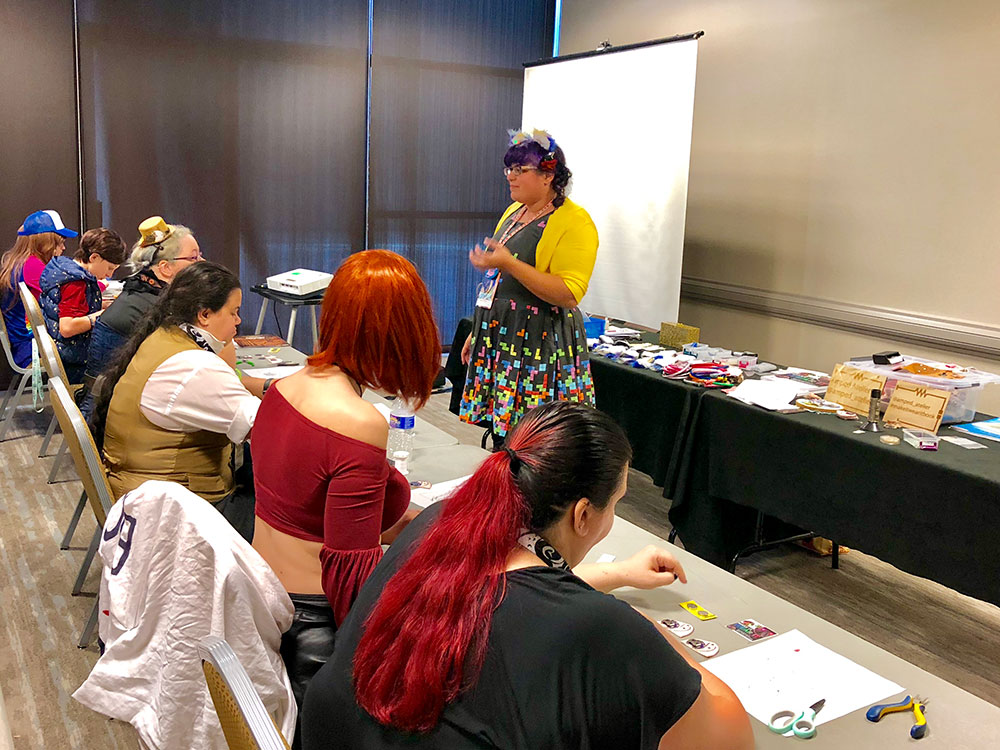
Paper Circuits: Simple Electronic Circuitry for Costuming workshop
Instructors: Sahrye Cohen and Hal Rodriguez
A workshop on Sunday introduced costumers to making a simple circuit with copper tape, a coin cell battery and a color-changing LED. For many, this was their first experience making a paper circuit, and several creative postcards and greeting cards were created as participants learned the basic foundations of electronics.
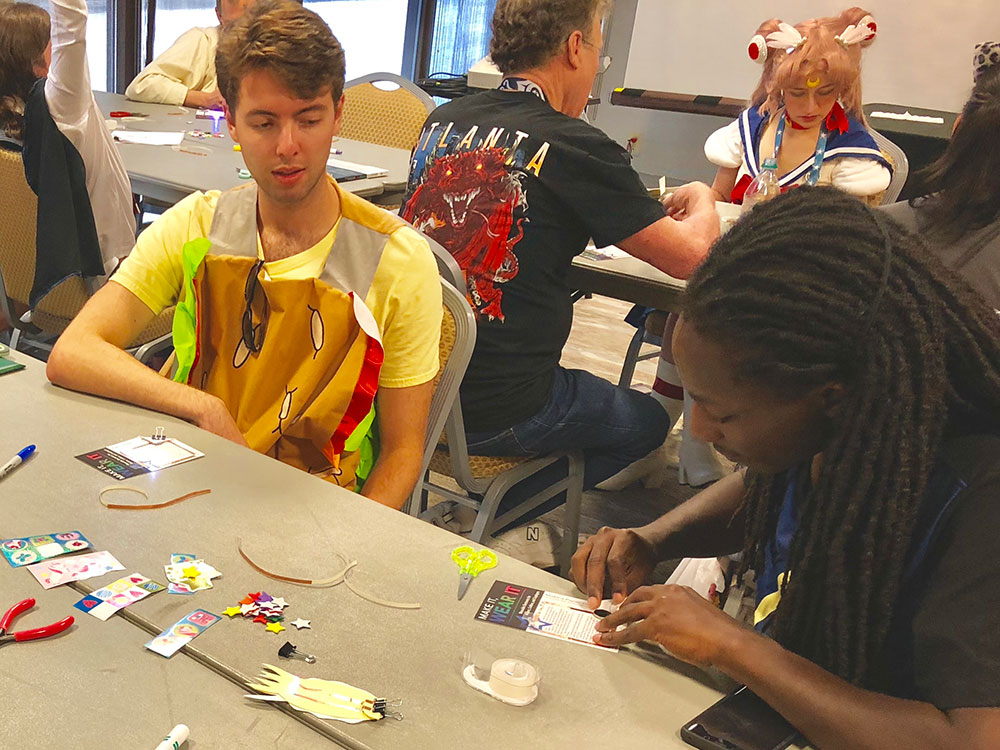
Photo courtesy of Amped Atelier
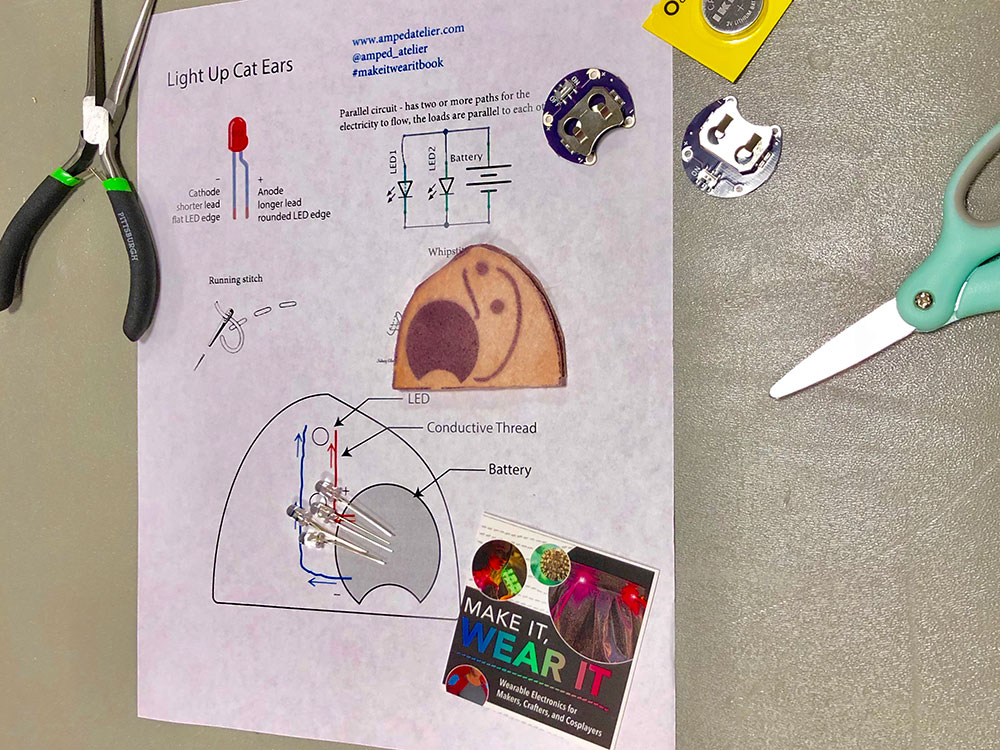
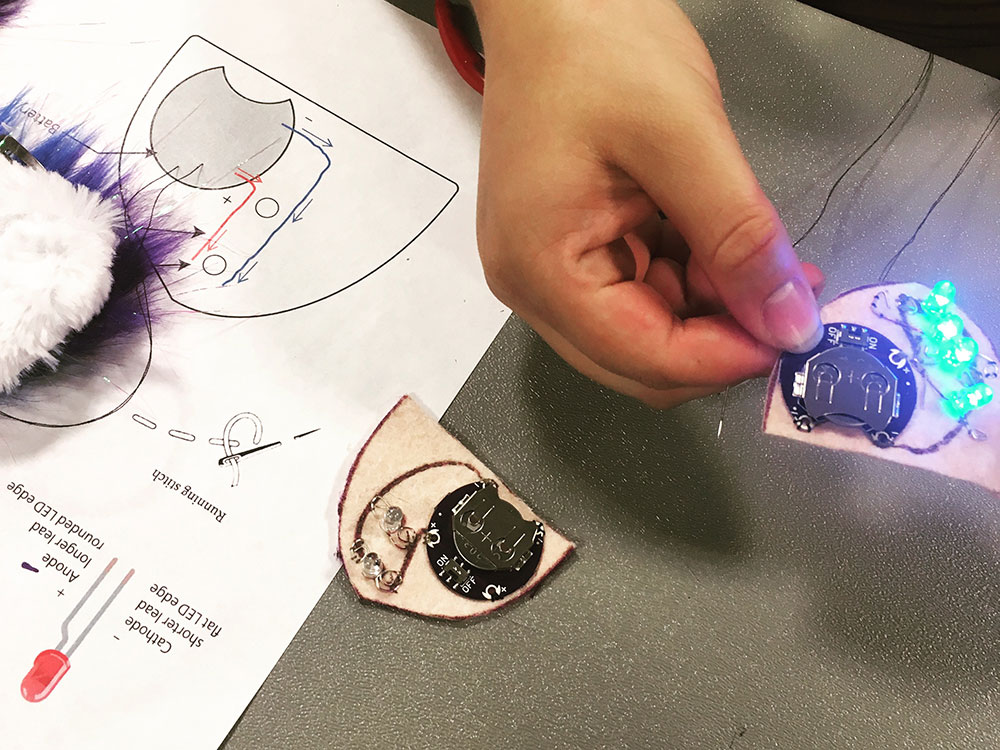
Light-Up Faux Fur Cat Ears workshop
Instructors: Sahrye Cohen and Hal Rodriguez
I was sad to miss this one! Sahry and Hal hosted a workshop where participants sewed circuits to create their own custom faux fur cat ears. Using Lilypad battery holders, conductive thread and cycling RGB LEDs, cosplayers learned about parallel circuits while attaching the electronics to felt bases that formed the ears. After building and testing their circuits they covered them with white faux fur, which diffused the light from the LEDs, making a fun and colorful addition to their costumes for the rest of the con.
Photos courtesy of Amped Atelier
Curious about more costuming with electronics? Check out some of our other blog posts about costuming and cosplay events:
Check back next week for part two, all about the wearable tech meetup I hosted and some of the amazing makers and costumers I met during the event.
Interested in learning more about LEDs?
See our LED page for everything you need to know to start using these components in your project.


