
My parents own some property with a cabin in the middle of the Colorado wilderness, and its isolation makes upkeep difficult. There have been winters where avalanches have been so intense and frequent that power lines have snapped and weren't repaired for up to a month. This leaves the cabin in a precarious situation - it does have solar panels, but if there isn't enough sun due to constant storms, then it remains without power and the pipes could freeze.
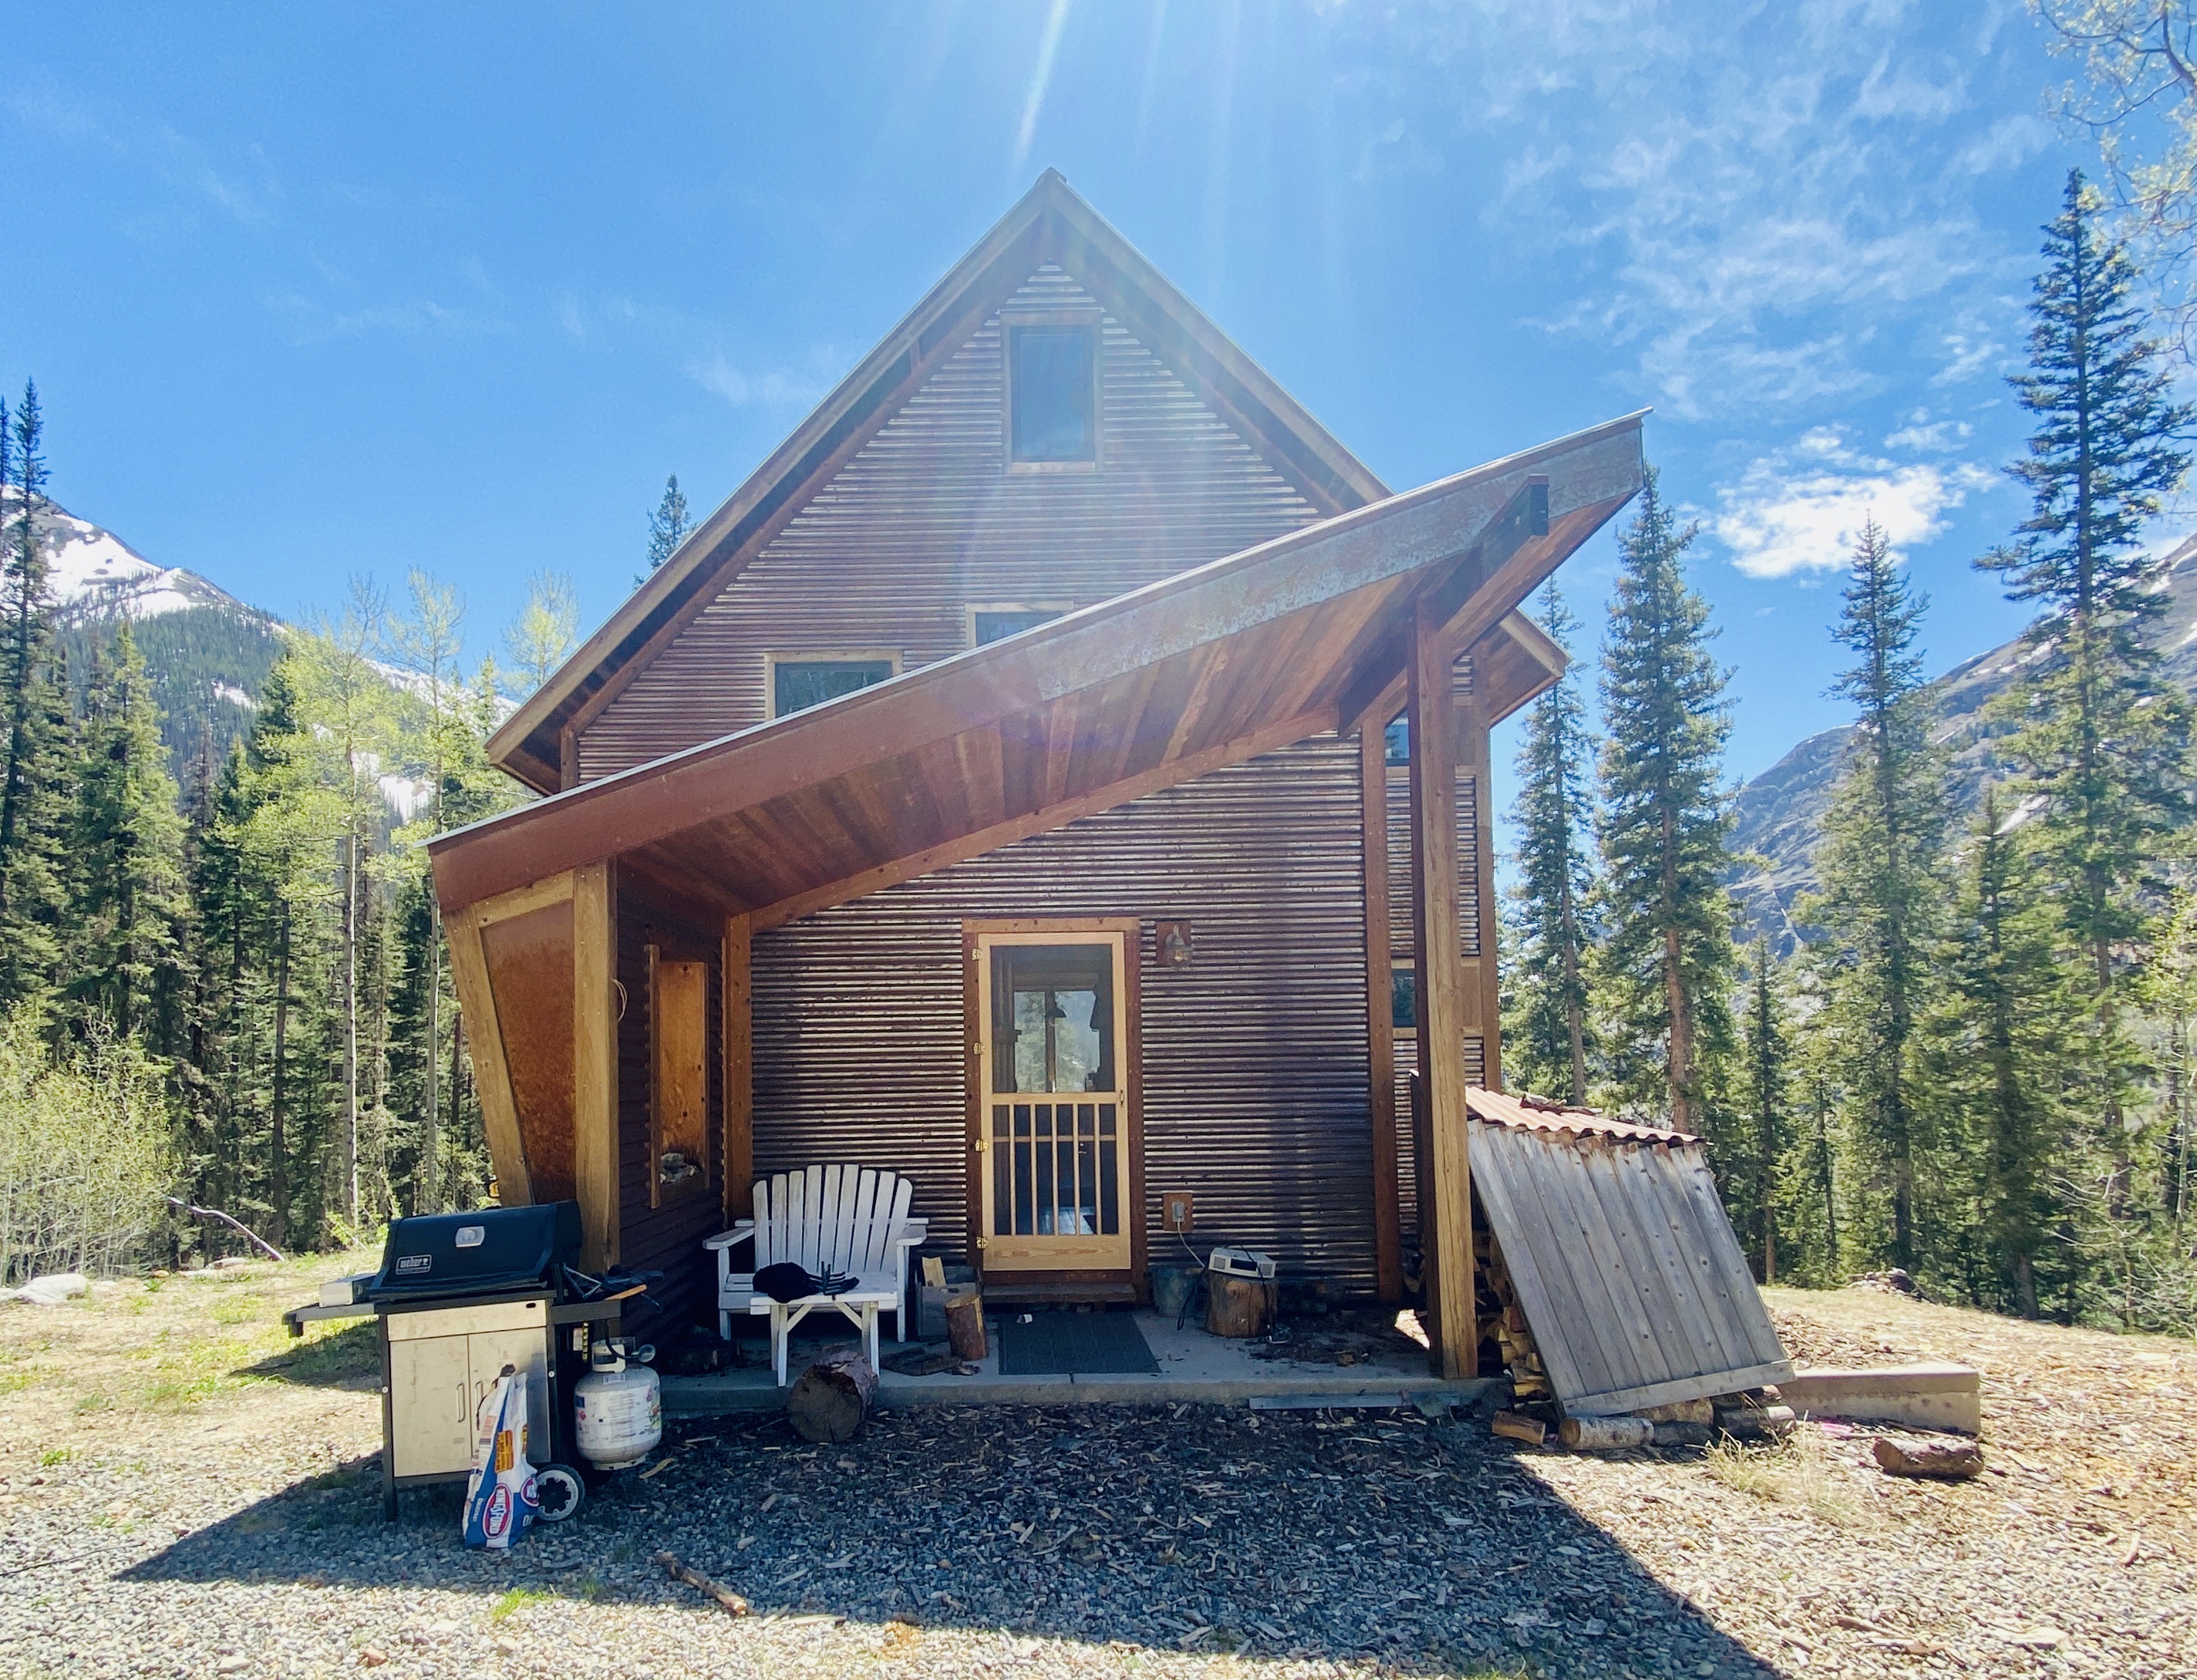
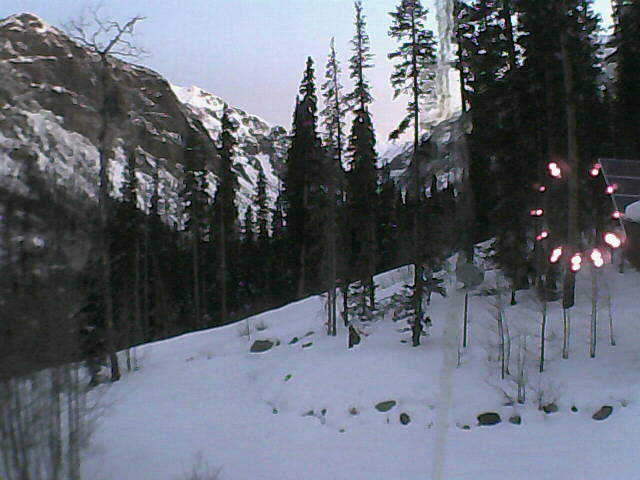
My dad has created a crazy system with an old security camera set up in the maintenance room pointed precisely at an old temperature monitor, as well as a lamp overhead to ensure all of the readings come through in good light. He streams that image to his email. This is currently what his system looks like through the camera:
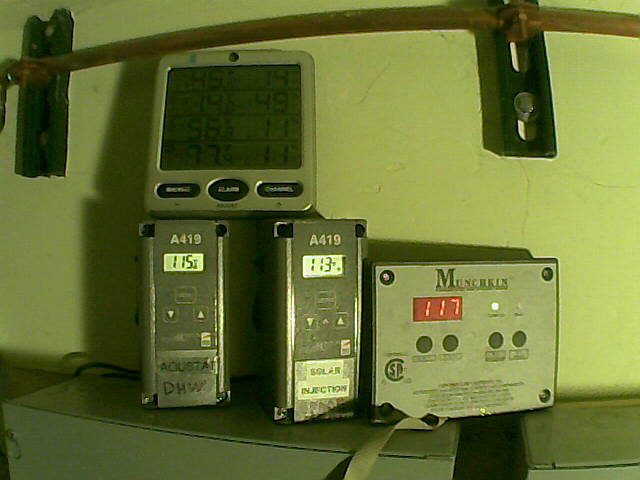
It's a finicky system that is difficult to use, and I knew there would be a simple replacement in creating an IoT network of temperature sensors throughout the cabin. This would enable him to track the temperature in a multitude of locations - in the maintenance room, in the basement, in the garage space, etc. This would also be a good way to know if the WiFi is down, as the boards won't be able to connect to the app.
The Build
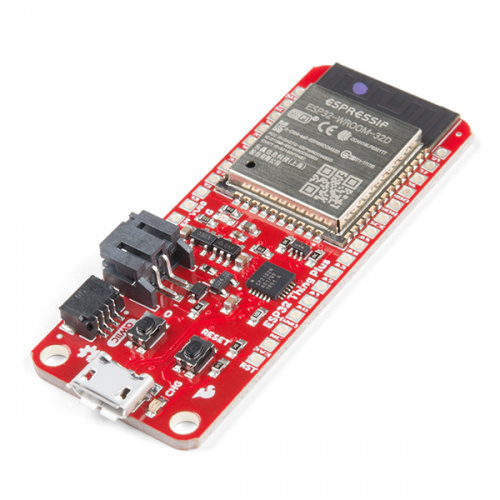
It's a pretty simple build. I picked up about five ESP32 WROOM Things since they're compatible with the Blynk interface and it's so easy to set up an IoT network.
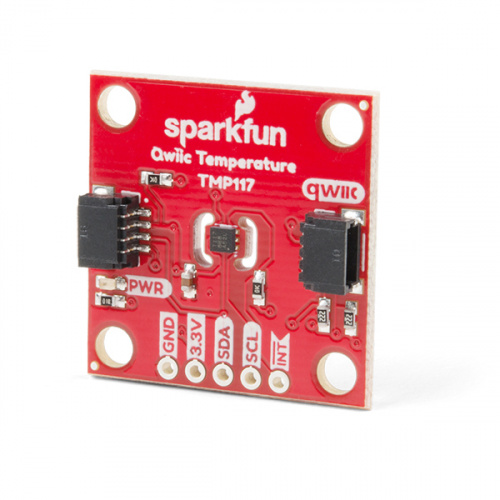
On top of that, I picked up the TMP117 Qwiic high temperature sensor. Since I don't have access to a laser cutter right now and I wanted these to be contained, I just used some old SparkFun boxes and adhesive to contain the boards within the box, as well as connect to a wall adapter power supply.
The Code
When integrating into the Blynk interface, there are two ways to display sensor data. The first is to PULL, which requests data from the sensor only when the app is open. The second is PUSH, in which the sensor constantly sends data to the Blynk cloud.

Since I want to track the history of temperature change, I will PUSH all of the data to the cloud and then display it through the app. This means I'll write data to the interface every millisecond or so. Once I can read in sensor data, I can simply write it to the app on a virtual pin.
float tempF = sensor.readTempF();
Blynk.virtualWrite(V5, tempF);
On top of that, I'll call this function every few seconds or so using a timer, so that it continuously pushes data to the cloud.
I created a new project for each Thing, and then built an app out of all of those projects. Each project basically correlates with a room - the garage, the basement, etc. - and the app displays all of the information from each project.
Next Steps
Okay, so I've now created a modern, light solution to my dad's problem with monitoring temperature. But there are a dozen other environmental factors that plague the cabin, like tracking general snow depth accumulation over the winter.
My dad tracks snow depth in the winter through the same old system of setting up a camera that sends him photos at specific intervals to his email. That system looks like this:
I was thinking about tracking snow depth with an ultrasonic sensor...basically by measuring the time required for an ultrasonic pulse to travel to and from the surface of the snow. The issue is that the range on the ultrasonic sensor is a little limited, so as the snow depth accumulates, the sensor might have to be moved and recalibrated. What are your thoughts on the best methods to monitor change in snow depth? Maybe I'll continue to build on this IoT network and incorporate that into the app. Let me know your thoughts, and in the meantime I'll sit back, relax, and watch these stats roll in.
Project Submissions:
If you have a project that you want to show off and are interested in writing a post for SparkFun, tweet us @SparkFun, tag us on Instagram @SparkFun, or shoot us an email, but the best way is to submit your project by clicking the link below. We'd love to work with you and share your project!


Great project! I built something similar to monitor out building (workshop and pump house) temperatures and humidity. I used an inexpensive Software Defined Radio (SDR) USB dongle with a RPi to monitor the existing wireless temperature / humidity sensors that I had from Acurite, Ambient Weather, and LaCrosse. You could use your existing wireless sensors or if you don't have stations they are available for around $15 each and are fairly weather resistant and self contained. The SDR can be a cheap $25 R820T SDR or one of the more expensive units. I posted the Python code to www.github.com/BrucesHobbies/sdrWeatherStn along with instructions and photos. In the publishData.py module you can add your Blynk interface. I just use gmail to send alerts with status once in a while as a check in case the internet service is down. Let me know if anyone would like to see that code and I can clean it up and put it on GitHub.
First, a couple of questions, in your first paragraph you define a problem with "...then it remains without power and the pipes could freeze." How does your system address this problem? Without a backup power supply during storms, how does either system detect potentially freezing temperatures and notify your dad? Additionally, since I have no experience with Blynk and I assume your dad may prefer periodic notification via email, is there a way to set up your system to do something similar? Final question, do you have to create a separate project for each sensor? I assume it is essentially the same code since the devices all have the same components. Is this a Blynk requirement or could you just conditional compile the "room" into the binary before loading it onto the Thing? Regarding measuring snow depth, when I look at snow conditions at various ski resorts, they all use a system similar to your dad's: a camera pointed at a vertical measuring stick. :p Seems simple enough to me. I'd be interested in photos of your "boxes". This is one area that I find most challenging: how to encapsulate the components of an IoT device. And photos of the final Blynk interface!
What a coincidence. My parents have a cabin in Colorado, and I've set up several IoT devices to monitor sump levels and pump cycles, weather, security, etc. Keep up the good work!
For a crude snow depth sensor, you could try attaching 10 photodiodes to a 5-foot pole (6 inches between photodiodes) and then read each photodiode signal with the ESP32 analog inputs. By comparing the 10 values, you may be able to determine the height of the snow with 6-inch accuracy.
Thanks for the write-up! I’ve got essentially the same system monitoring temps in my backyard chicken coop. I’d be real interested to hear about any long-term stability issues you run into - I get about 4-6 days of real solid operation and then the system requires a hard reset.
Cool! I've been doing snow height measurement in Washington's Methow Valley for a couple years. If you do manual ToF measurement, you'll need to be careful with your temperature correction. I'm currently using one of these: https://www.sparkfun.com/products/15798
I experimented with these: https://www.sparkfun.com/products/14032 but had some issues with temperature stability as well as frost on the lens. I didn't have a chance to get around to adding a small heater.