Have you looked at our new product carousel lately? We have so much going on, it would be easy to miss all the LulzBot loveliness that we just added. We here at SparkFun lurrrrrv our 3D printers AND we get to test out all the new fangled filaments and printers before we ship them off to you.
It was recently made clear to me that I needed a new car. My kids initially asked me if I could get the double-decker purple Knight Bus like the one in Harry Potter and the Prisoner of Azkaban. But... no. Then they asked if we could at least get the talking shrunken head that drives around with Ernie and Stan in the Knight Bus.
And so, project time! If you've seen my posts in the past, you know that my house is ALL the Harry Potter things. My children are obsessed and thanks to SparkFun, I get to beta test the new LulzBot filaments and printers, AND I get to be "best Mom evarrrrrrr" when I do projects like this.
So I set off to test some of the new LulzBot filaments we carry.
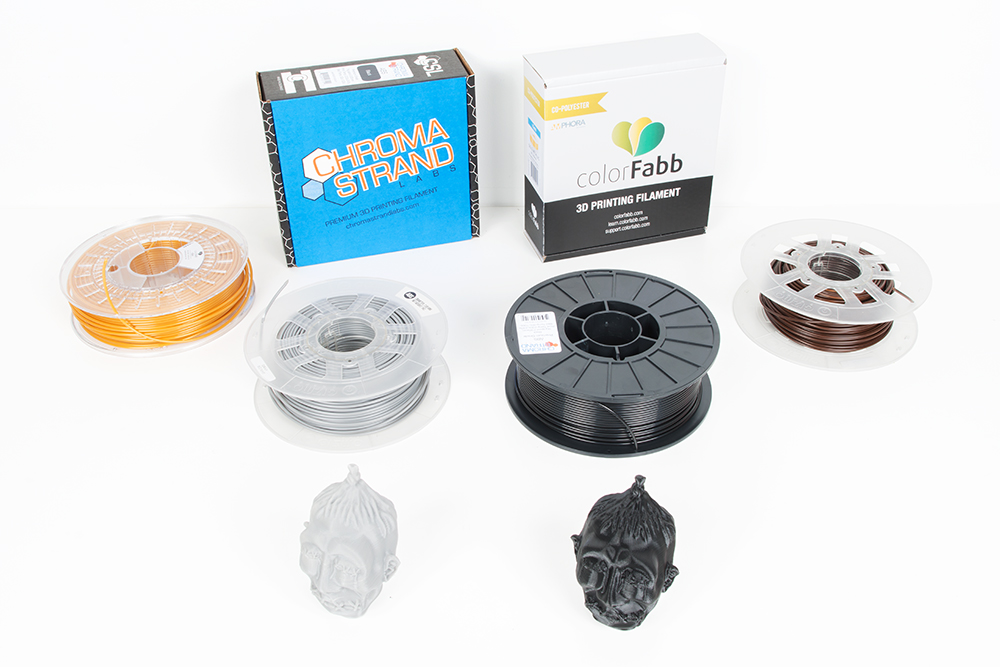
The first and third are new filaments that we now carry (nGen and Chromastrand). The second and fourth I just happened to already have in my arsenal. For this project, I ended up using the farthest one on the right - the print turned out the best and the internal supports were the easiest to remove. We tried to paint him up to match the little dude in the movie, but as it turns out, rotting flesh is a really hard color scheme to match. Nonetheless, VOILA!

How to make him talk when we drive? I Qwiic-lined the SamD51 Thing Plus, the Qwiic MMA8452Q Triple Axis Accelerometer and the SparkFun Qwiic MP3 Trigger, and popped on our 0.5 Watt Speaker. It's run off an 850mAh LiPo that's been split with a SPST button so that I have an on/off switch.
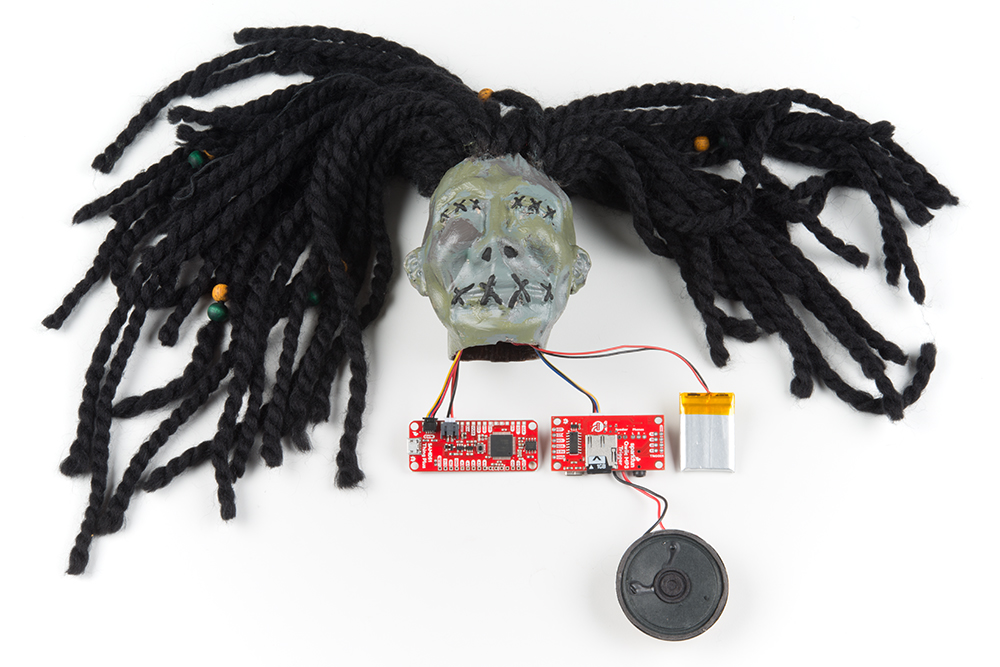
The 3D model is from Thingiverse - I printed it on our LulzBot Taz 6 with ABS filament in high detail with minimal supports. It took me a while to clear those supports out to my satisfaction, but when I was done, I had a nice empty shrunken head to shove electronics into. I also drilled a few holes to mount the accelerometer, since that part needed to be calibrated. The rest is arts and crafts.
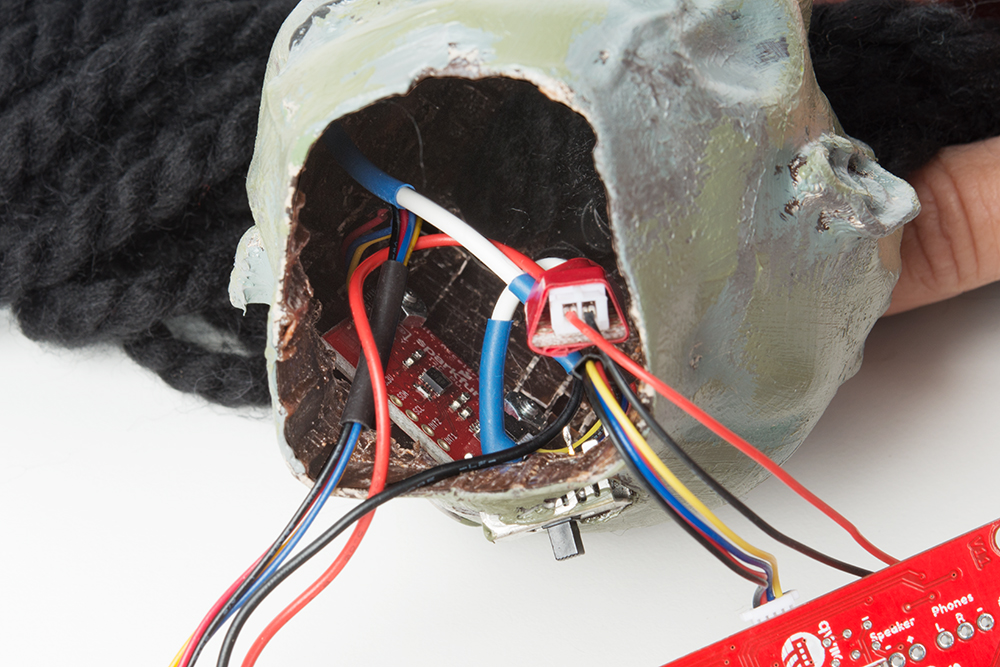
I used the MMA8452Q Hookup Guide examples to get started. Calibration took a little sorting out - I found that with the way I mounted the accelerometer in the head, I really only had to deal with two axes instead of three, which was nice. When the accelerometer detected coordinates within a specific range, we'd kick over to the MP3 trigger code and call playFile(fileNumber). All the MP3s are based on the movie - except when we stop too fast he yells, "I hope you step on a Lego!" So fun.
Always with the magic at our house. What magic have you created? Have you used SparkFun parts in projects with your kiddos? Let us know in the comments!


What did you do to Rob Reynolds? Did he mess up his lines one too many times?
And, if you don't want it riding around in the car, you could substitute a "human presence sensor" (e.g., motion sensor or range sensor) for the accellerometer and have some fun with it on Oct.31... ;-)
I like where you are headed with that... you could also add an eccentric rotating mass (ERM) (aka vibrating) motor to get it to wobble.
Impressive! =)
I remember the first time I saw that head in Harry Potter, it reminded me of the shrunken head guy from Beetlejuice.
https://i.pinimg.com/originals/7d/c1/df/7dc1dfe397f1ff0bff74d3d7cb6db68f.jpg
Very cool project Ell C!