Enginursday: Arduino Celebration and Hexbugs hacking with Bob Martin
Interested in hacking Hexbugs? Check out this in-depth interview jam-packed with tips and advice from Bob Martin! Bob is the Senior Applications Manager, Central Applications Group of Atmel Inc.

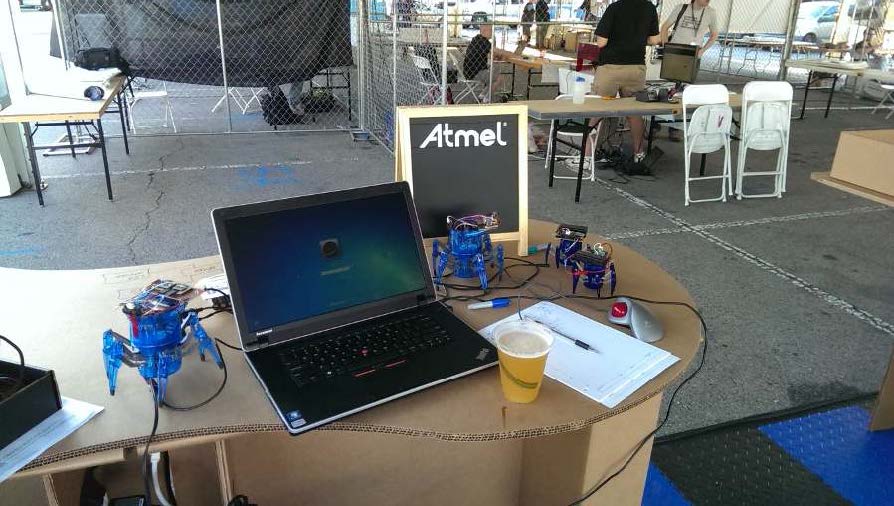
Arduino Day is just around the corner and the Atmel Tech on Tour Mobile trailer will be at SparkFun on Friday, March 27th! The Atmel crew will be showing off demos and doing giveaways! Also, they will be featuring the Arduino RF101 Wi-Fi shield using Atmel’s own WINC1500 SMART Connect module.
What Arduino project have you done that you want to show off? Share in the comments below!
Being in Arduino celebration mode, for this Engingursday post, I wanted to highlight one of the ways you can use Arduino to hack a commercial toy. Hacking and taking apart toys is a fun way to give life to forgotten toys and learn how things work. One of the toys I see a lot of makers doing cool projects with are Hexbugs. Hexbugs are small, fun robotic bugs and you can find these in pretty much every toy shop and many retail stores.
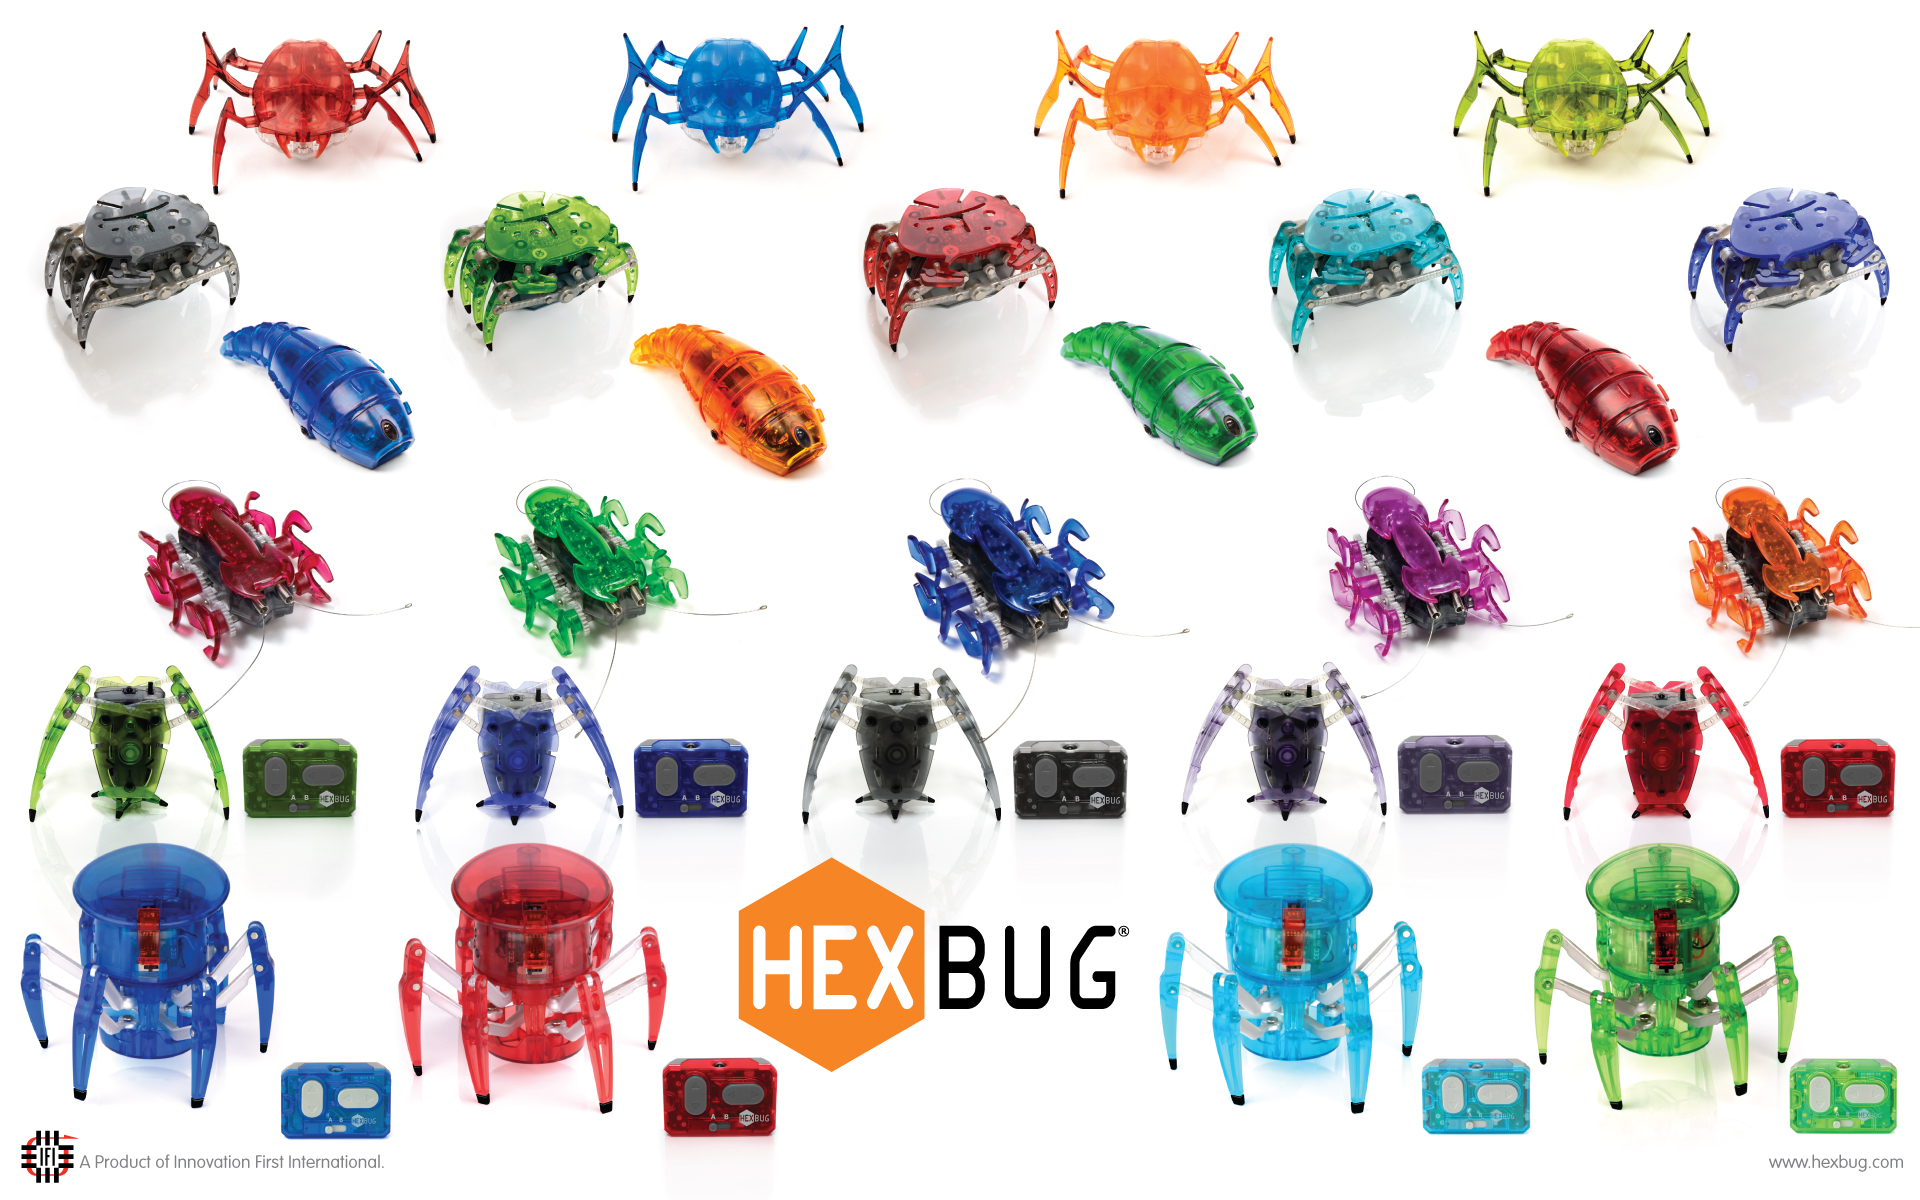
Image courtesy of hexbug.com
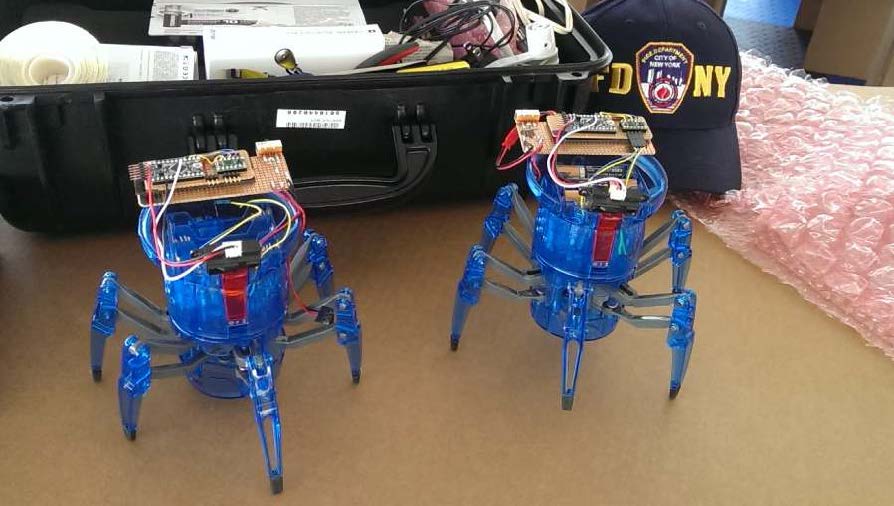
Two years ago, I met the wonderful and friendly Bob Martin at CES. He was showcasing how Arduino had the Arduino at Heart program, which allows companies and makers to show that they are a part of the Arduino community. If you are a maker who created a board/product that uses the Arduino technology, I highly recommend checking out this program! Bob was also showcasing how fun it is to hack one of the Hexbugs with an Arduino Pro Mini.

Bob Martin showing off his Hexbug demo in the Atmel booth at CES!
Since there are a lot of makers who are interested in using Hexbugs as the starting point for their projects, I asked Bob Martin a couple questions to help anyone getting started. This interview is jam-packed with really great tips and ideas. Thanks Bob! Enjoy and happy hacking!
PC: Why Hack with Hexbugs?
BM: I hack Hexbugs for several reasons; cost, mostly made of plastic, and last, but not least, the type of locomotion.
Availability
I most hack the Hexbug Spider XL and the Scarab XL which are available from many on line toy stores and from Hexbug.com directly. The smaller versions are usually sold at Radio Shack but given the recent developments, that’s probably not going to be a solution. I started working on the Strand Beast XL, but it’s turning out to be a little more difficult to work with than the other two because of the way it’s put together.
Plastic Construction
While not as durable as the steel or aluminum parts used with other robot chassis, the plastic bodies make it easy to cut holes, attach platforms and otherwise modify without needing a lot of expensive tools. Typically, a Dremel tool with some basic cutter bits, a small hacksaw and cordless drill are all that’s needed. Platforms and sensors can be added with 5 minute epoxy, double sided tape or shoe repair glue depending on the specific application.
Having a plastic construction makes it easy modify the chassis
Locomotion
Since the Hexbugs use legs and feet for locomotion, the overall effect is so much more life like, even though practically the units look nothing like a real bug.
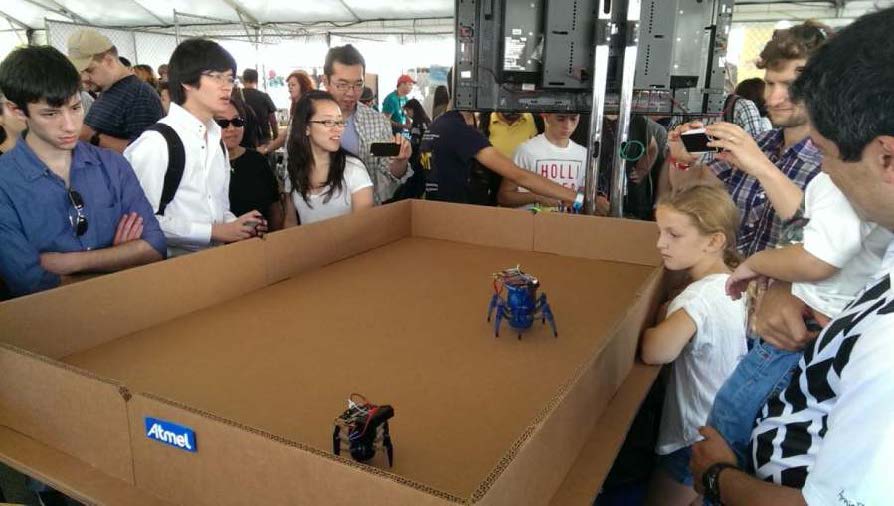
However, the lumbering gait of the Spider XL or the quick scurry of the Scarab XL demonstrate an amazing amount of realism when they move. I had people squeal a bit when one of the Spider XLs turns directly towards them and starts walking fast. It’s fascinating how much personality the human brain assigns to a few plastic parts, two electric motors and a 50 line Arduino sketch.
PC: Do you hack other commercial toys as well?
BM: Yes, I’m continually looking at new toys, mostly new kits introduced by Lego and Erector, but tend to keep my eye on anything that looks interesting. I think I may be noticing a slight trend for toy manufacturers to be making some of their products easier to hack.
Anything with a cool mechanism is always a good candidate.
_**PC: What parts/boards do you use when hacking? **_
BM: My primary controller board is the MegaAVR328P based Arduino Pro Mini in either 3V or 5V versions. I usually end up hacking the power supply to extract maximum battery life anyway by removing the on board LDO and inject raw battery voltage or a voltage from an external buck/boost regulator.
I have also developed a Pro Mini form factor board based on the Atmel SAM D21 microcontroller, which is the same base processor as the Arduino Zero for upcoming hacks that require a bit more horsepower than the 16 MHz 328P.
The Pro Mini form factor and the really small breakout modules for the DRV8835 make for a very compact core processor module that can be fitted into just about anything worth hacking. Having to design a custom PCB board just to make something fit generally kills a project.
Got a friend who is afraid of bugs? You could do some fun projects!
I also use other various Atmel eval boards such as the SAM4N Xplained Pro and the SAMD20 Xplained Pro, both of which are also ARM core based microcontrollers. The Arduino Pro Mini of course is programmed purely using the Arduino environment however the other boards are pure bare metal embedded C using Atmel Studio 6.
The surrounding analog drive IC’s are usually the TI DRV8835 / DRV8833 H-bridge chips, Sharp IR distance sensors and 5V buck/boost modules which allow me to extract maximum life out of the battery packs. I started with basic LiPo packs but the complications of flying with a large number of lithium batteries forced me back to a standard quad “AAA” battery pack as my standard power source of choice. I build the system boards up using strip board which allows me to quickly connect the various modules fairly quickly. I also use a lot of Molex 0.1 inch headers along with the mating female crimp connectors to make everything modular. The same Pro Mini + DRV8835 core system board can be dropped in almost any toy with two brushed motors.
PC: What are some demos have you created using the Hexbugs?
BM: I have two basic demos using the Spider XL, the Hunter and the Cat Chaser.
The Hunter demo is a combination of object detection and object avoidance. It uses an IR sensor array to determine objects around it. Objects that appear and then disappear quickly, say in a second o two are targets which it will walk towards, however a target that stays constant will be avoided. I’m still trying to find the perfect balance between making a decision between fleeing pry and a wall using only simple proximity samples from an IR detector array.
The second demo is called Cat Chaser which instead of actively walking around will sit and randomly fidget in one place until it acquires a target. It will then start chasing the target full speed for a few seconds and then stop and start fidgeting again. This particular algorithm will end up chasing a cat around the house since you relay on the cat to keep coming back to check out the robot.
There is essentially one basic demo for the Scarab XL Hex Bug. Since the Scarab looks a lot like a cockroach I decided to make it act like a cockroach. This hack uses two IR sensors, one to detect objects, like walls in front, and another to detect objects coming at it from above. The forward looking sensor essentially guides it around the perimeter of a room searching for a corner to hide. The upwards facing sensor on its back will make a decision depending on the speed of the approaching object, in this case a persons hand. A fast approach will cause the bug to quickly scurry away. If you approach it slowly enough it will stop and allow you to pick it up.
PC: Any tips or tricks for people working with the Hexbugs?
BM: There are several things I have learned over the past 5 years of doing this:
- Make sure you have a definite plan of what the hack is supposed to do, and make sure that apart from adding additional intelligence and a few sensors that the toy will be able to fulfill that function. Having to add a whole bunch or extra servo motors and actuator arms will likely add too much weight to the main chassis and ruin the desired results. At that point it’s best to start building up the mechanical core from kits like Erector or Lego.
If one of these Hexbugs weighs 1lb, could make for an interesting entry for the AVC robot battles!
Also spend extra time in the beginning developing a common hardware system board that can be used across many platforms. The ability to drive at least two small to medium sized brushed motors and connector to at least two basic analog or digital sensors would be a minimum. Even the Pro Mini has enough IO to easily meet this requirement. Make it easy to allow for additional connections over and above the core ones and try to use connectors instead of hard wiring whenever possible. My Pro Mini/DRV8835 board has saved me a lot of time since I can replicate them by hand very quickly because it’s almost muscle memory now in wiring them up.
Stick with the simple brushed DC motors that are already provided with the toy. Transplanting brushless DC into the mechanism may seem like a good idea but you can’t beat the simplicity and torque of a cheap brushed DC motor to get the job done quickly. Before you start ripping the toy apart measure the voltage being presented to the motors with a fresh set of batteries and shoot for powering them with at least 500 mV lower. These motors are not designed to last very long and generally are run at the top of the voltage range to get the best (read fastest) performance but the life of these motors is almost exponentially related to the operating voltage. I found out that running the Hexbug XL motors at 5V would basically burn up the main walking motor in about a day at the Make Faires. I ended up making the demos even more modular so I could swap out new bottom chassis with two screws and unplugging one connector. I modified all my demo code stop after about 10 minutes of continuous running which of course dramatically increased the life of the motors (and the amount of battery changes)
Standardize on one basic sensor first be it IR, Sonar or something else and learn how to use it well until you run out of sensitivity or range. Remember that sensors can consume a lot of power so either take that in account in the power budget or power switch the sensors. The more optical sensors look like eyes the better.
It’s always easier to make a hole bigger. Creep up on making holes slowly with the Dremel. You can do some phenomenal things with the multipurpose cutting bit (#561) with a slow and steady hand.
It’s always easier to cut a wire shorter.
5 Minute Epoxy actually takes more than 5 minutes which gives you a lot of time to change your mind. Be patient its worth the wait but remember after about an hour that glue joint is committed.
Using standard color groups for signal classes helps not to blow things up when making connectors or wiring modules together. Apart from the obvious red / black combo for power I always use yellow and purple for motor drive, white and blue for sensor signals. Orange typically is reserved for the logic voltage on the micro controller board. It’s usually easier to generate smaller voltages from larger ones, although there are a lot of buck/boost modules out there now.
I generally always use the existing battery in the toy for anything but holding batteries. Battery packs with built in switches are always a good idea because sometime you just need to shut off power in a hurry.
Blinking LEDs or even better, NeoPixels are always welcome.
Always buy at least two of the toys to be hacked and preferably three. The first one will usually end up being so hacked and patched that it will not serve as a good functional unit. You can then start fresh with the second. The third one then can serve as a reference.
Take lots of pictures during teardown and build up. It’s faster than writing things down. Take some time to hand draw the controller board schematic or enter in Eagle or the schematic editor of choice.
Why Bob Martin is a rockstar maker:
Bob Martin, Wizard of Make, brings over 25 years of experience in embedded systems and microcontroller environment to Atmel's microcontroller applications team. He graduated from the University of Saskatchewan in 1987 with a B.S.E.E in Electrical Engineering and has designed, debugged and commissioned embedded systems in the medical, atmospheric research, military, consumer electronics and industrial instrumentation areas. He applies this knowledge along with a variety of robotic platforms and to teach and encourage new Makers young and old as often as he can. He lives in Sunnyvale, California with his wife, two daughters, a cat with no teeth and a garage full of hacked toys and miles of surplus wire and resistors he’ll get around to using some day.


I might have to try this. I just got a dinged and dented pro mini that's begging to be used in a project.
I have an addition to the tips. If you're trying to inspire young kids, you don't have to make it complex at all. A couple weeks ago, my seven year-old son wanted to make a robot. Having little energy at the time for a long project, I looked around for something easy. We stuck a plastic knife and fork into a small shipping box for arms, scotch taped a junk CDROM onto a servo from our little bits kit, drew a face on it, and connected the servo and a buzzer to a push button. Took all of 5 minutes, did nothing other than beep and wiggle its head, and they loved it!
Haha, nice! Totally agree on keeping it simple and easy for young kids. Evan our Mechanical Engineer did a Bristlebot on SparkFun live this week, which is a really simple robot with a vibration motors.
I think there is a typo in the paragraph regarding motors: "of a cheap brushless DC motor" should be "of a cheap bushed motor"
Thank you! Changed! :)
Has anyone had success with the Arduino@Heart program recently? I was 95% of the way there - I had a contract only waiting on Massimo's signature - when the person I was dealing with at Arduino left, and they stopped answering all my emails. In the end, I had to launch my product without arduino@heart branding.
...and I am also curious about what your product is! (if you would like to share)
Yup! I met some of the bare conductive folks on a trip to Shenzhen! They were in well before the current Arduino foofarah.
Even now I'd probably be happy to sign up - if they'd just answer my emails.
My project is called the Tsunami, and it's currently up on KS: https://www.kickstarter.com/projects/nickjohnson/tsunami/
Great question! The new Bare Conductive Board is part of the Arduino@heart program. I wonder with all things happening at Arduino at the moment if things are a little bit slower? I recommend reaching out to Bare Conductive team or even Smart Citizen to see if they have any advice. :)