In the first installment of this two-part post, we built a conference room sign that automatically updates based on a Google Calendar resource. We used a Raspberry Pi and a 7-inch touchscreen as our hardware platform and wrote the software in HTML, JS and CSS, using ElectronJS to run it on a kiosk OS for single-board computers called BenjaOS. If you missed that post, you can check it out here.
At the time of part one, I was still waiting on some enclosures and cable covers to arrive before I could install the first signs next to their respective meeting rooms. Well, when the enclosures finally arrived (all the way from Shenzhen) they seemed a little bulky. To be clear, I got exactly what I ordered. But when I looked at the display mounted in place the enclosure seemed excessively deep and heavy. I set about designing one in Fusion 360 to print on our TAZ 5 3D printer.
The enclosure itself didn't need to be very rigorously designed. The basic requirements were: 1) to cover the Pi and make it look nice, 2) to accommodate the cable cover I'll be using for cable management and 3) to provide an interface between the mounting holes on the LCD panel and the wall. If there were openings for LEDs to shine onto the wall behind the unit, that was a plus. Luckily, we happened to have a very nice 3D Model of the LCD panel in question on the product page, so I imported that to Fusion and built up from there. Here's what I ended up with:
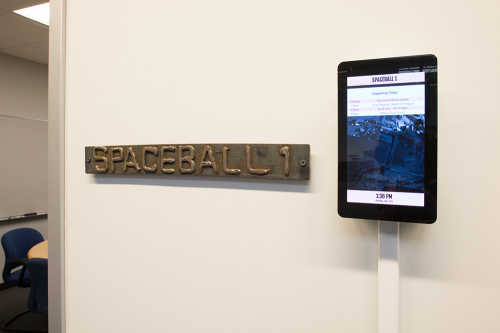
I printed a pair of these enclosures on the TAZ 5 – with its new cardboard heat tent – and got very lucky on my first try! The only modifications I had to make to the printed parts for them to properly fit was to use a drill to widen the bolt holes slightly. The enclosures bolted to the LCDs using M3 hardware and provided some nice flat surface on the backside for mounting the device with double-sided foam tape. The opening in the bottom perfectly accommodates the profile of the cable management solution that I bought on Amazon, so there's no gap where you can see the cable poking through.
Very clean, my dude.
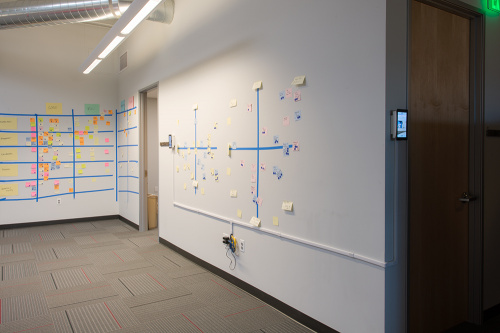
My next step was to grab some CAT5 and barrel jack extension cables and run my wiring for the signs. The two premier locations for this system were chosen because they're close to my office and just around the corner from one another. There is a network drop and a power outlet located midway between them, allowing me to power both signs and give them dependable network connections. My cable management solution was a home theater cable race kit from Wiremold. It took two kits to have enough fittings and races but it installed cleanly and easily. All of the cable races are backed with foam tape - just peel and stick. After the cable races are stuck to the wall, they can be hinged open to hide your cables. I put a T-junction over the network drop and power outlets and split off in the direction of each conference room, using my smartphone as a level (with mixed results). Then each end got a 90° elbow and another cable race up to the sign enclosures.
I powered the Raspberry Pis by making an adapter out of a micro-b plug breakout and a female barrel jack adapter. The breakout plugged into the USB jack on the LCD hat, and the barrel jack adapter allowed me to use barrel jack extension cables to get a long, clean run of DC wiring to the 5VDC wall adapter. The Pi with the 7-inch LCD attached is – admittedly – unhappy about its power situation and continually shows a low power warning in the top corner of the screen, but it isn't distracting and is unlikely to cause damage to the unit so I'm leaving it alone for now. If the wall adapter fails, I'll replace it with something a little beefier. At 2 amps, the wall adapter is bare minimum for running both the Pi and the LCD backlight.
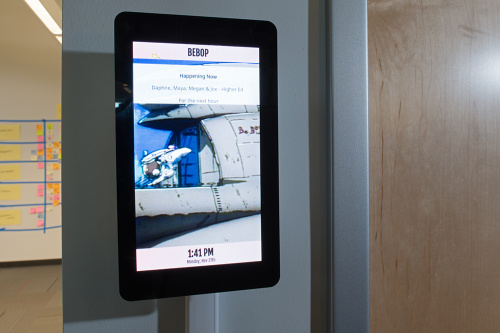
The signs have been in regular use for about a week now and so far I've gotten a lot of positive feedback. I'm certainly not the first person in the building to have thought of doing this, so people are excited to see one working. No word yet on whether it's prevented any mid-meeting surprises, but as for staying stable and accurate running continuously for days on end? High scores all around. I think the Raspberry Pi is an excellent platform for exactly this type of project. Moving forward, I'd like to add LED splash lighting to indicate the "occupied" status of the conference room (as suggested by jma89 on part one of this series) and I'd also like to add some animated splash screens that can be interrupted by touching the display. For now, though, these seem like a step in the right direction.
Wanna make your own? Check out the GitHub Repo! It contains the ElectronJS app as well as STEP, IGES, Mesh and Fusion 360 files for the 3D-printed enclosure.


Nice job! Being recently interested in 3D printers, I found your enclosure quite interesting.
I'm sitting at home, waiting for the big brown truck to deliver my 3D printer today. At $250, I couldn't say no. If anyone cares, it's the Neva by Dagoma. Another engineer showed my hers and the parts it made were pretty nice. No heated bed and only PLA pretty much.