T³: Custom Graphics in EAGLE
Importing custom artwork into a PCB CAD program is a fun way to personalize your board.

One popular way to customize your printed circuit board (PCB) is to import custom artwork onto a layer. This is usually done on the silkscreen to add a company logo or some other fun piece of artwork.

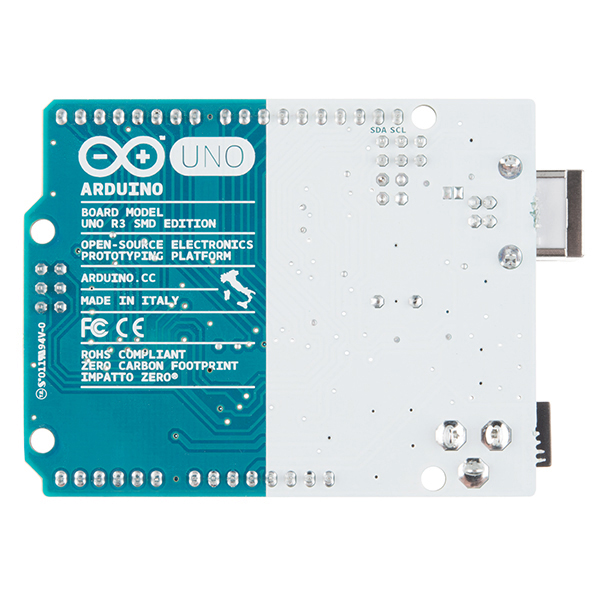
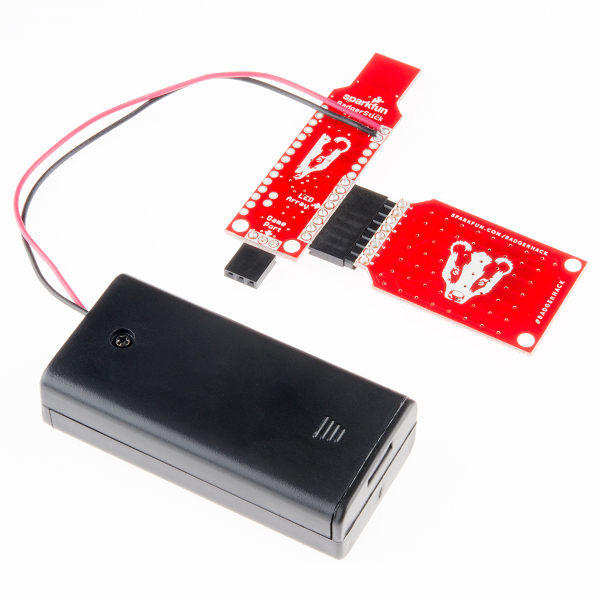
Some examples of custom artwork on silkscreen
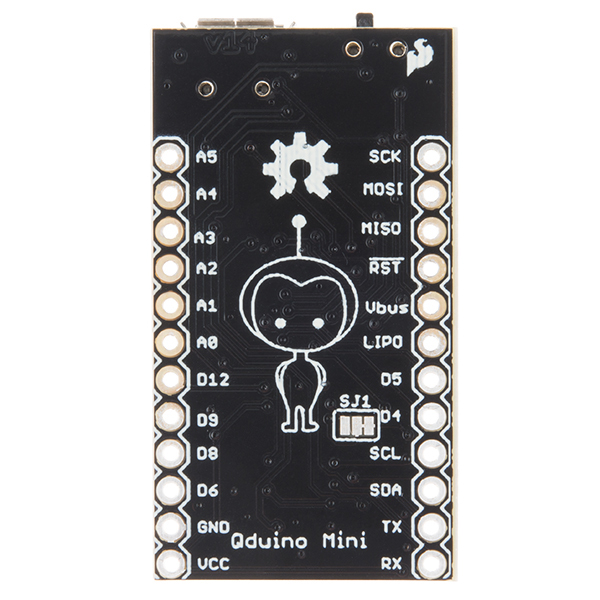
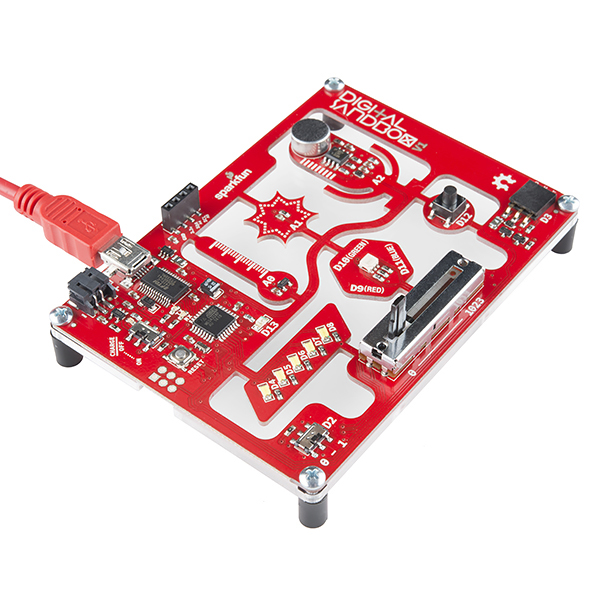
However, you are not limited to creating custom artwork in silk. You can also go crazy with copper patterns, solder mask keepout and even the PCB shape!

Image courtesy of Autodesk Circuits from Instructables
While you can certainly draw the shape yourself using your favorite PCB CAD tool, many CAD tools make drawing anything outside a simple circle or rectangle quite difficult. As a result, it's often easier to draw your artwork in a real art program (e.g., Inkscape or Adobe Illustrator) and then import it into the CAD program.
Most CAD programs have a way to import artwork. Recent versions of EAGLE can handle bitmaps (BMP) and Data Exchange Format (DXF) files. However, it usually works better if you can import a vector graphics (e.g., SVG) file directly, as you can then scale the shape easily.
Lucky for us, Cruz Monrreal II made an easy-to-use SVG file importer for EAGLE: https://github.com/cmonr/Eagle-ULPs. It takes a little manipulation of the SVG file to work properly, but I've outlined the steps in the tutorial below (I use Inkscape to keep things as open source as possible):
Importing Custom Images into Eagle
December 5, 2016
How to create custom graphics and import them into Eagle for silk, copper, etc.
The tutorial shows several methods to import artwork into EAGLE, but I recommend trying the SVG to polygon method first. It requires more massaging of the image in Inkscape, but having the graphics in polygon form makes it much easier to deal with in EAGLE.


Bruh! You forgot to showcase THE best product (if I say so myself) for this topic. https://www.sparkfun.com/products/12651
Totes, bruh. How could I forget? Added to the carousel!
Thanks bruh!