Hardware Hump Day: 3 Soft Electronics Tricks
Build three simple electronics components using soft materials.

Happy Hardware Hump Day! For the inaugural #hardwarehumpday post, we are going to build a momentary switch button, a coin cell battery holder and an on/off switch using only soft materials. These techniques are an excellent way to make the most of your soft electronics materials and to minimize the use of traditional hardware in soft circuitry.
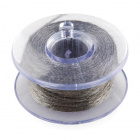
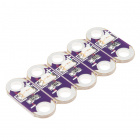
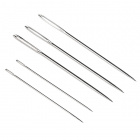
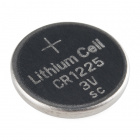
To follow along, you will need to gather the following supplies:
Let's start with the momentary push button.
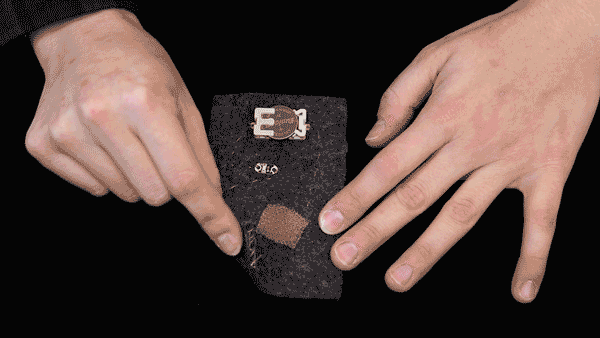
Start by cutting two small swatches of conductive fabric. Place one on the very corner of your felt and sew it down using the conductive thread. Then, with the same piece of thread, stitch down the felt a few inches before connecting to the LilyPad sewable LED cathode and tie it off. Use the running stitch to connect the LilyPad sewable LED anode to the positive lead of the sewable coin cell battery holder. Place the second patch of conductive fabric at least an inch away from the other, and sew it down to the felt. With the same piece of thread, connect the second patch to the negative lead of the sewable coin cell battery holder. Pop a 3V coin cell battery in and watch the LED illuminate when the two patches touch!
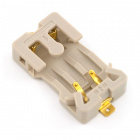
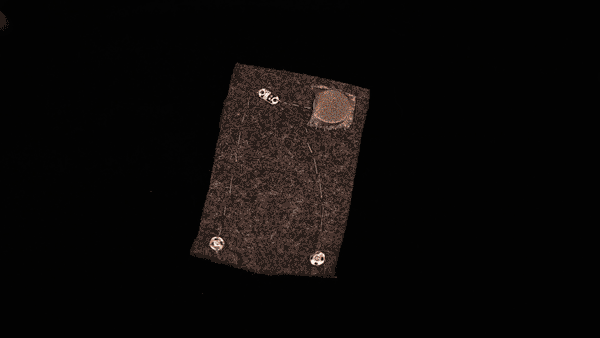
No sewable battery holder? No problem! Let’s make our own with the same supplies.
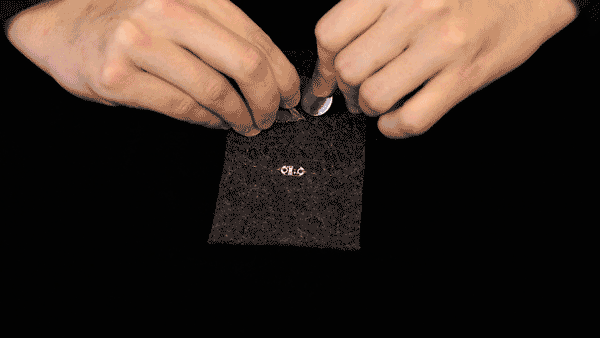
Start by knotting your conductive thread on one end about 3 to 4 times. Use the other end to thread the needle and then sew down into your felt from the top side and trim the tail. Use the running stitch to connect it to the cathode of a LilyPad sewable LED and tie it off. Cut a patch of conductive fabric that is ever so slightly wider than the coin cell battery. Place the patch directly on top of your knotted conductive thread and sew down three sides, making a small pocket. Using the same piece of thread, connect the conductive fabric patch to the LilyPad sewable LED anode. Slip a 3V coin cell battery into the pocket with the negative side against the felt and enjoy that bright LED light!
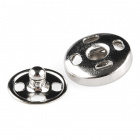
Finally, we are going to use metal snaps to create a soft on/off switch.
Start by sewing down one side of the metal snap onto the felt using conductive thread. With the same piece of thread, connect it to the cathode of the LilyPad sewable LED using the running stitch and tie it off. Connect the LilyPad sewable LED anode to the positive lead of the sewable coin cell battery holder. Place the second side of the metal snap at least an inch away from the other and sew it down to the felt. With the same piece of conductive thread, connect it to the negative lead of the sewable coin cell battery holder. Put a 3V coin cell battery in and...snap! Let there be light!
Start something soft this season! Share your soft tricks and projects with us on twitter and in the comments below.


